Sunday Spa feature – Home Made Lavender, Ylang Ylang Bath soak

Dead Sea Salt and Lavender flowers

This is the first feature of many I hope to write about the lovely ingredients to try out to create a home spa experience.

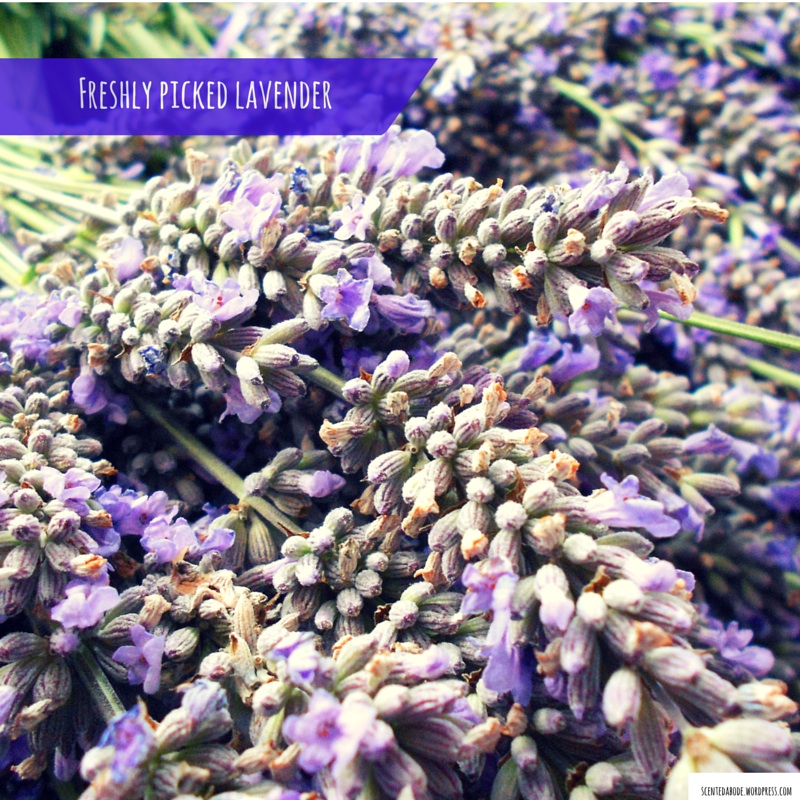
As these lovely buds from the drying lavender looked so pretty, I have simply added them to the Dead Sea bath salts* that I have been using as a foot scrub/soak in one. If you are interested in making this you can find the post here.Dea Sea bath salts

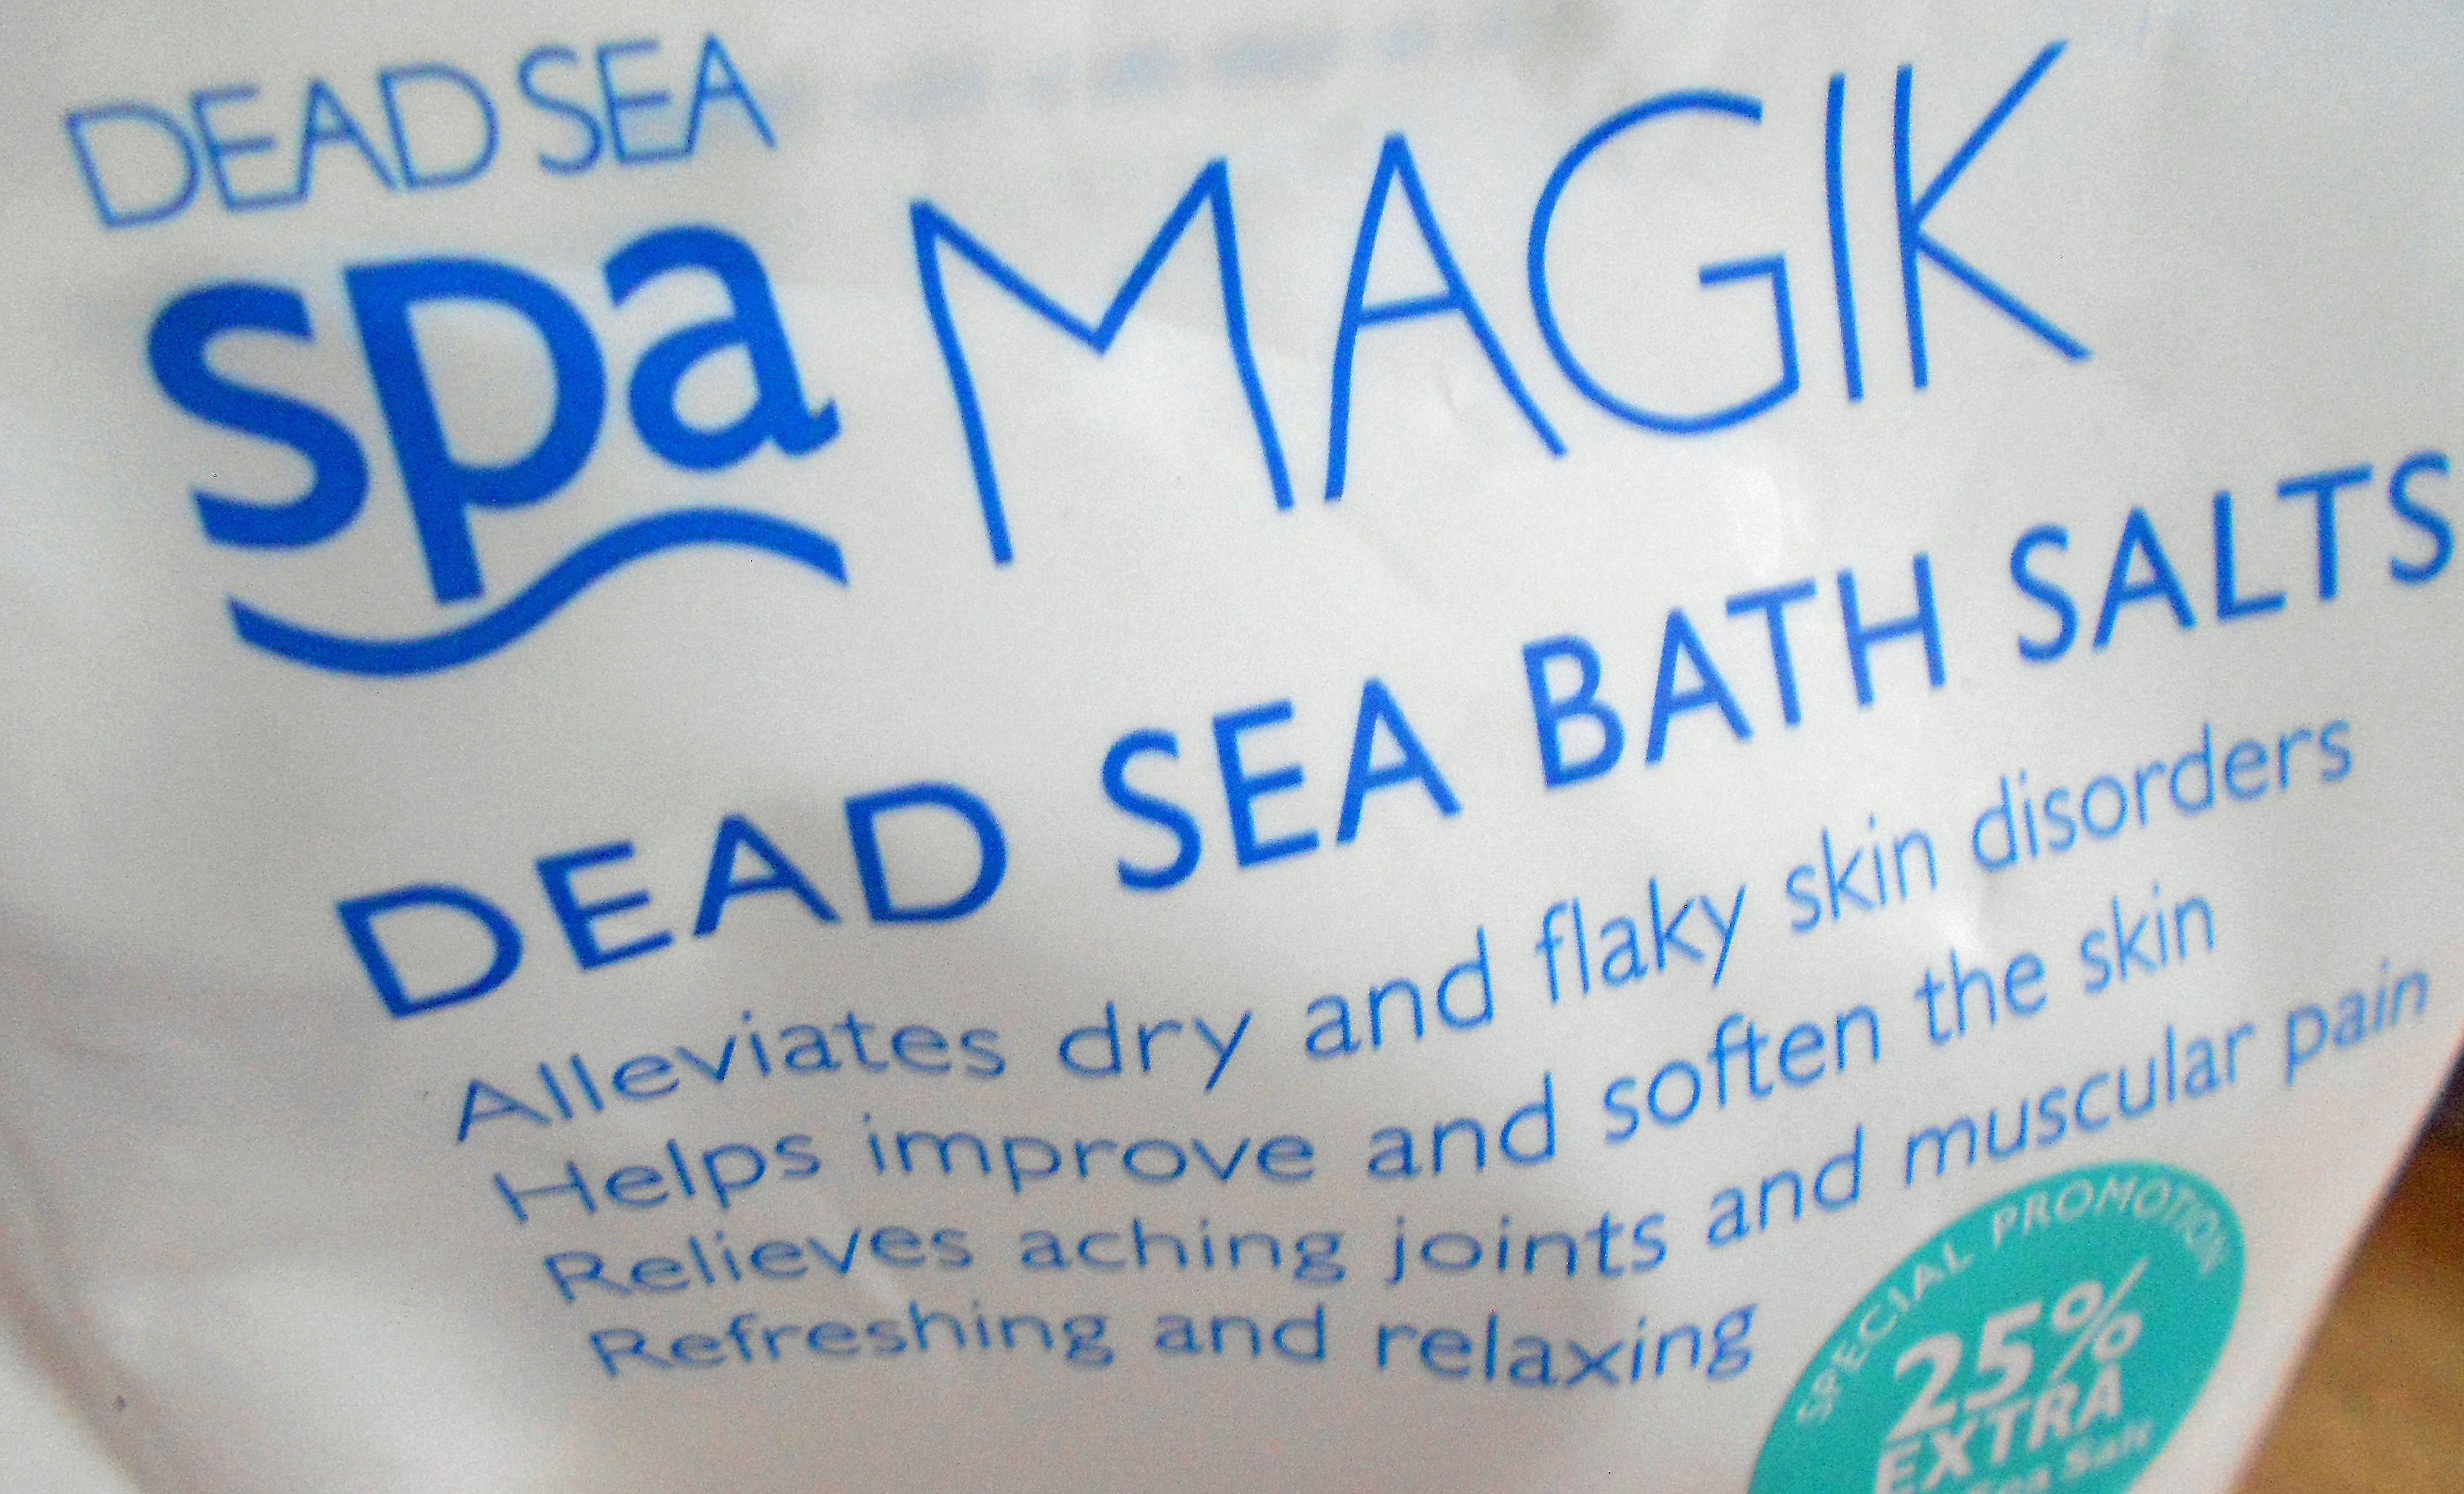
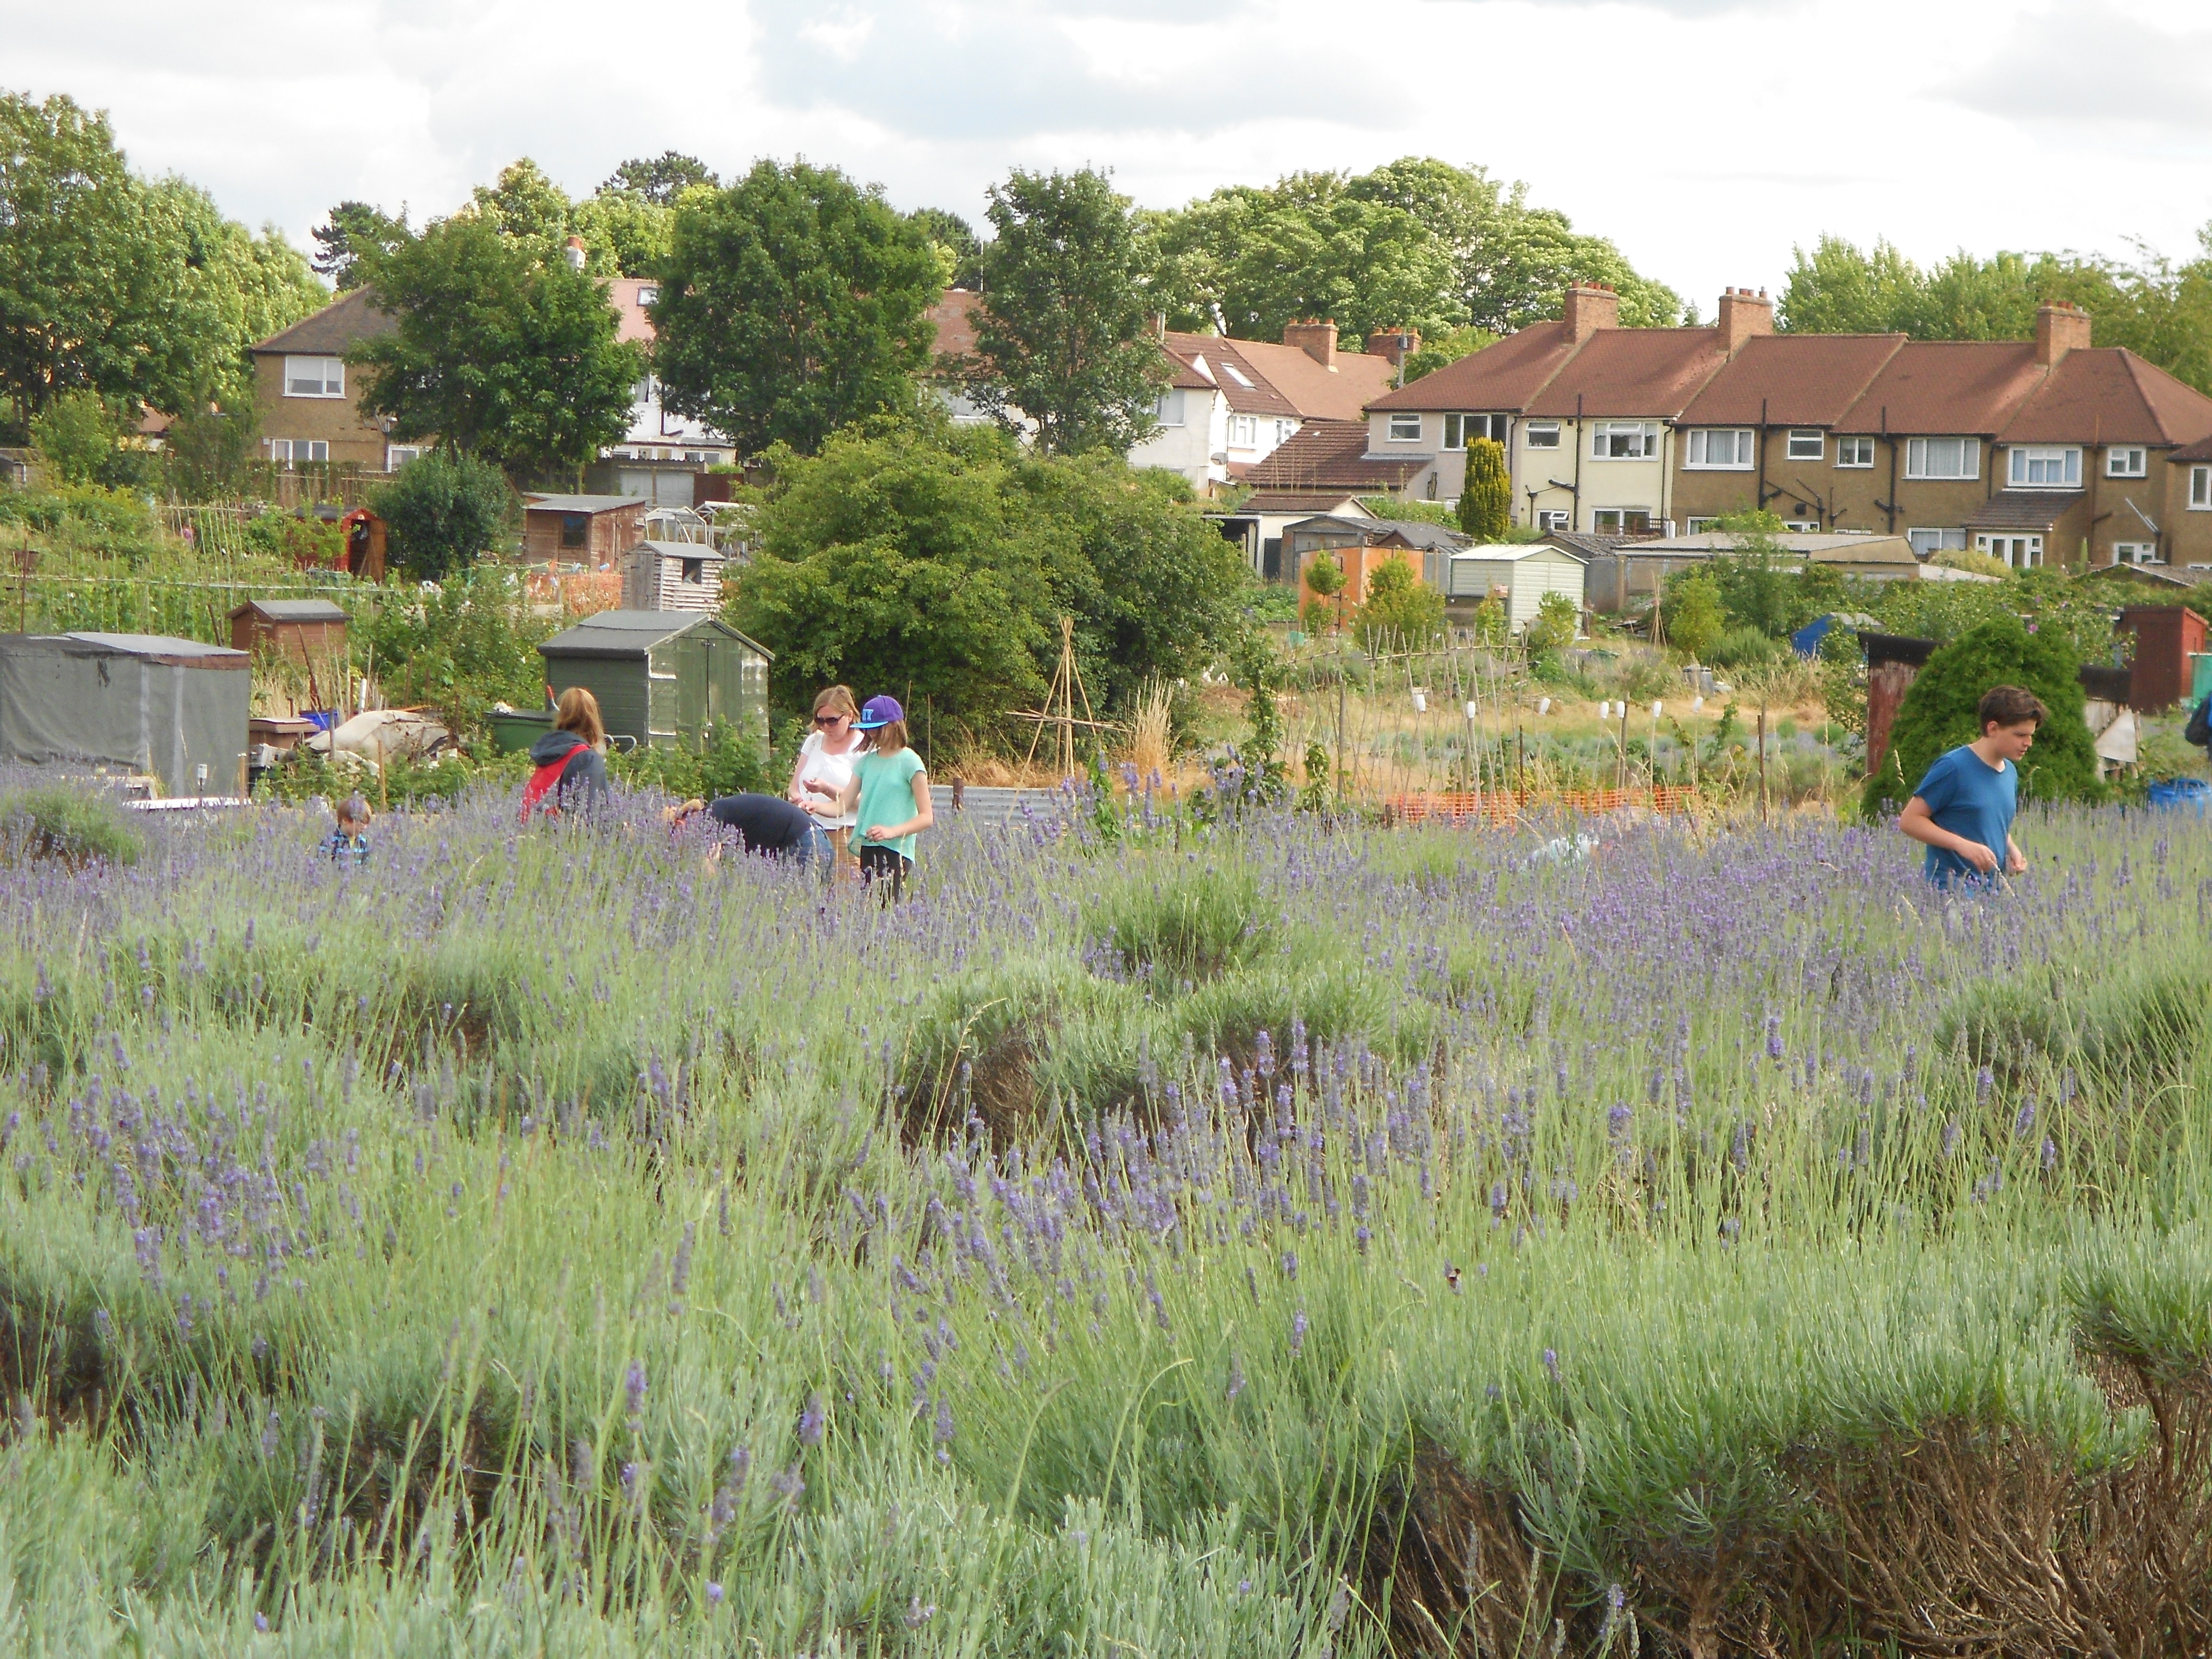
For the bath soak, I have used the lovely flowers which were collected from the fresh lavender we picked last weekend, they have been slowly falling off the lavender stems as the bunches of lavender begin to dry out.

With a pestle and mortar, the lovely buds were mixed into the Dead Sea Salt granules. If you don’t have dead sea salt to hand, a coarse salt will also make a wonderful bath soak as it will soften the water.

I don’t usually make up more than a cupful at a time as the Dead Sea Salt* is a wonderful ingredient in that it attracts and retains moisture, so will turn to liquid if left exposed to the air.

To make this mix luxuriously moisturising, I have added some organic sweet almond oil, together with a few drops of the Carshalton Lavender Essential Oil to intensify the aroma.

There is no need to measure out the ingredients exactly. I’ve used a rice bowl to scoop out the Dead Sea Salt and added a handful of Lavender flowers, along with about a tablespoon of Sweet Almond Oil.

The only thing to be careful about is the amount of essential oils to add to the mix, for bathing, about 20-30 drops in a cup full of bath salts with the oil. will provide a sumptuous aroma that will fill the bathroom with scent. (As a precaution, it is always best to carry out a patch test if you have never tried any essential oils before – you can find out more about this in this article from Aromaweb.

I find that different scents evoke different memories or sensations, for relaxing, rejuvenating or calming, you can vary the essential oils based on your preference and the mood you want to create.

Ylang Ylang and Lemon essential oilsAs I wanted to recreate a lovely rejuvenating and relaxing experience, I have also added to the lavender mix a scent which always reminds me of the beautiful spa in Mauritius where we spent two idyllic weeks on our honeymoon.

Just a few drops of Ylang Ylang essential oil has conjured up the soft golden sands and the sound of gentle lapping waves of the Indian Ocean.

We discovered the Ylang Ylang plantation on Mauritius which we visited while we were there.

This beautiful scent comes from the Ylang Ylang tree, once the flowers from the tree have been harvested, the oil is distilled by forcing steam through the flowers to create the essential oil.

It was widely used by aromatherapists and while we were on the island, the aromatherapist explained that it is used as a spa treatment because of its many therapeutic benefits. Mostly, I think on the idyllic island setting it was chosen by the aromatherapist as it enhances the feelings of hope and joy. (It’s a bit of a cliché, to go on honeymoon in Mauritius, I know, but as it was a once in a lifetime experience, we took advantage of all the island had to offer).

I have also added some lemon essential oil which I find has a lovely refreshing scent of lemon groves which is perfect for this indulgent experience.

Once the mixture has been combined, a small handful of the bath salts were sprinkled into the warm water of the bath. As the mix can also be used as an exfoliation scrub, it can be applied over the skin and massaged gently for glowing skin.

I loved seeing the little lavender blooms bob around in the water, it was so lovely to waft in the scent of lavender and ylang ylang this morning.

Hmmm lovely.

*If you would like to order the in the UK, the Dead Sea Bath Salts link will take you through to the product page on Amazon.

*If you would like to order the  in  the US, Dead Sea Bath Salt the the link will take you through to the product page on Amazon.

*These are affliate links, which if you order through, a small commission is earned. Thanks in advance for using the links – any money earned will go towards maintaining the blog.

Mango and Cherry Loaf

Mango and Cherry Loaf

Mango and Cherry Loaf

We usually make this lovely cake with over ripe bananas. However, as we had an over ripe Mango, which no one was too keen on, I thought it would be good to try using the banana and apricot recipe rather than throw it away.

Having rummaged around in our cupboard, I discovered we were out of dried apricots, but we did have some dried figs, prunes and a tub of glacé morello cherries.

Mango and Morello Cherry

Over ripe Mango and morello cherries found in our cupboard

Since cherries would give the loaf some colour, I decided it would do rather than go and get some dried apricots. I like the idea of using what’s in a cupboard and experimenting more than sticking rigidly to a recipe. This is by far the best way of discovering something new and tasty.

By the time I had assembled the ingredients, my eldest appeared in the kitchen and decided to help with the baking. I was smiling since a few days ago I’d written a post about Google search trends, the British Bake off and that I would have to get my kids to help me with some baking.

There was no need to ask, baking is, next to Minecraft something that my eldest enjoys.

Based on the recipe from the River Cottage Family Cookbook, this loaf is very simple to make, there are no whisks or electrical appliances involved, just a spoon and some elbow grease.

Cream the sugar and butter together (Prior to this I had accidentally put flour into the bowl and had to separate the flour from the butter as I had been distracted by my daughter peeling the skin from the over ripe Mango and mashing it up with a fork).

Add the 2 eggs and beat until mixed together.

Add chopped morello cherries.

Add the grated zest of 1 lemon (we used half a lemon zest and all the zest of a small lime)

Add the mashed mango (or over ripe mashed bananas as in the original recipe instead) and add to the mix.

Mashed Mango for baking

Mashed overipe Mango

Gently fold in the self-raising flour.

Pour into a loaf tin which has been lined with a large loaf tin case, I like this as it’s easier to clean the loaf tin afterwards. It also means I don’t need to butter the tin.

Bake in a pre-heated oven for 50-60 minutes on 160c/Gas Mark 3 (Check around 50 minutes, put a knife/skewer through the middle and if it comes out clean, then it’s ready)

The lovely scent of the baking and the mango and cherry filled the kitchen and our living room and this got the attention of both my hubby and youngest who wanted to know when it would be ready to eat.

Unfortunately, they needed a bit of patience as once it was removed from the oven, it needed to cool on a baking rack before it can be enjoyed.

As the loaf was baked just before tea-time on Saturday, it was perfect to serve as our dessert. We usually find that although the loaf will keep for a few days, it never usually lasts longer than a day because it gets eaten as snack.

I think this recipe made with Mango and Cherry makes a lovely alternative to the bananas and apricot version.

Softened butter with eggs and sugar

Soften Sugar and Butter and beat the eggs

For the reciepe:

Dried apricots (squidgy ones) or Morello Cherries 75g

Saltanas 75g (we didn’t have any so used more cherries)

1 Lemon

Unsalted butter, 100g soft but not melted

Caster Sugar 125g

2 large (free range) eggs

3 large ripe bananas (we used a large mango)

Self raising flour 200g

Loaf tin measuring about 13 x 23 x 7 cm

Do let me know if you’re looking forward to watching the Great British Bake-off.

Lavender picking afternoon in Carshalton

Freshly picked lavender from Carshalton

The weather forecast for last weekend was not good, both Siri and Google predicted a cloudy day with sunshine and rain. Not great for walking around in a field full of Lavender then.

However as Saturday morning arrived and I peeked out through the blinds, the sun was shining.

We decided to go because I’d always wanted to and this was the only weekend the event is held each year.

In the usual mum mode, I tried to persuade everyone to come along, but my eldest wasn’t going to be budged from her laptop. Only me then and my youngest. I made her wear a raincoat, plus a hat in case of both sun and rain. We must have been pretty funny to look at.

My husband drove us to Carshalton, it’s not really very far from our house, but it would have taken us a long walk.  With plenty of lavender we wanted to pick, I thought it best to save our energy for when we got there.

The field itself is tucked away in a quiet residential corner of Carshalton Village, less than 20 miles from Central London.

Field of lavender in Carshalton

Field of lavender in Carshalton

It is one of the few remaining sites where Lavender and other herbs was grown as part of a once a thriving industry for the Surrey towns and villages of Mitcham, Sutton and Carshalton.

I had read about the Lavender Picking in Carshalton at our local library some years ago and had always wanted to go, yet somehow, as each year passed, the opportunity also passed. It was either too wet or we had already planned something else.

It is run by local volunteers as a charity, keen to keep the lavender field and it’s history alive.

As we approached, there was no need for the directions or signs, a small steady stream of families, with buggies, young toddlers, teenagers, adults made their way to the field. Plenty were leaving too with huge bushels of Lavender in their arms or tucked into their shopping bags.

The sight of the people with their bags and armfuls of lavender got my youngest daughter so excited that she walked on ahead to investigate. If you’d like to see the post my daugther has written, please visit here it made made me laugh just reading it.

A small line of people were in front of us and we queued patiently to collect our bucket and scisssors.

Bucket of freshly picked lavender

Bucket of freshly picked lavender

Cutting the Lavender was the best, in the field were different varieties of lavender, some had shorter stems of blue grey colour with round soft flowering heads, whilst other lavender plants were tall and proudly waved their stems of deeper coloured lavender flowers in the summer breeze.

The fragrance was all around and we were enthralled as people mixed with butterflies and bees, collecting pollen and harvesting the lavender together.

No one seemed bothered by the bees as they buzzed around us collecting their harvest, as there seemed to be plenty for everyone.

The event would not be complete without a craft fair display. Locally produced goods was available, including ready to purchase cut bundles of Lavender alongside bottles of Lavender Essential oil which had been distilled from the lavender grown in the field.

If I could describe a perfect afternoon then this would be it. Our haul of lavender consisted of 2 large bales of lavender (I have no idea what I’m going to do with it all, but I expect none of it will go to waste), a little tiny bottle of the essential oil, apparently it takes about 3/4 of a ton of fresh lavender to produce about 11-12 pounds of oil. So very precious indeed.

Bees in lavender field

Bees in Lavender field

There was a demonstration with the distillery which had been made locally from recycled materials, so we got to learn about the process of distilling the lavender oil.

It’s made in a giant steel container. The process is a bit like one of those Morrocan Hookhas where the bottom of the container holds boiling water to steam the leaves or lavender in this case. As the steam rises, it passes through the freshly picked lavender and the oil from the steam is collected in a special reservoir and the water collected below. This water is the floral water that perfumers and the beauty industry call “hydrolat”.

As well as the oil, I purchased a small pot of Lavender to grow in our garden called Lavender Grosso.

After speaking with the gardener, I asked him which variety would be best for someone who isn’t very green fingered and wants to see the plant grow quick (I have no patience). Apparently Lavender Grosso grows to a meter high and is very fast growing and likes to be in sunshine, when planted in soil, it doesn’t need very much water (in a pot it will need watering frequently). It seemed the ideal plant suited to my temperament.

Lastly, my hubby spotted a small display of pots full of honey and jams, and we couldn’t resist purchasing a small pot of lavender honey.

And the rain stayed away until Sunday. perfect!

Blogging 201, Day 10

Blogging U.Wow, it’s the last day and the final task that’s been set is to create a poll and/or a survey to collect feedback from your readers on your site and its content.

I took a look at a Polldaddy account and it looks as if it is fully integrated with WordPress, which is great as it will mean it’s easy to set-up a questionnaire.

At the moment, as the site is only 2 months old, I think it’s a little early to get statistical data that would be informative.

It’s always a good idea to make sure that the base of respondents is a good cross selection of the  audience and that the sample size is big enough to be statistically valid in terms of quantitive Data – that’s stats in terms of numbers of people responding – e.g 50% agree, 30 percent disagree etc. For qualitative data, this is about getting feedback that’s either verbal or written and can be quite subjective. So having a combination of both types of data will give the best picture possible.

There is a free tool, which if anyone hasn’t come across it or heard of it is called Survey Monkey which is very easy to set-up. There’s a  great article on the site which explains statistics and what you need to consider for the results to be valid

As this is the last day of the course, there’s really just one final thing to say, which is to thank the lovely team at WordPress for organising these courses and giving me the opportunity of Blog meeting so many Bloggers. Thanks also to everyone for the Likes, follows and the feedback I got to help me improve the Blog.

I’ve exchanged my details in the Commons and hope to keep in touch to find out how everyone in the Class of July ’15’s Blogging 201 will progress with their Blogs 🙂

Blogging 201, Day 9

Blogging 201, Day 9


Today’s task on the Blogging 201 course is to find a blogging buddy and If appropriate, plan to publish guest posts on one another’s blogs. The other suggestion if there are no buddies out there is to lean on them for feedback and support.

So here’s the thing, over the last week or so, I have met so many bloggers as part of this course, that I would consider everyone that has liked, followed or given me encouragement as a buddy in some way, whether it was the feedback on the site navigation changes that I made on Day 5 or the feedback about the blog’s design and the way I write.

Not one to pass up on the opportunity to find a blogging buddy, I came across Chow Kim Wan’s site from the Commons which mentioned about posts on music. Well, looking at the site, it’s so original, a mathematician who also enjoys music.

Could this be serendipity?  or just a wild coincidence. My husband is by all accounts something of a numbers person, having graduated with a science and engieering degree and worked in the Aeronautical industry and though we are so different in our tastes and preferences, we make  an unlikely combination that somehow just works.

So I thought about what I could write that would compliment both our blogs, perhaps it will be about an event from my days at school.

An event that I think is best put behind me, and yet was something I consider one of those transformational moments which can be called character forming.   It was both terrifying and exhilirating, but at the time I just wanted to get it over with.

I’ll be thinking about how best to approach this so that it can be published on a Wednesday to coincide with the Chow Kim Wan’s blog post publishing calendar.

Returning to the buddies and the bloggers that I’ve blog met over this course; I went blog surfing agin tonight, reading through my reader, comments and took a visit to the Commons.

Ravishing Roses has an excellent post on the Make your own Face Mask which she received as a gift – looks amazing to try and to create a home made facemask. Wait a minute, I have some Rosewater, which I can use – hmmm and some lavender honey as well.

The Planted Vegan has a new receipe for a wrap which will make a very tasty lunch this weekend (Our dishwasher broke today) so the fact that the receipe is for a wrap, means there’s little washing up, means I like this post very much.

Lela at inthenewhouse dropped me a lovely comment about visiting her Inspirational Thursday party, which reminds me, I will need to contribute to the Link Party tonight.

Saw the post on the new Erktop couch that Creative Gem has, which has got me thinking that perhaps I should save up for one too. Except it will have to come after the Dishwasher now that it’s broken.

Girl Independent has made so many improvements to her site, I especially like the way she has included text over the images, but in a way that doesn’t detract from the visual power of her photography.

I’ve been reading through  Cyn Franks blog Franklywrite which if you are ever stuck and think you have writer’s block is the post to read to get you back in the saddle again so to speak.

Finally, LeZoeMusings whose blog popped up as on my recommended blogs in the reader is so visually stunning. I think her blog raises the bar for beautiful, stylish and paired back simplicity. It has both style and subtance. Just in awe of her blog

There’s been so many other bloggers who have inspired new ideas and a fresh perspective over the course of the last 9 days, so another task that I’ll have to work on is to create a blog roll and post it on my site.

Thanks for viewing this post. Looking forward to the final day of Blogging 201.

Blogging 201, Day 8

Blogging 201, Day 8, Make your blog a hub

Yesterday’s task was to create a page or section on your blog to display links to your online presence elsewhere. And to make sure your other presences reflect the brand style and tone of the blog.

I must admit I’ve fallen behind on this task and it is on my to do list.

Since starting this course, I have learnt so much in the process, for instance with the Google+ account, that I have, this is already indexing for Blogging 201. However, after speaking to a few colleagues, this new tool came up in conversation:

http://snippetoptimizer.net

A free tool that will help you see what Google will return as a search result of the page that you have written. So combining this with the Google search trends for keywords will help identify ideas for future posts.

For Google+ I will be looking for a way to include a snippet in the search description so that it features the web address for the blog, rather than just display the Google+ post.

The other information I found about how to turn a blog into a hub, is about how search friendly having a Tumblr account is for generating awareness. Just click the link to read the article.

I hope this post was useful. Do let me know if you’ve completed the task set for day 8.

Blogging 201, Day 7

Blogging 201 day 7 make the most of events

Yesterday’s assignment: create a recurring blogging event on your site, and/or make plans to attend a blogging conference.

I think this task is about making sure you are making the most of networking and spreading awareness about the blog, whether that is attending real events such as the Blogging conferences or virtually through blog hops or Linky parties.

There’s a great post on the SITS Girls website about what Linky Parties are and how to set them up.

For now, I’ve joined a couple of sites on a regular basis to pin one of the posts to their Linky party/event. What’s great about these is that you get the opportunity of visiting other people’s blogs as they arrive/join the Linky Party and often I have found new ideas or projects to try.

The Link Parties I’ve joined are here at A bowl full of Lemons blog which is such a lovely site full of organising tips and projects; and at Lela Burris’ blog Inthenewhouse.com who got in touch with me after seeing my blog on ABOF’s site.

Since then I visit Lela’s blog and saw Project Patrol’s great post on making your own kindle cover out of an old book – Such a great idea to do with my daughter during the summer holidays.

For now, until I feel I’ve “earned my stripes” so to speak, I will look forward to joining some other Linkys or blog hops, and look to see if others would be welcome to me joining, before I venture as far as hosting a link up or blog hop.

Thanks for viewing this post. Do let me know if you are hosting a link up party and think my site would be suitable 🙂

Blogging 201, Day 6

Blogging 201 - day 6, Digging deep into Social MediaDigging Deep into your Social Network.

The recent projects I’ve been developing at work means that I have been looking at the importance of Social Media and Search.

In fact, Social Media has such an influence on Search and getting content indexed and found through Search browsers, that it’s impossible to ignore it’s influence on getting traffic to your site.

The problem though is that I’ve never been very active on Social Platforms, in fact I’d go as far as to say I’ve avoided Facebook and Twitter, simply because I don’t think I have as many interesting or fascinating things to post up in a day.

I think I could be described as a passive observer in Social media, as it always amazes me how there are posts about bungee jumping, crossing off challenges on personal bucket lists, doing the Ice Bucket Challenges and all the other wild and interesting activities that my friends and peers get up to.

I feel a bit of a bore posting up things about what our family get up to – who really cares that we went to the dentist or got our hair cut or took our cats to the vets?

At any rate most of my daylight hours are spent in an office and there are lots of stories of people posting things they will regret later, such as calling their boss something unprintable and then shouting about it in social media, that I think writing anything that you may regret later is best avoided.

Blogging on the other hand is completely different, it’s a space to be creative. To express an idea, write an article about something that’s inspired you and can be drawn from your experiences whether they are in the present, past or the future.

So the prospect of having to connect up the blog to Social Media channels was somewhat daunting.

However knowing how important it is in terms of search, I’ve made a start.

Firstly, the most important step I made was just to set-up the accounts. The social media platforms that have the biggest in terms of audience size and reach and order of prominence are as follows:

1) Facebook

2) Twitter

3) Google+

Whilst Google+  is not as big in terms of audience size, I think G+ is more important than Facebook or Twitter, due to its relationship and direct impact on Search. Once you have a Google+ account, your profile, the content you post in Google+ will be indexed and ranked for search purposes.

Since Google’s Search Engine’s algorithm is based on a number of factors, posts within Google+ get indexed almost immediately, there’s a great article about it here .

I like things simple, so for now I have in WordPress Settings connected my Google+ account to the blog so that when ever I create a post, it will automatically get posted onto G+. At the time of writing, Google+ does not make the post public, so I go into my account about once a week and re-post so they become public.

4) Pinterest – similarly has a relationship and impact on search engines and rankings. This article about the relationship between Pinterest and Search provides a good explanation of the why and how.

I’ve set-up a Pinterest account so that I can pin images from my blog to Pinterest boards that I’ve set-up.  I keep back a few images. Once a week, I check the boards. I also use Pinterest for pinning images that I find interesting or inspires ideas for future posts, so it’s quite useful in that respect.

5) Instagram, 6) Tumblr

There are of course lots more beside, the above I think represent the core ones to focus my efforts.

I still have a long way to go in terms of social media and connecting and creating a community around the blog.

For now, I am focussing on getting the blog discovered through search and using the social platforms as a way to do this.

I hope this post was helpful. Do let me know if you’ve been successful in setting up a Social Media Strategy to help increase awareness for your blog.

Blogging 201, Day 5

Blogging 201 - Day 5

Friday’s task was to integrate a feature to draw traffic to your older content like a widget, related posts, or a “Best of” page.

Adding the feature of including related posts to the blog proved impossible, I have tried a few times, but it would seem that this feature is not possible with the Adelle theme. I’ll see if anything has been written in the forums to see if there is a possible solution to this.

In the meantime the task was a good opportunity to review the site in terms of the overall UX (User Experience). When I started to create the blog, I had in mind some general categories such as beauty, food, home and of course Perfume, but since it would have looked a bit strange to have all the menu items showing with no content, I decided to add the menu items as content grew.

The purpose of defining user experience goes back to some general principles about designing a website, in that you should always have in mind an idea who the website is aimed at and what they would want from it.

In industry terms, a lot has been written about User Centered Design, which is all about making sure that the way the site is designed in terms of its structure, purpose and overall navigation makes it easy for the viewer to find their way around the site and spend time engaging with the content.

Adding features within the navigation, menus and the content itself to encourage the viewer to explore and click-through to additional pages.

I think this was the purpose of Friday’s task, to take a look at the features within WordPress and work out how best to include them in the blog, so that the audience can explore current content as well as older content.

I’ve since made some changes to the menu listing to the right of this blog to see if it will enhance the overall experience for the viewer, for instance, I’ve added the most liked posts as the first item, because it might help the audience to see previous posts that were liked by other bloggers the most.

I’ve added a new post, one which I was going to write earlier in the week, but didn’t get a chance to do this since I got a bit carried away with blog surfing during the week and completing the tasks set in Blogging 201 course. Since this post is about the Rosewater that I purchased a couple of weeks ago now, I have used the opportunity to relate it to the previous post on Rosewater as part of Day 5’s tasks.

The weekend has been busy with a visit to Carshalton’s historic lavender field to pick some lovely fresh lavender with my kids. The fragrance has filled our home with the most beautiful scent, reminiscent of, well a field of lavender in the gentle breeze. Best of all, the haul of lavender will be keeping us busy making all sorts of home-made things, wreathes, beauty treatments, candles, body scrubs, hmmmm which reminds me, I’ve planned a regular feature on Sunday night is spa night, I think I’ve got just the ingredient for tonight to try 🙂

Do let me know if this post was useful, I’d love to hear if you’re blogging whether you’ve made any changes to the features on your site.

Home made Rosewater, Witch Hazel & Glycerine Cleanser vs Micellar Water

Rosewater & Glycerine Cleaner vs Micellar Water

I ran out of my favourite brand of Rosewater recently and since Edgware Road is no longer on my way home, I did not want to go out of my just to get a bottle of Rosewater.

I found the Cortas brand of Rosewater in a local store selling Middle Eastern, Continental and English food, on my way home,  you might have read about this in an earlier Post about a bowlful of Cherries, I also purchased a lovely bottle of Orange Blossom Water along with the cherries at the same time.

The bottle, although not as pretty as my previous brand, said Cortas was established in 1930. It wasn’t very expensive, so I thought I would try it out.

After some research, I found out that there are several types of Rosewater, the ones that include other ingredients and use Rose Oil, are used for skincare only and may often include artificial scent and preservatives.

The Cortas Rosewater lable had little information about what it was made of or how it was made but after a bit of digging, I found out that it is all natrual, and food grade, it is made from distilled Rose Petals with no additives. It has a lovely sweet Rose Scent, a little tangy compared to my last bottle of Rosewater. It comes from the Lebanon and is a very popular brand stocked by many Middle Eastern stores.

Since I am running low on Micellar water, it occurred to me that the home made Rosewater and Glycerine toner, I’ve been using was pretty good at removing make-up on the occasions I had managed to leave some on my skin after washing my face with a liquid facial soap.

Before getting some more Micellar water make up remover (I use it when I’m in a rush or need a quick freshen up) I thought I’d try making up a batch of a cleanser using Rosewater, Glycerine and Witch Hazel.

Micellar Water is made up of special molecules within the liquid that act like tiny sponges, absorbing any dirt or make-up, grabbing it off the skin and depositing it on the cotton wool pad that the water has been soaked in. There are many brands, some that promise not just the benefits of cleansing, but lots of other claims besides.

I thought that the properties of Glycerine were pretty similar, it’s a humectant, attracting and retaining moisture, it been used widely as an ingredient for skin cleansers. So after a few mixes and experiments, I got to what I thought was the right consistency for the cleanser (too much glycerin and it became too sticky and made my skin feel shiny, too little and it did not clean as well as the Micellar Water).

Glycerin, Rosewater, Witch HazelThe final mixture that is almost like the Micellar Water, a gentle liquid, great at cleansing the skin and leaving no sticky residue. It consisted of the following combination:

5 parts Rosewater

2 parts Witch Hazel

1 part GlycerineRosewater, Witchazel and Glycerine cleanser vs Commercial Micellar Water

The ingredients were simply put into a bottle and shaken to mix thoroughly.

To see if it would work as well the Micellar Water, my experiment involved a comparison test. I used the Rosewater cleanser to cleanse my face on one side, the other side with the Micellar Water.

I’ve been using the home-made cleanser for 2 weeks and my skin feels softer. Since both Rosewater and Witch Hazel have natural astringent properties, I’ve noticed that not only does my skin feel softer, my pores are much smaller too.

The fragrance and liquid are instantly refreshing. I like the fact that I’ve made it, I much prefer to know what ingredients I’m using and in what quantities. As there’s no preservatives, the ingredients are all natural with zero commercial chemicals or preservatives. It also means it’s more likely to be better for my skin.

I think this home-made version works just as well as the commercially made Micellar Water, best of all it smells heavenly, like taking a walk through a Rose Garden, hmmm,  I’m off to go and clean my face.