Sunday Spa Feature – Rosehip, Argan, Jojoba, Sweet Almond facial oil

Facial Oil Serum with Rosehip, Argan, Jojoba and Sweet Almond OilThis is such a great facial oil for anyone of any age and would make a great Christmas gift if you are looking to find a gift that’s easy to make.

Rosehip Oil has been in the beauty news having been cited as the wonder oil used by celebrities such as Miranda Kerr. It is a natural source of Vitamin E which you’ll find in many skin care creams, used for it’s antioxidant properties to calm, hydrate dry and sensitive skin.

The oil is also rich in fatty acids such as linoleic acid (or omega 6) as well as linolenic acid (or omega 3). High in Vitamin C, it will help to speed up the healing process for skin damaged by burns, scars or age spots as well as hydrate and add moisture.

I’ve chosen this as it’s the dry oil, it does not leave any feeling of grease and absorbs very quickly into the skin.

With the properties that feel more like a serum than an oil, when I found it online, it gave me an idea for creating a nighttime facial oil that would help rejuvenate and revitalise skin.

With this oil, I have combined it with 3 other oils:

Jojoba oil, which also non-greasy and has a similar consistency to sebum. A liquid wax, found in the seeds/nuts of jojoba plant, it has anti-microbial properties and contains iodine which prevents bacteria from forming and is, therefore, good for skin that is prone to blemishes

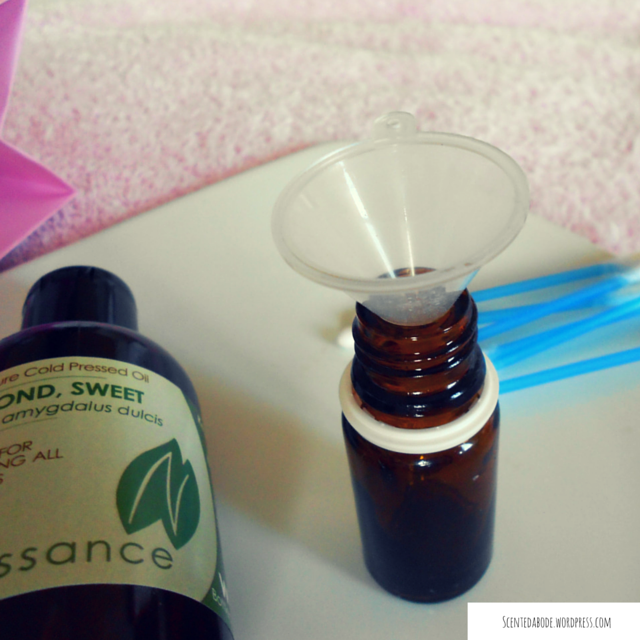
Sweet Almond oil, not only does this oil contain plenty of vitamin E, it has lots of minerals such as Calcium, potassium, magnesium as well as vitamin D. Good for dark circles under the eyes, blemishes, fine lines, wrinkles and helps to firm skin.

Argan Oil, high in fatty acids it helps to restore skin’s elasticity and leaves skin feeling plumper and softer.

To give this luxury facial oil some fragrance, I have combined this with three essential oils, which also have skin rejuvenating properties.

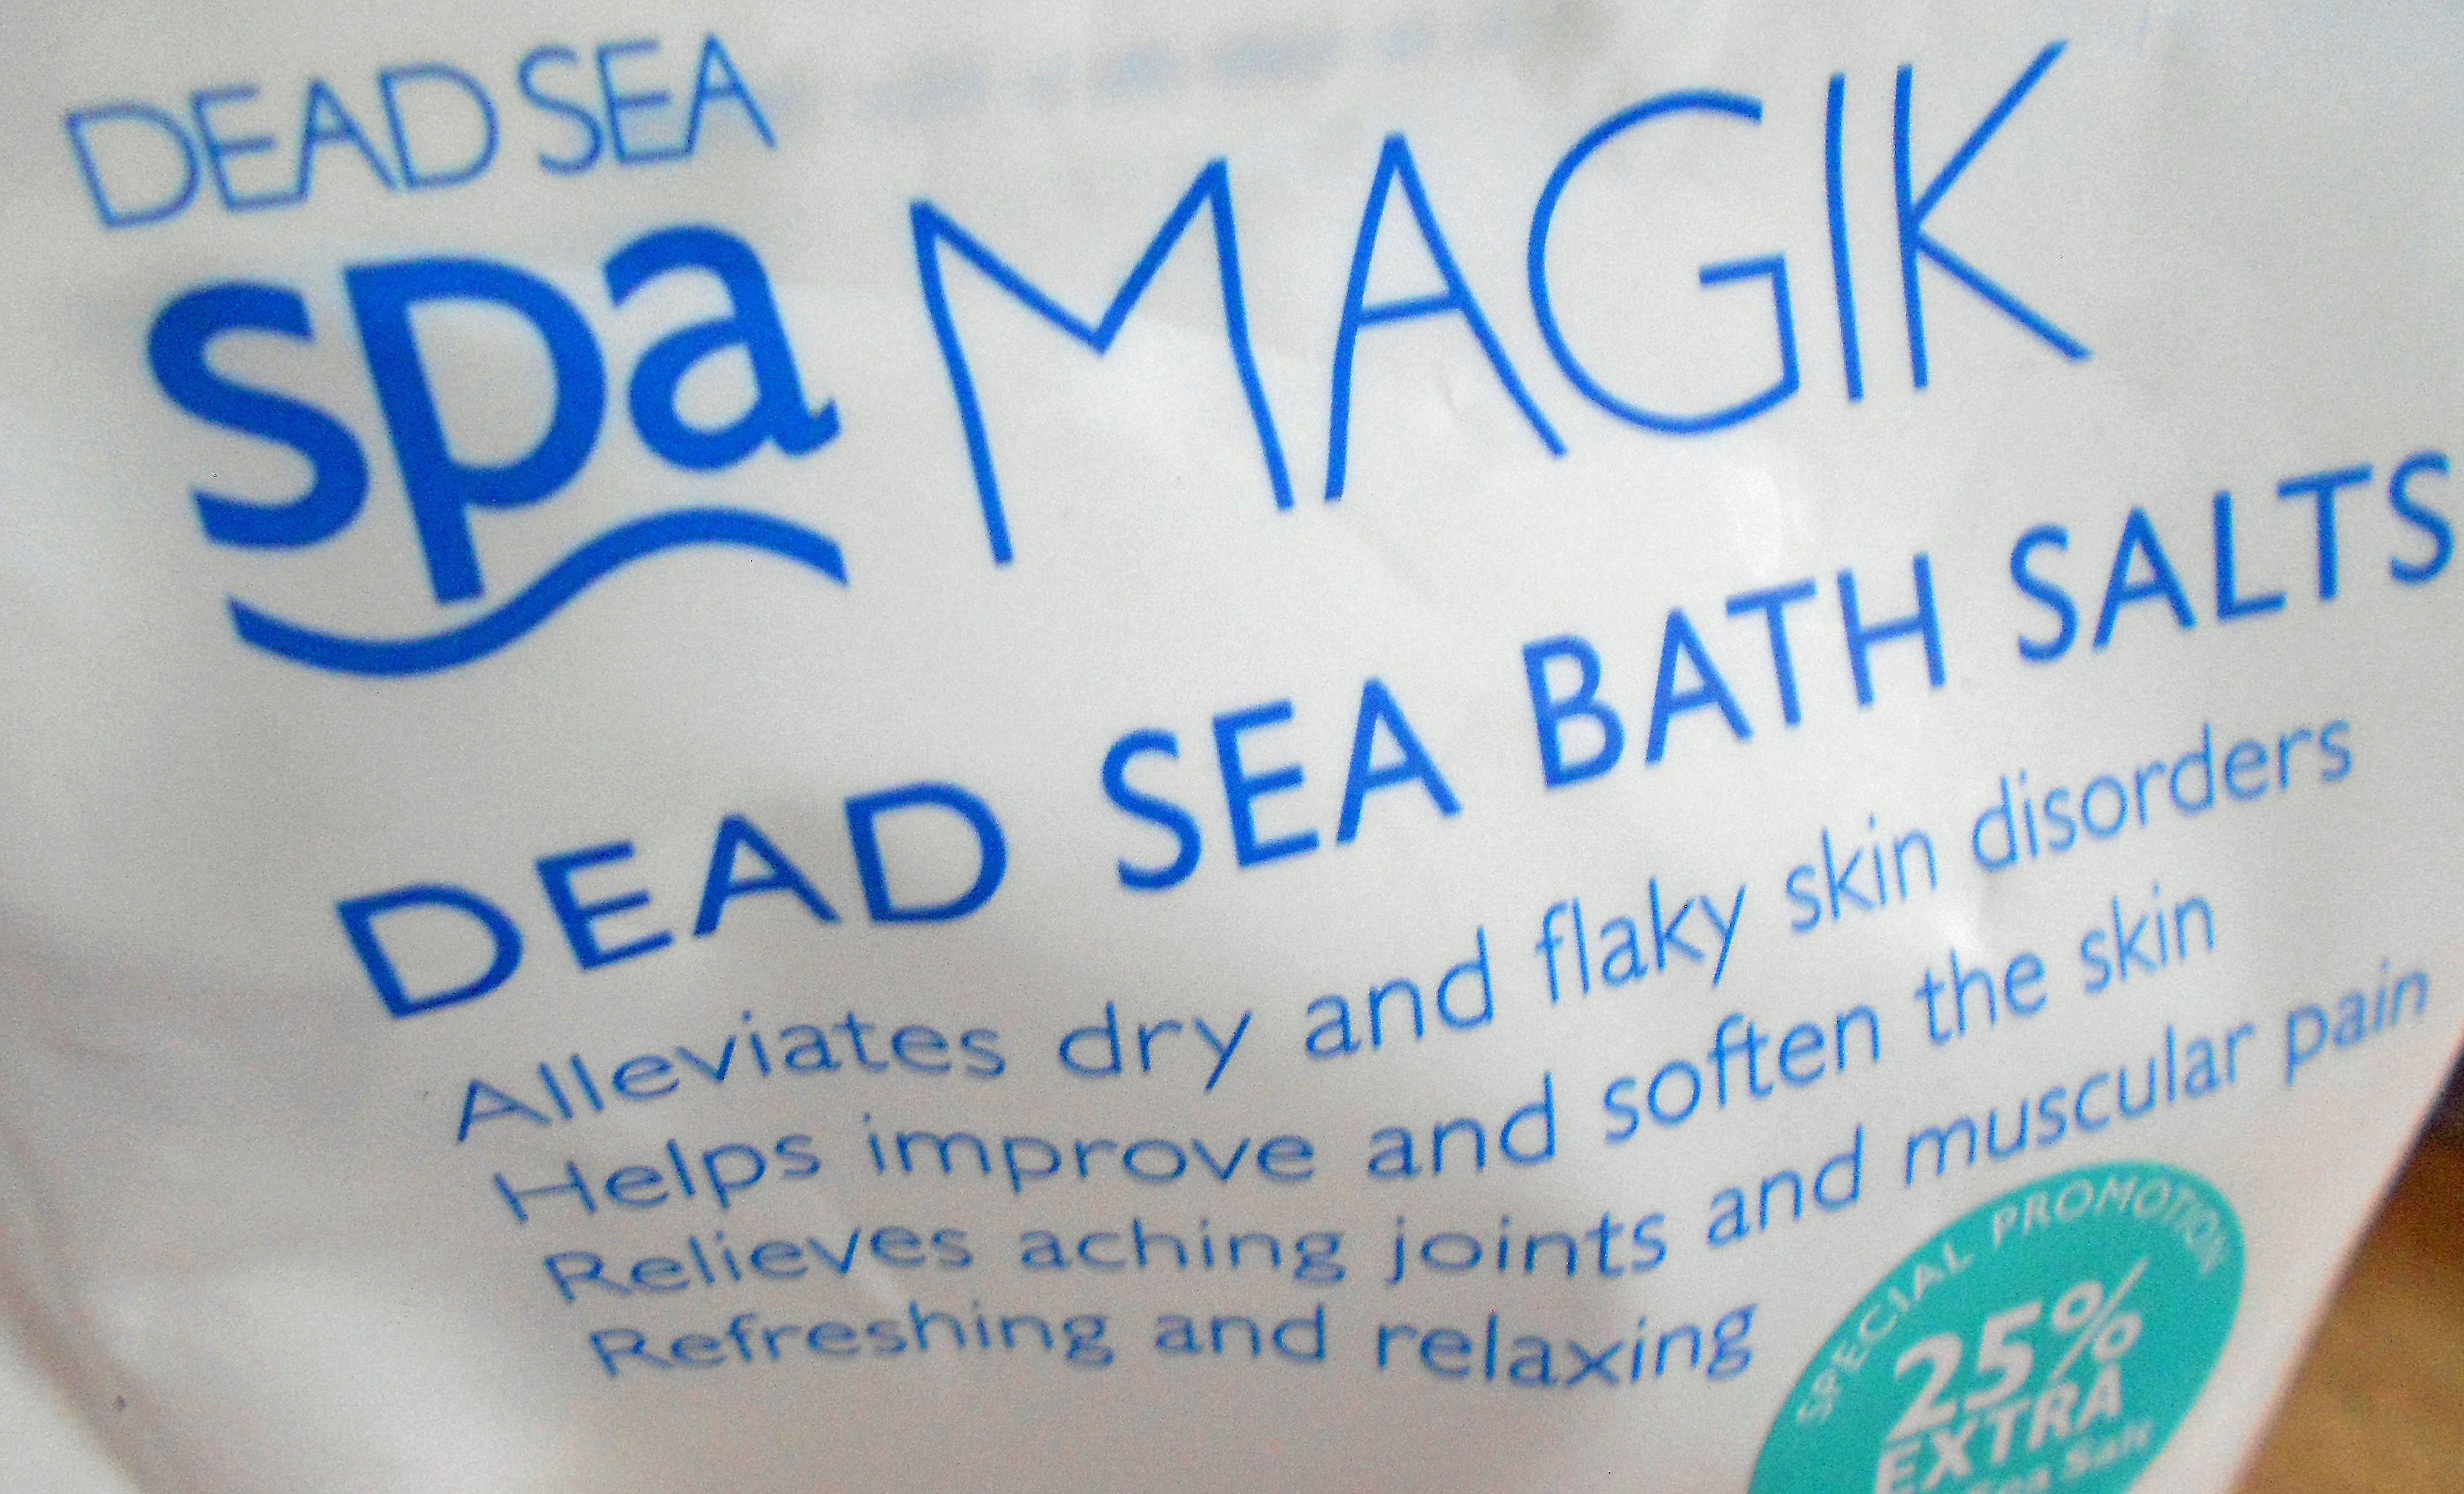
Ylang Ylang  Essential Oil- I’ve written about this oil in a lovely home made bath-soak. It has an uplifting effect and can give you feelings of joy and hope. It has a rich floral fragrance which should be used sparingly particularly for skincare purposes.  As it helps to control oil production, minimises breakouts and helps regenerate skin cells, I’ve included this in the facial oil

Jasmine Officinale – is my favourite scent, reminds me of my early childhood, it is used in so many ways, I love its scent in green tea as well as in perfumes such as the Jo Malone’s Jasmine and Mint cologne spray. It tones dry, greasy, irritated skin and helps to fade scars and restore elasticity to the skin.

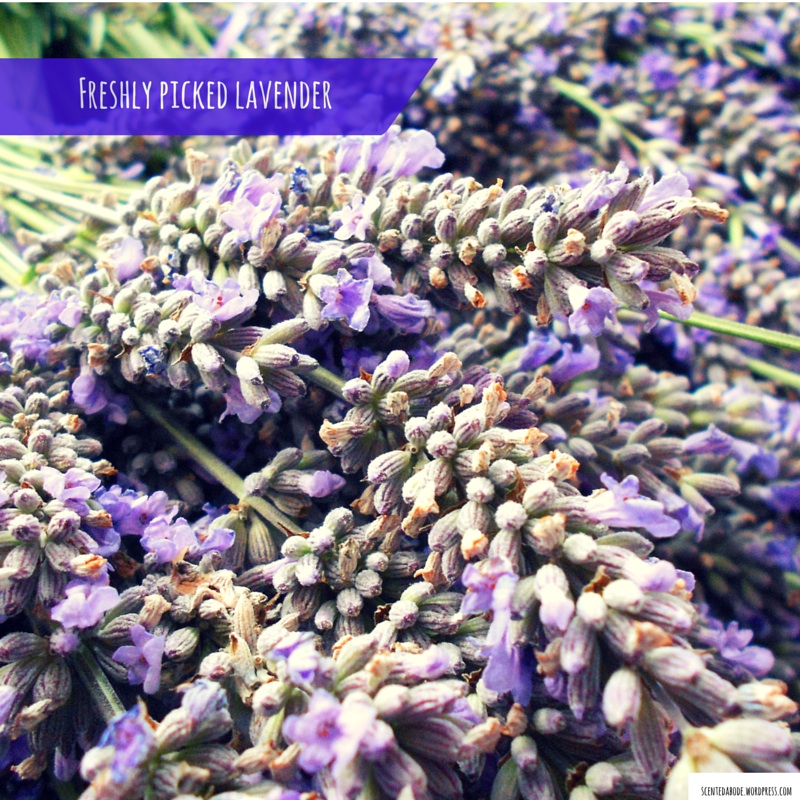
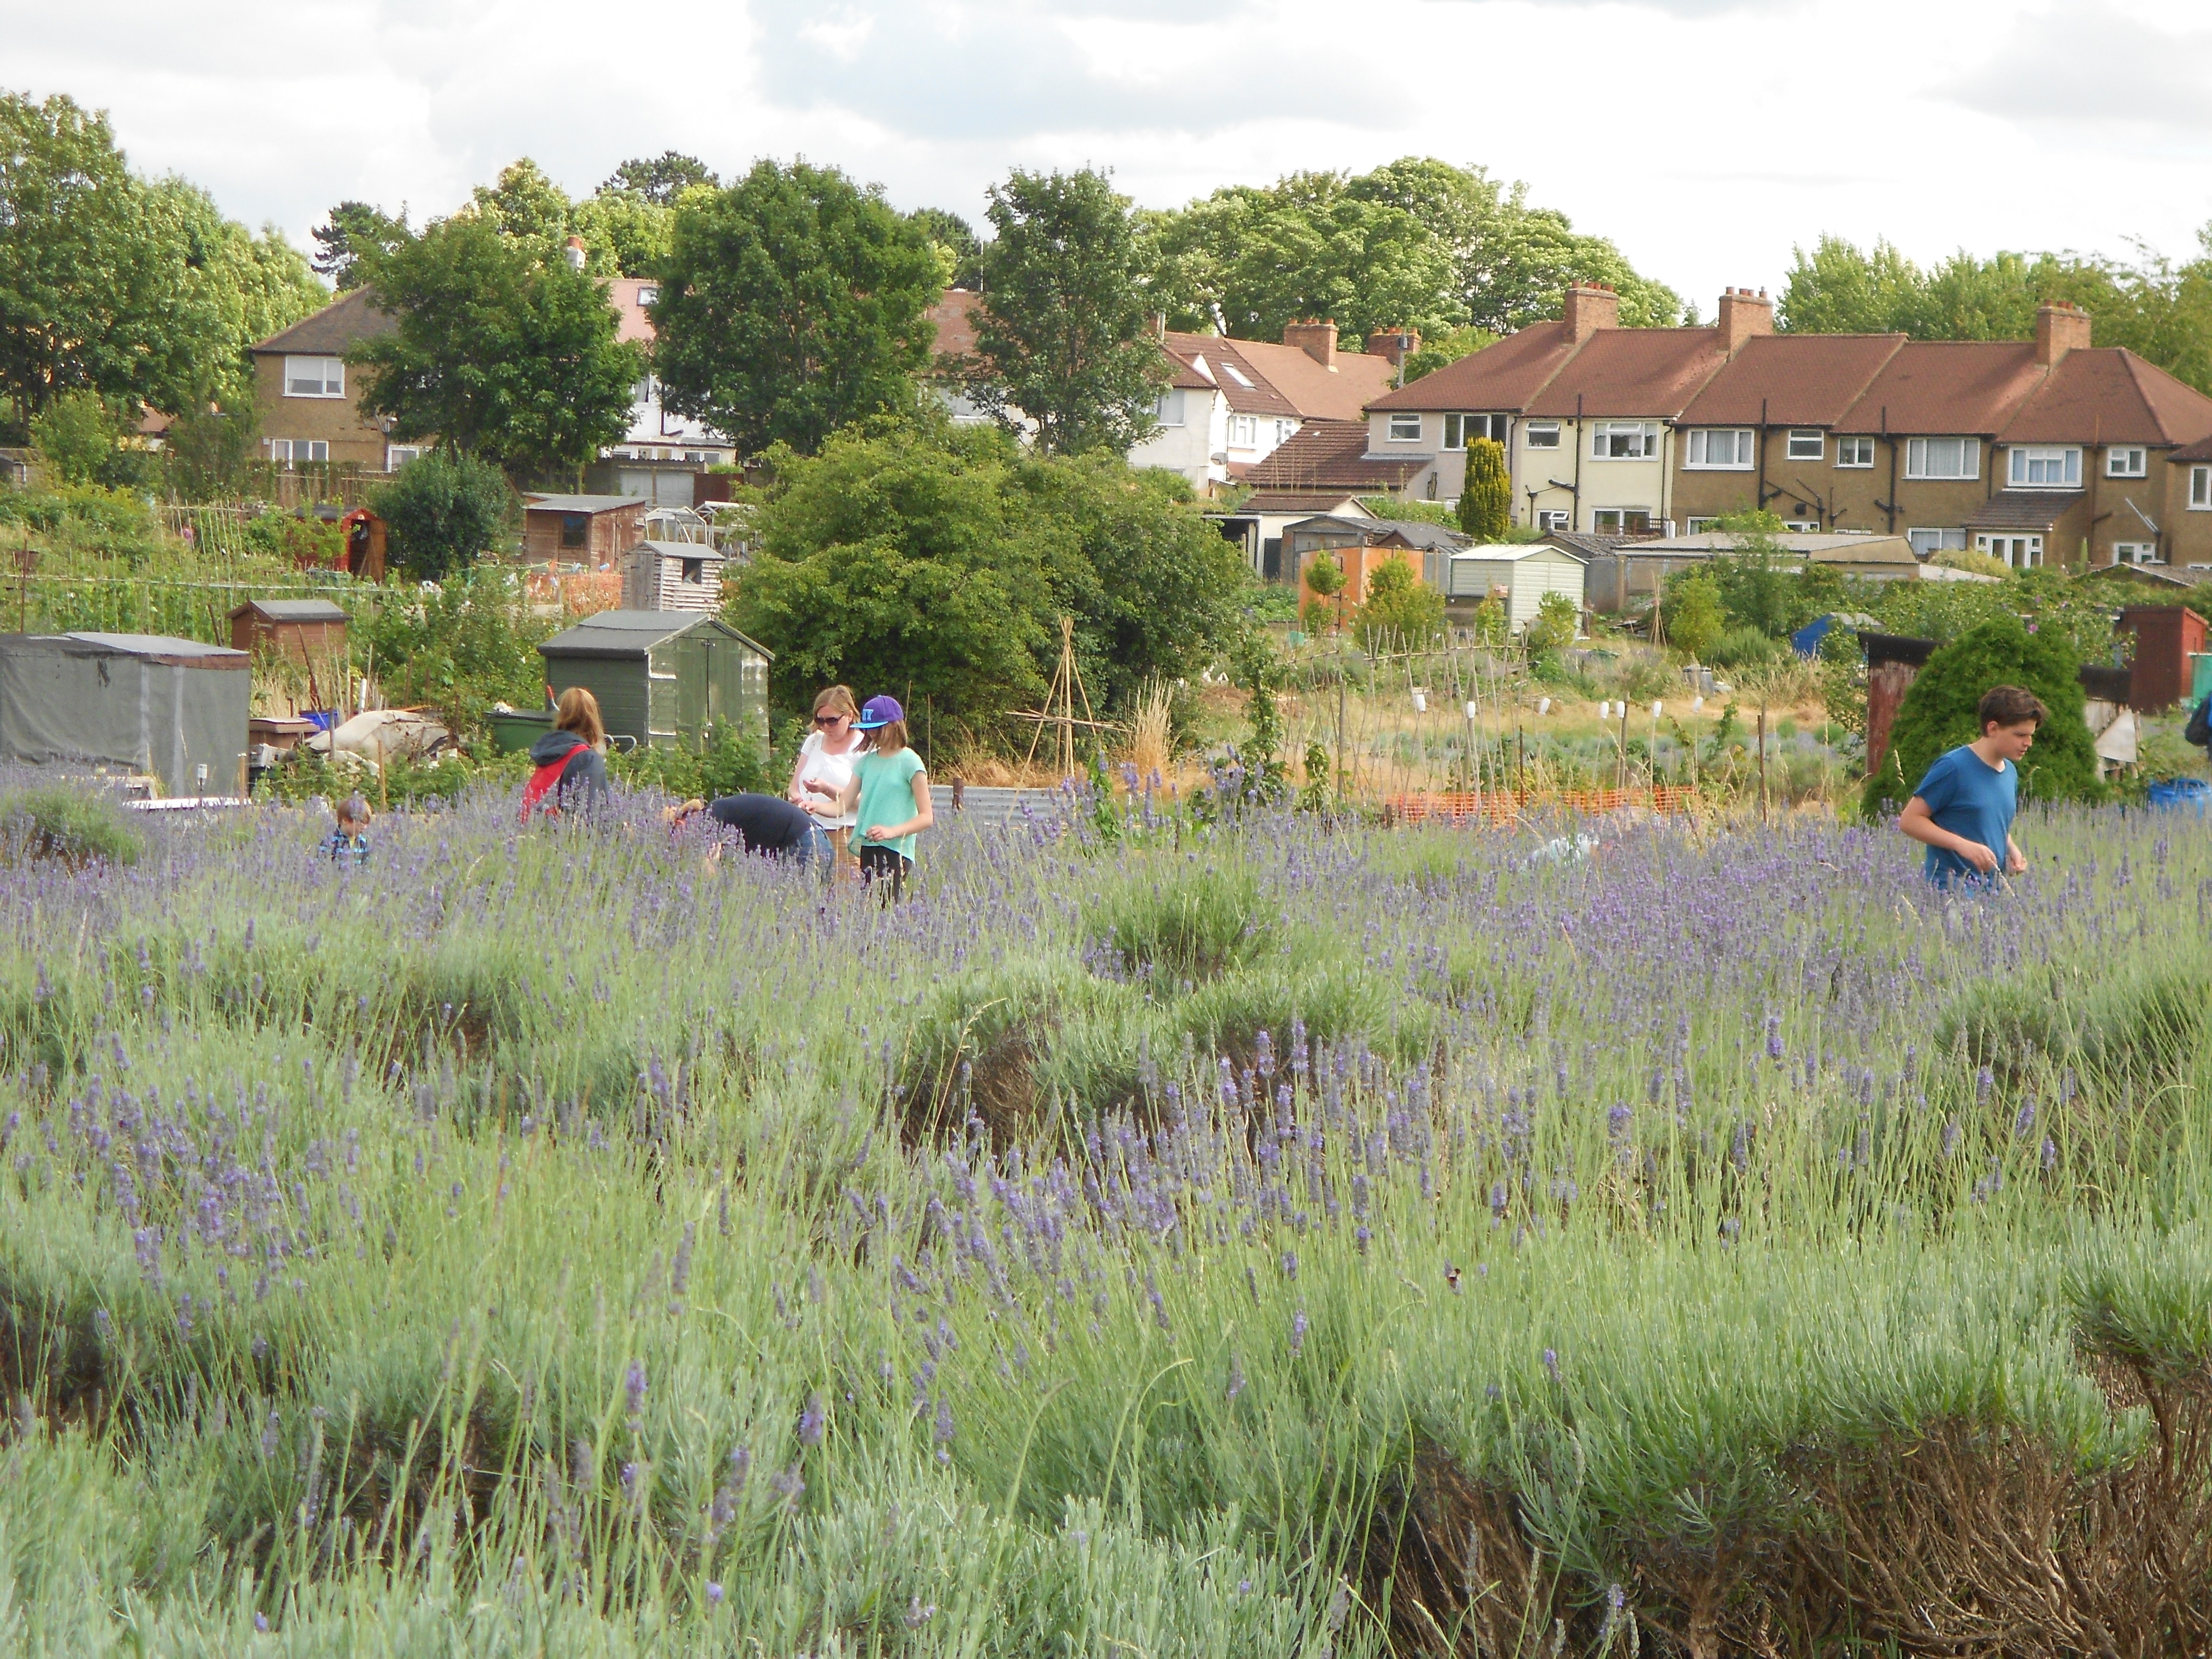
Lavender Essential Oil – there are so many uses for lavender, that it is one of the oils which I take everywhere and use it in so many ways. In a bath soak, foot scrub it’s lovely scent is relaxing and calming. It is also a good antiseptic so I like to use it as a room and linen spray. It helps to reduce age spots, fine lines and wrinkles by boosting the flow and supply of oxygen and nutrients, helping to boost the skin’s renewal process.

To make this facial oil, which I’ve called the Fourtifying Facial Oil, just mix the following together:

15ml of Sweet Almond Oil

15ml of Argan Oil

15 ml of Rosehip Oil

15 ml of Jojoba Oil

1-2 drops of Ylang Ylang essential oil along with 1-2 drops Jasmine and 1-2 drops of Lavender.

Shake the bottle thoroughly to combine. I’ve used a blue glass bottle with a dropper to make the experience the same as if the facial oil is one of those high-end beauty serums. You can of course just use a bottle with a stopper or small opening.

To use, only 1-2 drops of the facial oil is needed, add the oil to the tips of your fingers and smooth over your skin, underneath your usual night cream.

That’s all there is to it, now I’m looking forward to bed-time and waking up to soft glowing skin!


Sunday Spa feature – Indulgent Hand Mask

Orange Blossom Water

Since all the gardening and washing up have taken their toll on my hands, this is the perfect indulgent treatment to bring some much-needed moisture back to them.

This indulgent hand mask is so simple and quick to make.

As I have some Rolled Oats in the cupboard, this made the base for the moisturising hand mask.

I have simply added a tablespoon of lavender flowers to 3 tablespoons of the rolled oats and blended them together with the electric hand whisk to produce a fine powdery mix.

Rolled Oats & dried lavender flowers

Rolled Oats & dried lavender flowers

If you don’t have an electric hand whisk, then grinding the oats and lavender flowers together using a Pestle and Mortar will also release the lovely lavender scent and infuse it with the oats.

Oats are known to help sooth and heal the skin, reducing inflammation and soften skin. They have been clinically shown to help heal dry itchy skin.  Together with the calming scent of lavender along with its healing properties, the blend can be stored as a dry mix to use whenever you need it.

To create the hand mask, I have added to the mix some Orange Blossom Honey, together with some Orange Blossom Water. The mix should be fairly thick so that it spreads over your hands and forms the mask to cover your hands completely.

As I wanted to make this a luxurious spa experience, to begin the treatment, I splashed some Orange Blossom Water into a bowl of chilled water to wash my hands.

With the mixture ready, this was applied over my hands.

Orange Blossom Honey and Orange Blossom WaterLeaving the mask on my hands for 10-15 minutes, I sat in a bath soak whilst waiting for the mask to do their magic.

As I rinsed the mask away, I rubbed the mixture so that it gently exfoliated the skin on my hands at the same time, leaving them feeling wonderfully soft and silky.

I have not used any hand lotion, just patted my hands dry on a soft towel. My hands have been left silky smooth, with the orange blossoms and lavender making them smell fragrant, refreshed and well, revived.

Hmmm heaven.

Home Made Cuticle Oil

Sweet Almond Oil for home made Cuticle Oil

This week, I took the opportunity of doing some gardening with my kids and planted some lovely herbs. The combination of this and the broken dishwasher has meant my hands have taken a battering.

Since I have all the ingredients to make a home-made Cuticle Oil, I thought I would share this with readers of this blog.

Lavender and Lemon Essential OilIt’s so simple that it really requires very little effort and saves a great deal since I no longer purchase commercial cuticle creams or oils to condition my nails.

If you have some Sweet Almond Oil* or Olive Oil, these can be used as the base, both are perfect oils for conditioning and softening nails. Other oils to try are Coconut, Grape Seed, Jojoba oils.

The oils will nourish, add moisture and soften the cuticles.

I’ve used an empty essential oil bottle which I’ve washed out – but really you don’t need to do this if you are pressed for time as the one I’m using contained Tea Tree Oil,  any residue in the bottle will simply mix with the carrier oil.

Into this 10ml bottle, I have added just one drop of Lavender Essential Oil, along with Lemon Essential Oil. Sweet Almond Oil for making Cuticle Oil

Both the essential oils have been chosen for their cleansing, rejuvenating and healing properties. (Lemon is also antibacterial, used along with Tea Tree Oil, will combat against the threat of any infections.)

Mixed thoroughly, I have then applied this mixture using a cotton wool bud all over my nails covering the cuticles as well.

Left on overnight, my nails and cuticles feel stronger and the rough cuticles have been smoothed out. I didn’t even need to use a cuticle stick to push them back which I normally resort to.

Simple!


*If you would like to order the Sweet Almond Oil in the UK, the link will take you through to the product page on Amazon.

*If you would like to order the Sweet Almond Oil in  the US, the link will take you through to the product page on Amazon.

*These are affiliate links, which if you order through, a small commission is earned. Thanks in advance for using the links – any money earned will go towards maintaining the blog.

Sunday Spa feature – Home Made Lavender, Ylang Ylang Bath soak

Dead Sea Salt and Lavender flowers

This is the first feature of many I hope to write about the lovely ingredients to try out to create a home spa experience.

As these lovely buds from the drying lavender looked so pretty, I have simply added them to the Dead Sea bath salts* that I have been using as a foot scrub/soak in one. If you are interested in making this you can find the post here.Dea Sea bath salts

For the bath soak, I have used the lovely flowers which were collected from the fresh lavender we picked last weekend, they have been slowly falling off the lavender stems as the bunches of lavender begin to dry out.

With a pestle and mortar, the lovely buds were mixed into the Dead Sea Salt granules. If you don’t have dead sea salt to hand, a coarse salt will also make a wonderful bath soak as it will soften the water.

I don’t usually make up more than a cupful at a time as the Dead Sea Salt* is a wonderful ingredient in that it attracts and retains moisture, so will turn to liquid if left exposed to the air.

To make this mix luxuriously moisturising, I have added some organic sweet almond oil, together with a few drops of the Carshalton Lavender Essential Oil to intensify the aroma.

There is no need to measure out the ingredients exactly. I’ve used a rice bowl to scoop out the Dead Sea Salt and added a handful of Lavender flowers, along with about a tablespoon of Sweet Almond Oil.

The only thing to be careful about is the amount of essential oils to add to the mix, for bathing, about 20-30 drops in a cup full of bath salts with the oil. will provide a sumptuous aroma that will fill the bathroom with scent. (As a precaution, it is always best to carry out a patch test if you have never tried any essential oils before – you can find out more about this in this article from Aromaweb.

I find that different scents evoke different memories or sensations, for relaxing, rejuvenating or calming, you can vary the essential oils based on your preference and the mood you want to create.

Ylang Ylang and Lemon essential oilsAs I wanted to recreate a lovely rejuvenating and relaxing experience, I have also added to the lavender mix a scent which always reminds me of the beautiful spa in Mauritius where we spent two idyllic weeks on our honeymoon.

Just a few drops of Ylang Ylang essential oil has conjured up the soft golden sands and the sound of gentle lapping waves of the Indian Ocean.

We discovered the Ylang Ylang plantation on Mauritius which we visited while we were there.

This beautiful scent comes from the Ylang Ylang tree, once the flowers from the tree have been harvested, the oil is distilled by forcing steam through the flowers to create the essential oil.

It was widely used by aromatherapists and while we were on the island, the aromatherapist explained that it is used as a spa treatment because of its many therapeutic benefits. Mostly, I think on the idyllic island setting it was chosen by the aromatherapist as it enhances the feelings of hope and joy. (It’s a bit of a cliché, to go on honeymoon in Mauritius, I know, but as it was a once in a lifetime experience, we took advantage of all the island had to offer).

I have also added some lemon essential oil which I find has a lovely refreshing scent of lemon groves which is perfect for this indulgent experience.

Once the mixture has been combined, a small handful of the bath salts were sprinkled into the warm water of the bath. As the mix can also be used as an exfoliation scrub, it can be applied over the skin and massaged gently for glowing skin.

I loved seeing the little lavender blooms bob around in the water, it was so lovely to waft in the scent of lavender and ylang ylang this morning.

Hmmm lovely.

*If you would like to order the in the UK, the Dead Sea Bath Salts link will take you through to the product page on Amazon.

*If you would like to order the  in  the US, Dead Sea Bath Salt the the link will take you through to the product page on Amazon.

*These are affliate links, which if you order through, a small commission is earned. Thanks in advance for using the links – any money earned will go towards maintaining the blog.

Lavender picking afternoon in Carshalton

Freshly picked lavender from Carshalton

The weather forecast for last weekend was not good, both Siri and Google predicted a cloudy day with sunshine and rain. Not great for walking around in a field full of Lavender then.

However as Saturday morning arrived and I peeked out through the blinds, the sun was shining.

We decided to go because I’d always wanted to and this was the only weekend the event is held each year.

In the usual mum mode, I tried to persuade everyone to come along, but my eldest wasn’t going to be budged from her laptop. Only me then and my youngest. I made her wear a raincoat, plus a hat in case of both sun and rain. We must have been pretty funny to look at.

My husband drove us to Carshalton, it’s not really very far from our house, but it would have taken us a long walk.  With plenty of lavender we wanted to pick, I thought it best to save our energy for when we got there.

The field itself is tucked away in a quiet residential corner of Carshalton Village, less than 20 miles from Central London.

Field of lavender in Carshalton

Field of lavender in Carshalton

It is one of the few remaining sites where Lavender and other herbs was grown as part of a once a thriving industry for the Surrey towns and villages of Mitcham, Sutton and Carshalton.

I had read about the Lavender Picking in Carshalton at our local library some years ago and had always wanted to go, yet somehow, as each year passed, the opportunity also passed. It was either too wet or we had already planned something else.

It is run by local volunteers as a charity, keen to keep the lavender field and it’s history alive.

As we approached, there was no need for the directions or signs, a small steady stream of families, with buggies, young toddlers, teenagers, adults made their way to the field. Plenty were leaving too with huge bushels of Lavender in their arms or tucked into their shopping bags.

The sight of the people with their bags and armfuls of lavender got my youngest daughter so excited that she walked on ahead to investigate. If you’d like to see the post my daugther has written, please visit here it made made me laugh just reading it.

A small line of people were in front of us and we queued patiently to collect our bucket and scisssors.

Bucket of freshly picked lavender

Bucket of freshly picked lavender

Cutting the Lavender was the best, in the field were different varieties of lavender, some had shorter stems of blue grey colour with round soft flowering heads, whilst other lavender plants were tall and proudly waved their stems of deeper coloured lavender flowers in the summer breeze.

The fragrance was all around and we were enthralled as people mixed with butterflies and bees, collecting pollen and harvesting the lavender together.

No one seemed bothered by the bees as they buzzed around us collecting their harvest, as there seemed to be plenty for everyone.

The event would not be complete without a craft fair display. Locally produced goods was available, including ready to purchase cut bundles of Lavender alongside bottles of Lavender Essential oil which had been distilled from the lavender grown in the field.

If I could describe a perfect afternoon then this would be it. Our haul of lavender consisted of 2 large bales of lavender (I have no idea what I’m going to do with it all, but I expect none of it will go to waste), a little tiny bottle of the essential oil, apparently it takes about 3/4 of a ton of fresh lavender to produce about 11-12 pounds of oil. So very precious indeed.

Bees in lavender field

Bees in Lavender field

There was a demonstration with the distillery which had been made locally from recycled materials, so we got to learn about the process of distilling the lavender oil.

It’s made in a giant steel container. The process is a bit like one of those Morrocan Hookhas where the bottom of the container holds boiling water to steam the leaves or lavender in this case. As the steam rises, it passes through the freshly picked lavender and the oil from the steam is collected in a special reservoir and the water collected below. This water is the floral water that perfumers and the beauty industry call “hydrolat”.

As well as the oil, I purchased a small pot of Lavender to grow in our garden called Lavender Grosso.

After speaking with the gardener, I asked him which variety would be best for someone who isn’t very green fingered and wants to see the plant grow quick (I have no patience). Apparently Lavender Grosso grows to a meter high and is very fast growing and likes to be in sunshine, when planted in soil, it doesn’t need very much water (in a pot it will need watering frequently). It seemed the ideal plant suited to my temperament.

Lastly, my hubby spotted a small display of pots full of honey and jams, and we couldn’t resist purchasing a small pot of lavender honey.

And the rain stayed away until Sunday. perfect!

Hand made Calamine & Coconut After Sun lotion to the rescue

Home Made After Sun Lotion

Home Made After Sun Lotion

It is nearly the end of term and with it the annual tradition of the School sports day. This year, my eldest had opted out of taking part. (Apparently it’s optional at her school) Instead she watched the event with some of her friends.

When I returned home that evening, both she and my husband were glowing bright red from where they had been sitting in the sun.

When they were much younger, I would run around after both of my kids with a bottle of sun-lotion, smearing them from head to foot to keep their delicate skins protected from the sun.

Unfortunately, I was at work when they caught the sun.

In previous years, my go to remedy for sun stressed skin is Calamine lotion or cream from the pharmacy. The pink liquid is by far the fastest way of cooling down hot skin. It is also good for sensitive skins, the zinc in the lotion reduces any rash faster than anything else I’ve tried.

My daughter now considers herself to be way too cool to be using a lotion that she thinks is for kiddies. She turned her nose up at it declaring “it stinks”. I must admit it’s got quite a chalky medical aroma to it.

This is an argument that I’m unlikely to win.

I have therefore created a lotion that still has the cooling properties of the calamine, but, with all natural healing properties that will look and smell great.

So here’s how I made it:

6 Tablespoons of Calamine lotion (the type you get from the Pharmacy)

4 Tablespoons of Cold Pressed Organic Coconut Oil

2 Tablespoons of Sweet Almond Oil

1 teaspoon of Stearic Acid (orderd online from natural Heath & Beauty store)

Home Made After Sun Lotion

Ingredients for Home Made After Sun Lotion

For the scent, I added the following essential oils: 7 Drops of Lavender essential oil (Great healing and skin soothing properties) 5 drops of Lemon essential oil (good antiviral and antiseptic properties and a refreshing scent), 1 drop of Citronella (just one drop, as it can overpower everything else, it’s a good bug repellent during the summer months).

As this was the first time I made this lotion, I tried out a very small amount first to see if it would work.

The Calamine lotion is water based, mixing it with the oils would need something to bind them together to stop them from separating.

I used Stearic Acid as this is a natural ingredient and works to act as an emulsifier, I simply added this to the mix in quarter teaspoon amounts.

This meant it was easier to whisk into a creamy consistency, switching to Sweet Almond Oil once I’d gotten to the bottom of the jar of Coconut oil.

I continued to alternate between the Calamine and the oils, adding the stearic acid whenever I felt the mix started to look too thin. I kept going until It was the consistency of a soft cake batter, in a pretty pink colour.

Essential oils were added at the end,  which was whisked into the mix.

As there are no chemical preservatives, I’ve kept the quantity small, enough to last a couple of weeks for the whole family to use.

The mix was poured into an empty clean recycled bottle that used to contain a hand wash. I designed and added a lable and some clear vinyl to make the label waterproof.

I think the finished result wouldn’t look out of place in a beauty store. My husband was first to try the lotion, no adverse reaction from my Hub, no adverse reaction from me or from my kids.

The texture and smell is a lot better than the original lotion.

Do let me know if you’ve made your own  sun lotion, or can recommend one to try.

Lavender, lemon and Rosemary foot scrub and soak in one

Lavender and Lemon essential oil, with Dead Sea salt foot scrub

Lavender and Lemon foot scrub and soak in one.

Summer has finally and at last arrived. As I was sitting outside on the terrace at work, I thought how lovely everyone looked in their sandals walking about on the lawn.

My feet though felt hot and uncomfortable in the shoes I had been wearing, by the time I got home they were puffy and sore and all I wanted to do was plunge them in cold water.

So yesterday evening, I made this quick no fuss foot scrub and soak in one, which was inspired by a blog post by Emily Jefford about a sugar and coconut oil scrub she uses to clean her hands with after painting with oils, you can read it by visiting here.

I have major art envy, her paintings are exquisite and I have fallen in love with her summer collection, so am figuring out what I can do to save up for the set.

If you’d like to try out this version, which uses just coarse salt, so that you can use it as a soak for tired feet. (I wasn’t sure what soaking with sugar might do) The foot scrub couldn’t be easier to make. All of it is made with ingredients which most people should have in their cupboards:

Coarse salt

Essential oils

Fresh or dried herbs

Oil – either sweet almond or coconut

Lavender and Lemon essential oil with Rosemary and Dead Sea Salt foot scrub

Dead Sea Salt foot scrub

The one I made is with Dead Sea salt which you can get in a chemist or online. As I wanted it to be refreshing with the scent and a pick me up for hot tired feet after work, I used Lavender and Lemon essential oil. To exfoliate the skin, I mixed the Dead Sea Salt roughly with some dried Rosemary and a dash of sweet almond oil, along with a squirt of lemon juice (don’t use this if you have broken skin as it might sting).

Once all the ingredients have been combined, I sat down and rubbed my feet over a bowl of warm water. The coarseness of the Dead Sea Salt acted like a pumice and took the dry skin off.

Any flakes of salt or dried herbs that fell went into the bowl of warm water beneath. I poured the remaining salt mix into the bowl and let my feet soak for about 10-15 minutes.

Dead Sea Salt has many therapeutic benefits. In fact, I managed to snag a bargain as the bag I purchased had a big sign with an extra 25 percent included.

Here’s what it said on the back of the pack: Dead Sea Salt have a unique ability to attract and retain moisture. For dry skin conditions and aching joints, Soak for 20 minutes. This reminds me, I  will need to find an air tight container for the salt as it has a habit of turning to liquid though it’s still good to use in this state.

Bliss. My feet are literally tingling and feel like new. I think I’ll be wearing sandals tomorrow now that they have had a bit of TLC. My kids were a bit sceptical, they took one look at the mix and left me to it.  Just wait, once they’re older they will appreciate this recipe and I’ll be gloating with the Mum knows best smile!