Lemony Ginger Nuts


These lemony ginger nuts are the perfect way to counter gloomy weather. When the weather gets cold, our oven gets busy with lots of baking to fill the air with the delicious scent of home-baked biscuits.

This recipe is adapted from Delia Online and has been a favourite, since my eldest made them for one of her homework assignments for school.

As we had plenty of Golden Syrup, ginger and lemons, I decided that the lemons would bring a lovely citrusy tang to the ginger nuts.

Ingredients:

Zest of one lemon and about a dessert spoon  of lemon juice

110grams of Self Raising Flour

1 slightly rounded teaspoon of ground ginger

1 level teaspoon of biocarb of soda

40g soft brown sugar

50g butter

2 tablespoon of golden syrup

Preheat oven to 190degree c or Gas mark 5


To make:

Sieve the flour, biocarbonate, ground ginger into a bowl, add the lemon zest and combine. With your hands, rub the softened butter into the mixture until it resembles rubble.

Add the lemon juice, and the golden syrup, combine this into a dough. (You may need to add a little flour at this stage if the dough feels too wet or sticky. The consistency you are aiming for is something resembling short crust pastry. Form the dough into a ball and divide in half, then half again and cut into four. This should make 16 small pieces of dough.Lemon and ginger nuts - dough

Rub plenty of butter onto a non stick baking tray. Next place the small pieces of dough on to the baking tray and flatten them slightly. Leave plenty of room between each and put into the preheated oven for 10-15 minutes.

When they come out of the oven they will be soft. Leave them to cool a little before transferring them to a wire rack to cool completely.

All that remains is to enjoy with a lovely cup of tea. They took all of half an hour to make and bake. Even better was that the lingering scent of ginger and lemons was in our house for the rest of the afternoon.


Red colour pork Chinese style with braised vegetables

Red Pork Chinese Style

Red Pork Chinese Style

This one is a favourite dish of ours. Whenever we cook this, it is with guilty pleasure as the belly pork isn’t something that is exactly good for those who are health conscious.

I think though a little indulgence sometimes is also good for the soul.

We tend to cook this dish when the kids are staying with their grandparents. (My eldest insists that she does not like Chinese food and so far nothing has worked to persuade her otherwise. It is one of my disappointment, so we don’t cook this one very often).

The dish is actually called Hung Shao Pork, and if you were to say this in Chinese, the translation would be equivalent to Red casseroled pork. The red being the colour that the pork takes on as it slowly cooks and releases its flavour in the glutenous streaky fat running through the meat.

Chinese red pork casserole

Chinese Red pork casserole

Once the onions, garlic and freshly sliced ginger have been gently fried in some oil (sunflower is best as this is odourless) small batons of the belly pork that have been cut into smallish pieces and lightly salted (the size is approximately your little finger) is added and gently fried with the onions, garlic and ginger.

At this point, whilst it is sizzling away, dark soy sauce is added so that the rich dark flavour of the sauce will infuse and work its way into the pork. Add a splash of water and a splash of Chinese wine (if you have this to hand, If not, then some sweet sherry will also work in this dish). Honey added to sweeten the dish along with the saltiness of the Soy Sauce and Star Anise will make this dish rock.

You can use a saucepan or a casserole dish that can be used directly on the cooker, so no need for a wok if you don’t have one.

When the pork has been fried, turn down the heat to the lowest setting and then leave to simmer away for about 30-40 minutes, with the lid on, turning 2-3 times during the cooking time. The goal is to get the lovely pieces of pork to be slightly crispy, but also tender and juicy with the luscious red sauce coating it and making it sticky and oh so yummy to taste.

To balance the richness of the pork, we tend to cook some simple chinese vegetables – Pak Choi with some sugar snap peas, the crunchy sweetness of the sugar snaps are a great compliment to the pork. In fact any Chinese greens if these are available or in season. If not, then fresh brocoli or spinach also works well with this dish. The greens are gently braised in some water, lightly seasoned with salt, with the water not covering the vegetables completely, but as if you are using the liquid to fry the vegetables in.

Braised Chinese Vegetables

Braised Chinese Vegetables

Once the vegetables are just cooked, they can be just on the verge of being cooked, take off the heat and add a very small splash of sesame oil and soy sauce to taste, if you like (seasme seeds sprinkled over the vegetable at this stage will also be a tasty addition.

All of which is simply served with some fragrant Jasmine and wild rice.

Enjoyed with some light sparkling white wine as a balance to the richness of the pork.

Ingredients: 

1 pound of lean belly pork, including skin (bought as a whole large piece, cut into small pieces)

Approx 4 tablespoons of dark soy sauce

Approx 1 tablespoon of water

Fresh Ginger (small amount – roughly equal amount to the onion)

1 small onion

1 Star Anise

1 spoonful of honey (sweetness to taste – add more if you prefer)

Approx 3 tablespoons of Chinese wine (sherry if not available – taste and add more if you need to)

Dinner awaits – Stir Fried Squid with Udon Noodles

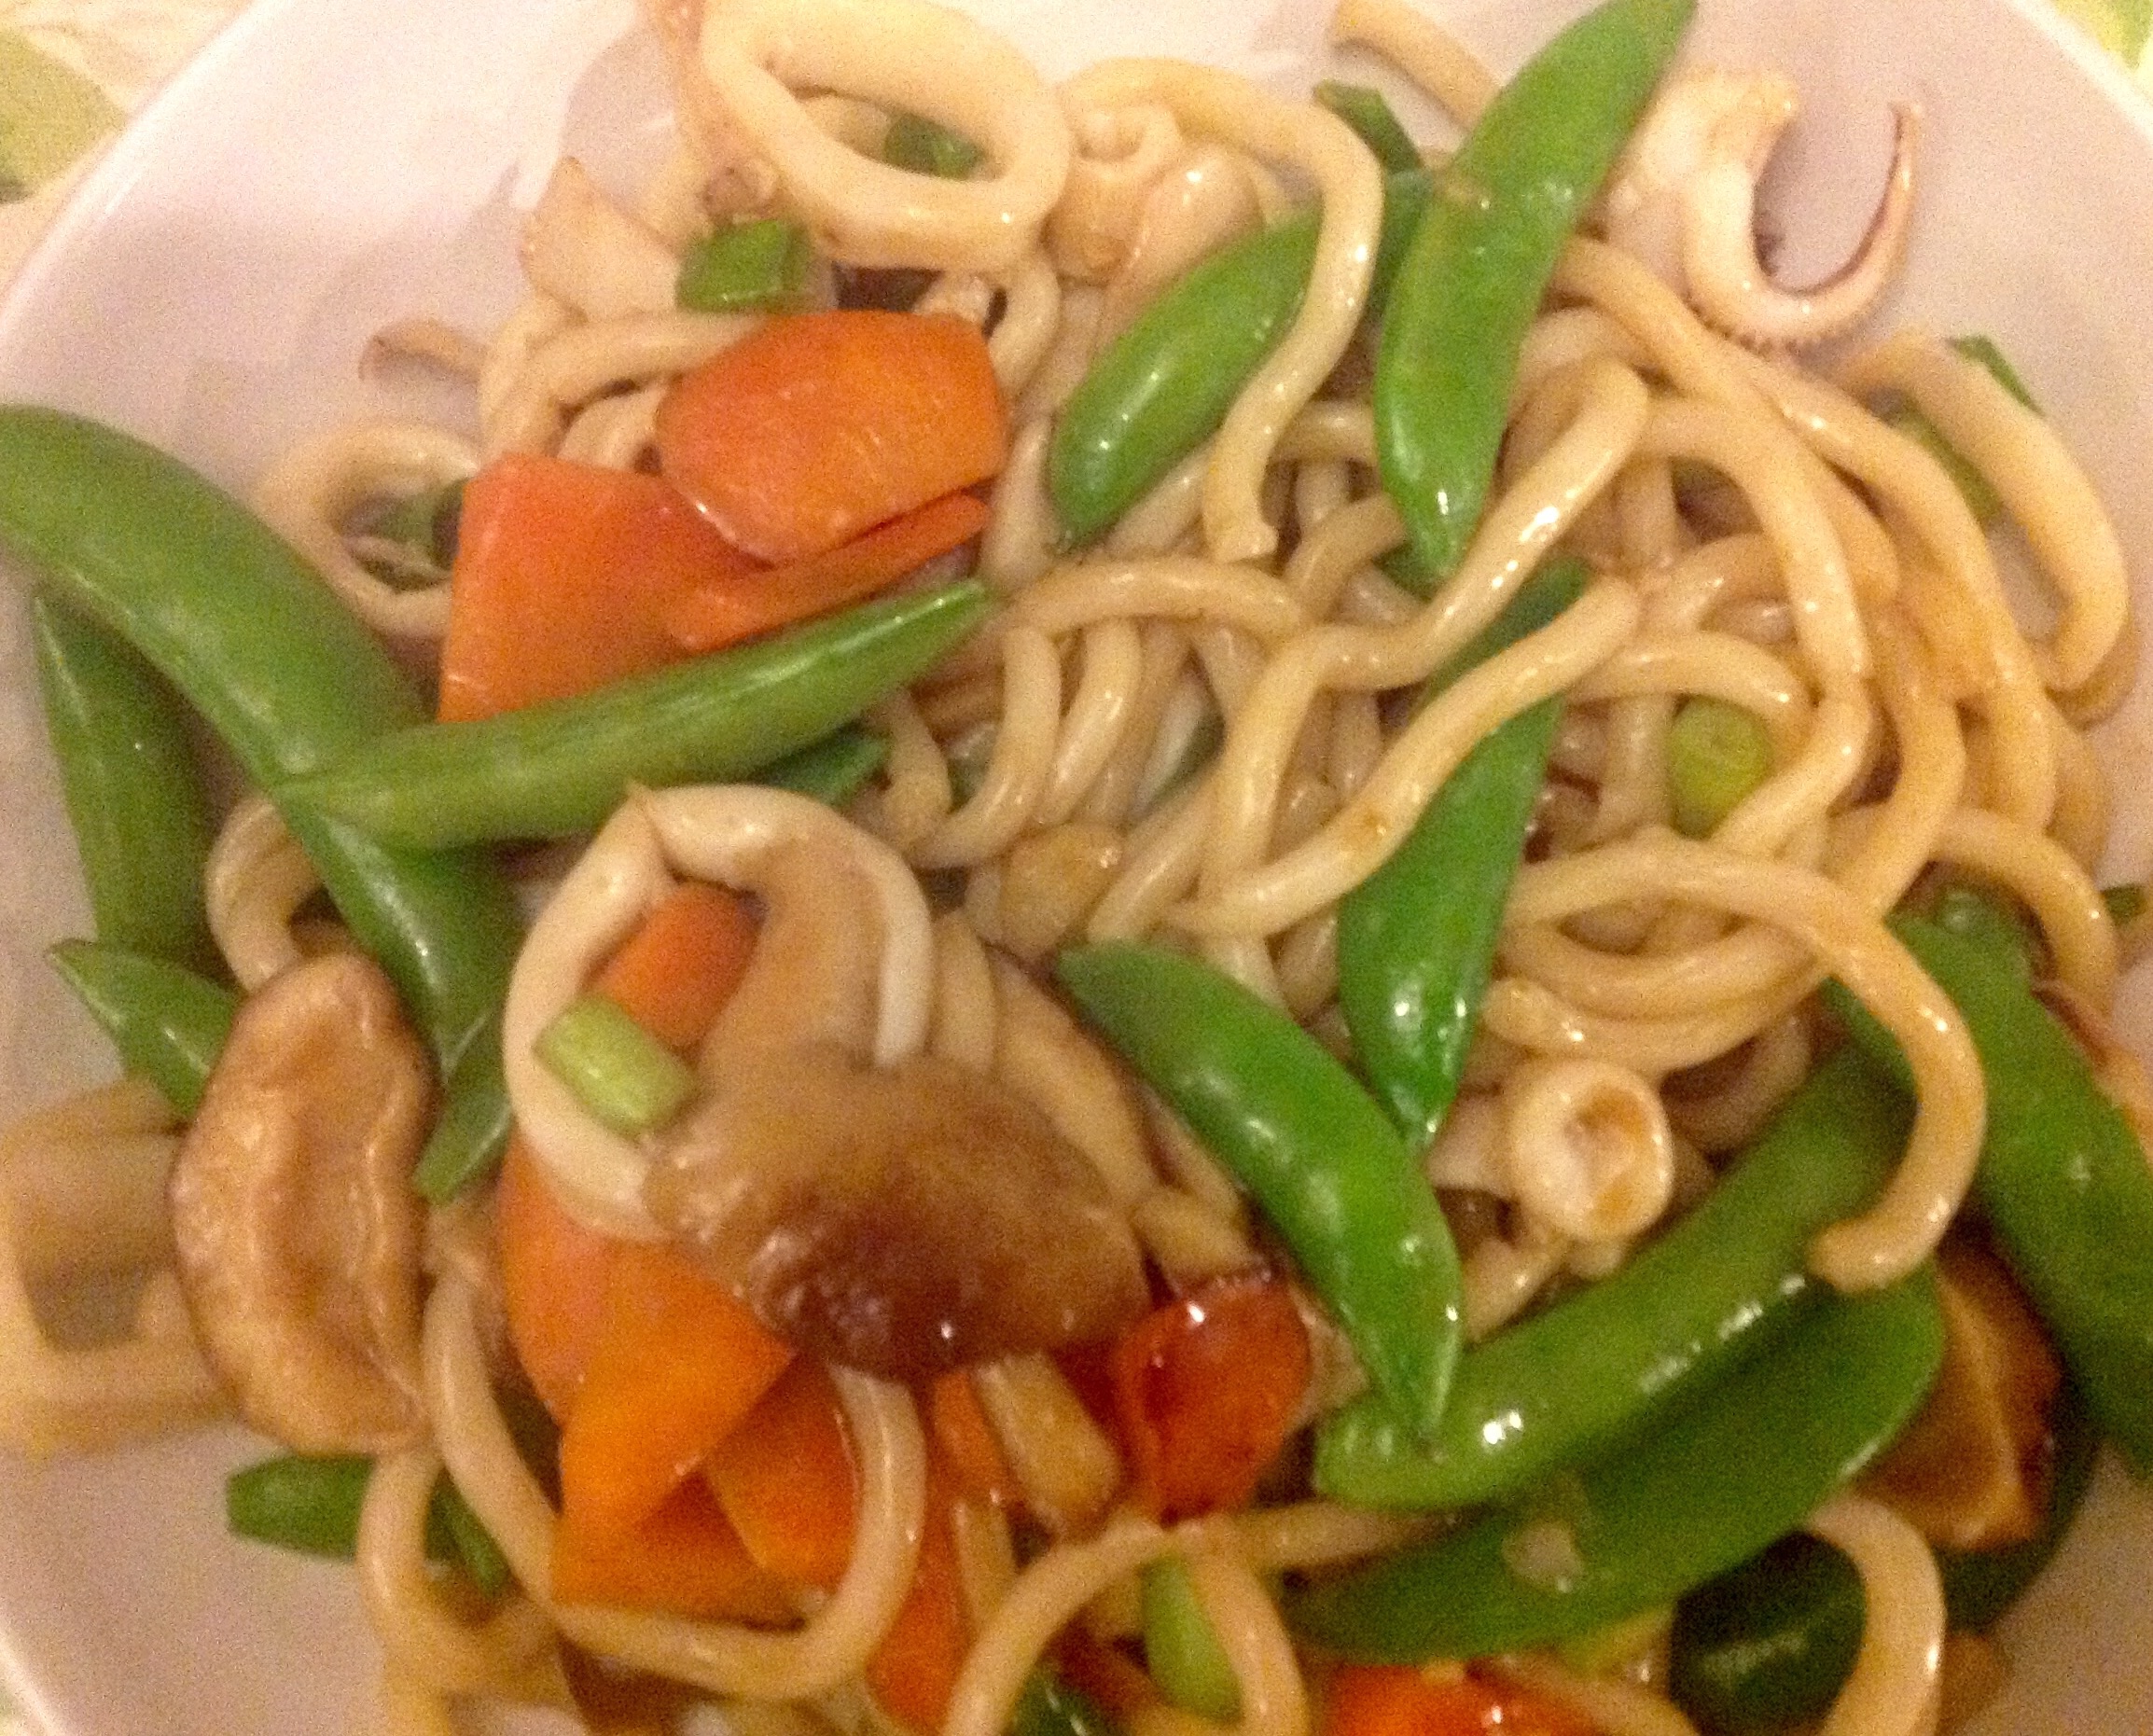
Stir fried Squid with Udon Noodles

Stir-fried Squid, Vegetables and Udon Noodles

This week, the kids have finished school and they are staying with their Nanny and Grandad.

We have to negotiate the holidays carefully, or else we don’t get to see them all summer as the kids like to spend as much time with their grandparents as possible.

I think it’s because they are a lot more laid back and spoil them, which I suppose is the right of any grandparent.


This week also allows us, that is my hubby and me, to re-connect and be a couple, pre-kids, a kind of whole week of date nights.

Except, that I haven’t done all that well in terms of making time for this. I’d forgotten about a work social event tonight which was one of those work functions where you are expected to attend.

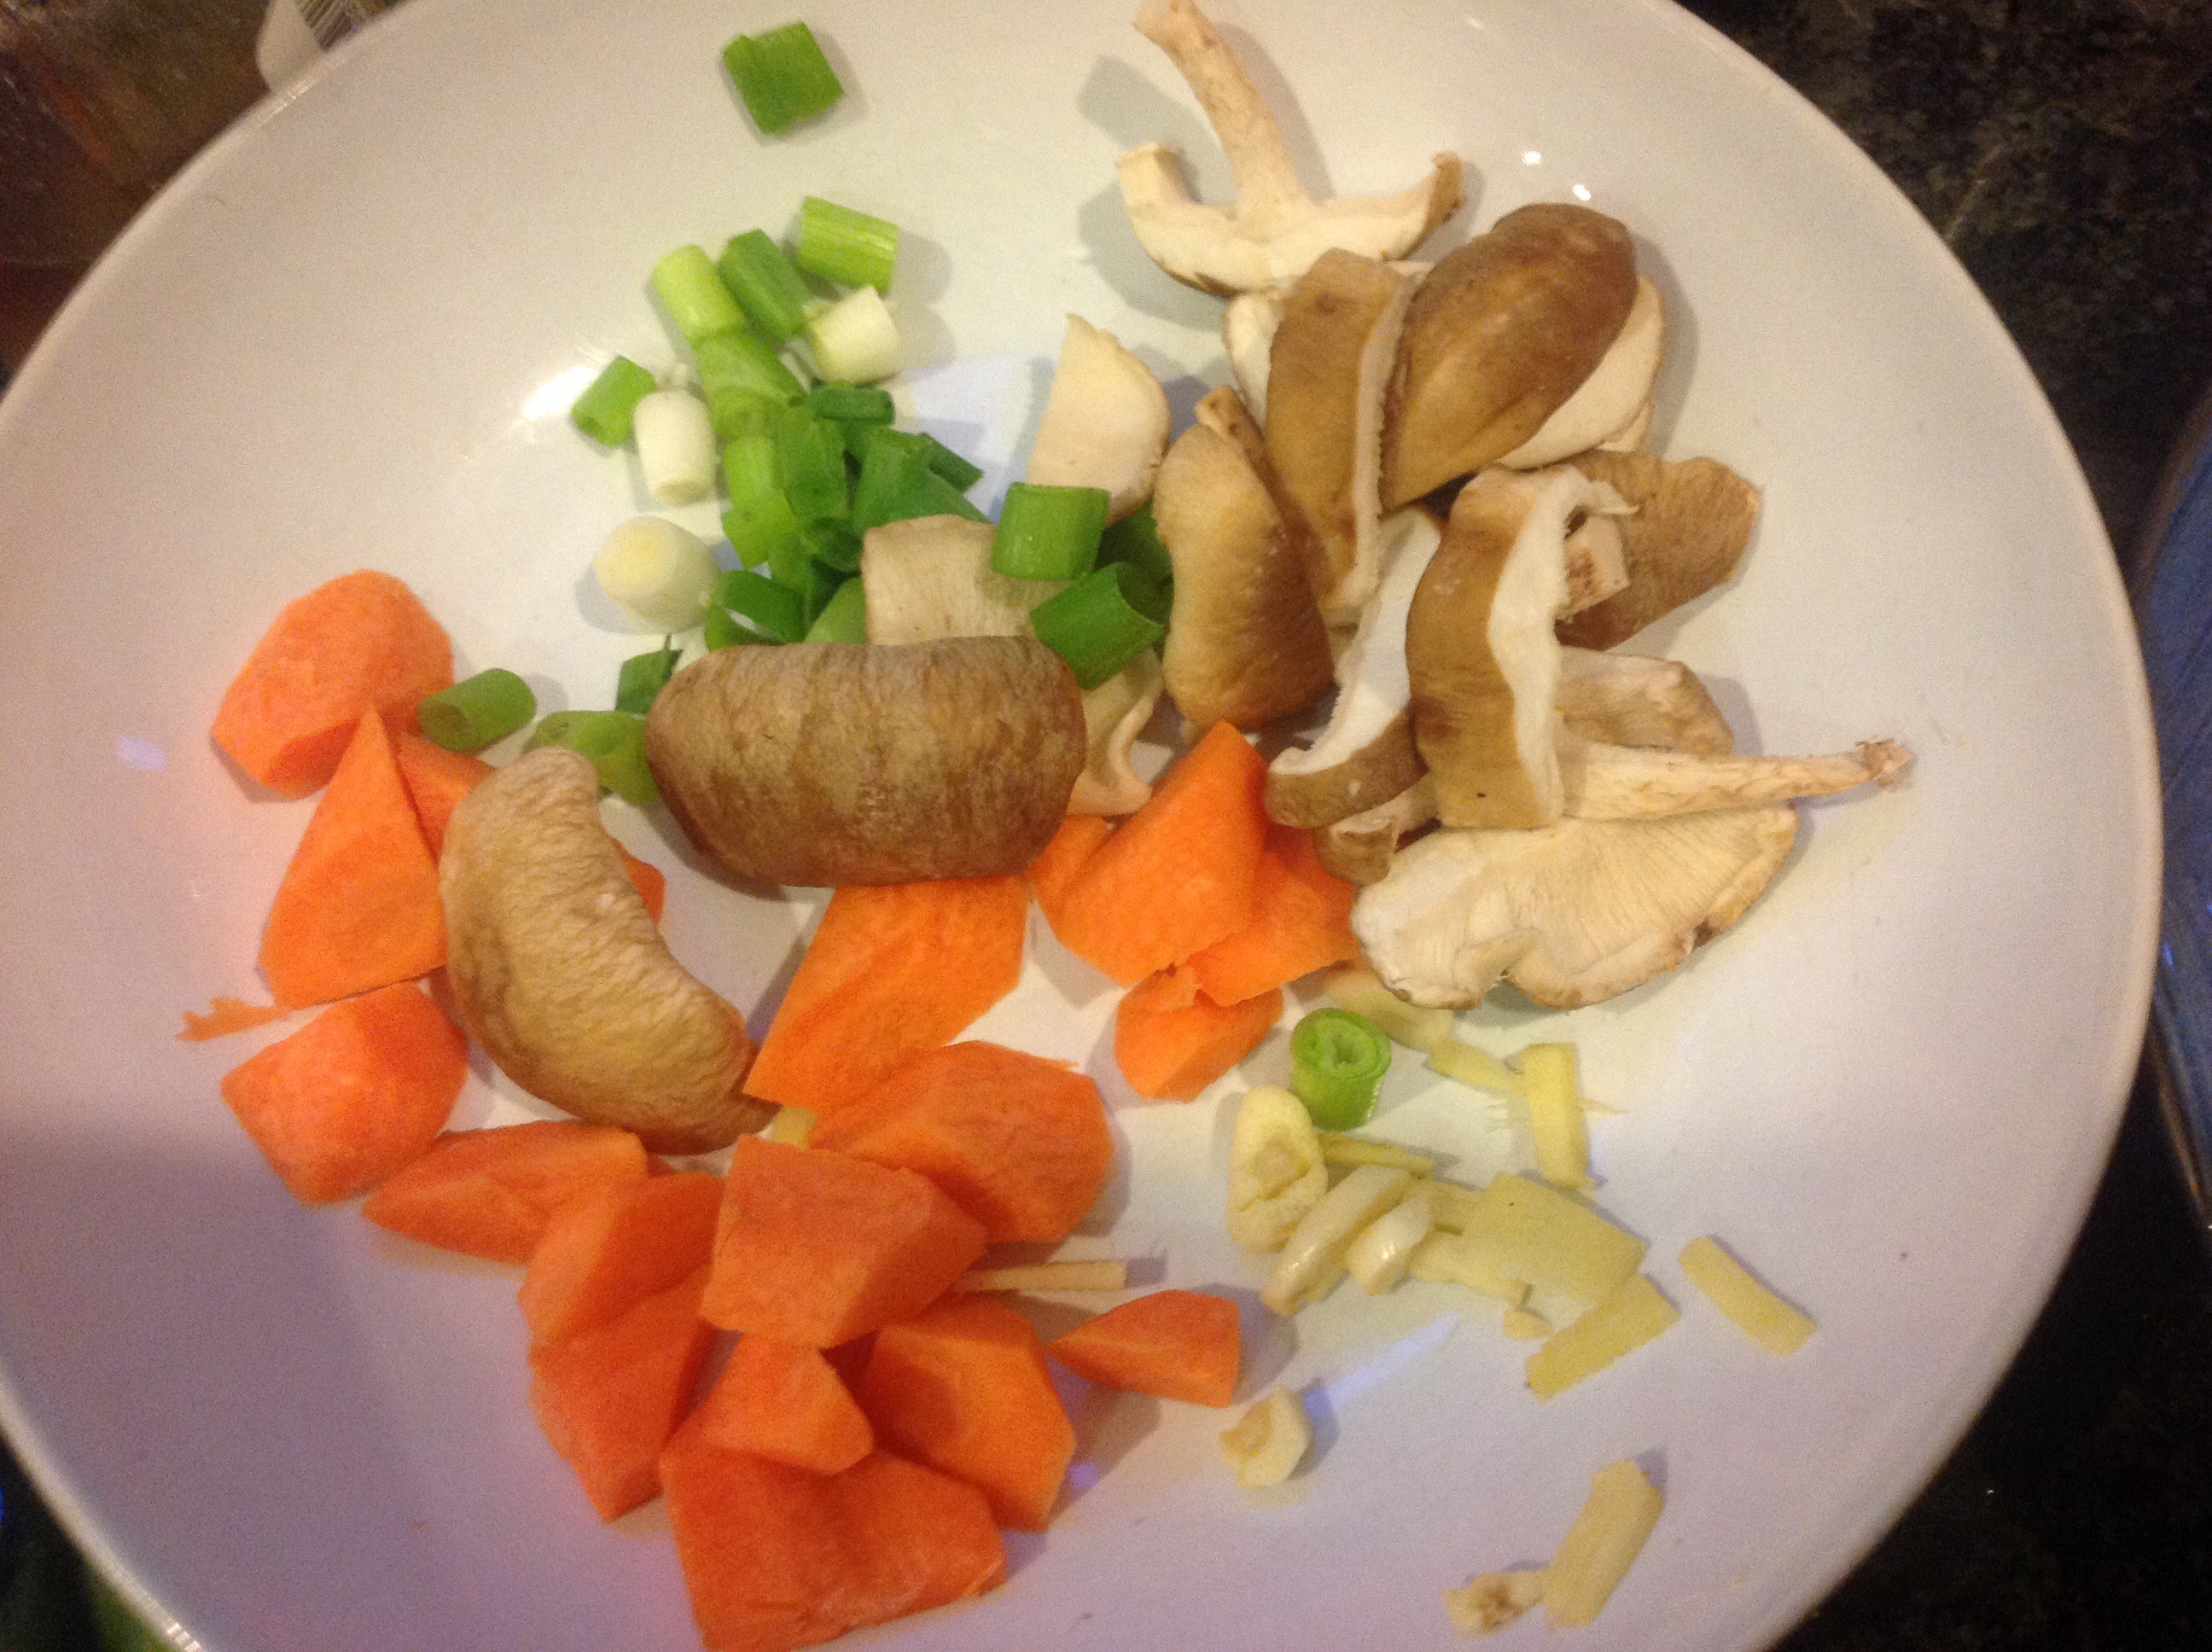
Vegiables for Stir Fry

vegetables for the stir fry

We were meant to have a lovely quiet meal at home.

Patient as ever, when I texted my hubby earlier in the day to say I’d be a bit late home, he didn’t make any further comment.

When I called on my way home tonight, he laughed as I’d accidentally left my mobile on as I was asking for directions to the nearest tube station, I felt pretty guilty by now as it was getting late so made sure to say that I didn’t expect him to wait for me, but to eat before I arrived.

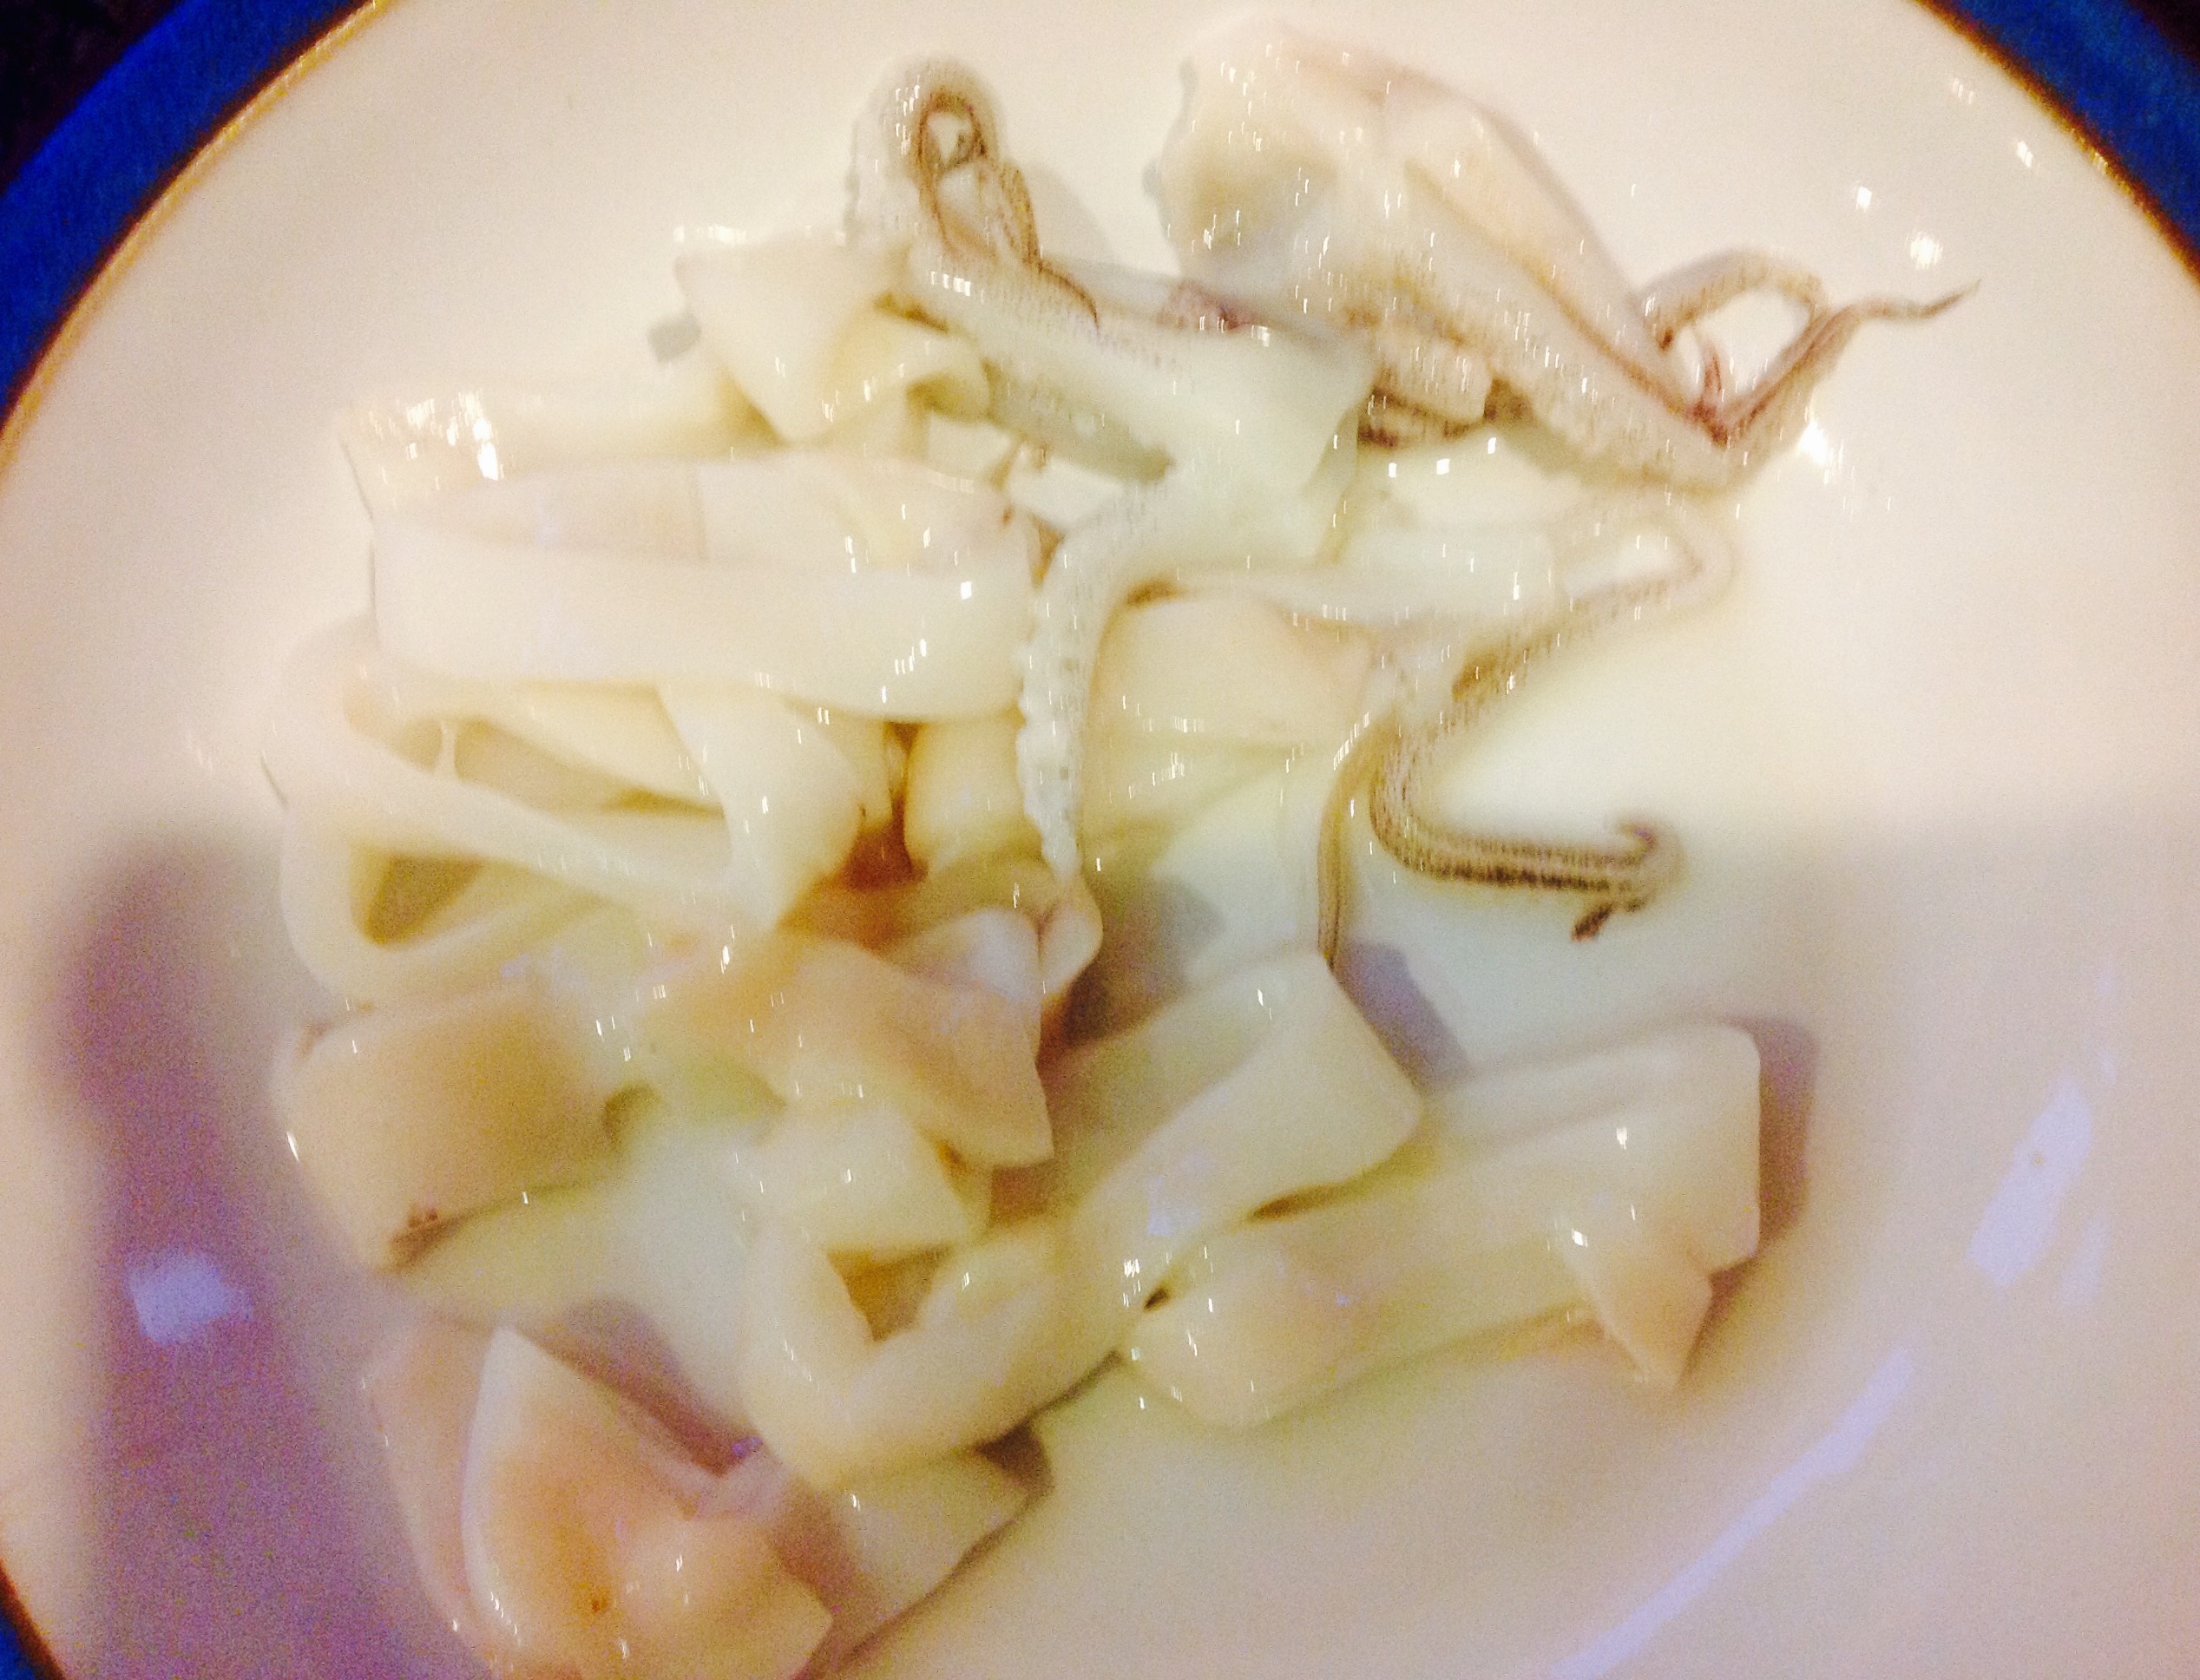
When I arrived home, he’d prepared all the veg and as if this wasn’t pretty cool, he’d gotten some fresh squid which he’d purchased earlier in the morning, my favourite seafood so that it could be stir-fried and ready as soon as I arrived home.

The photos really don’t do justice to this dish, it’s so simple but very tasty!

Fresh Squid

Fresh Squid

A stir fry medley of vegetables – any three veg combination of 3 colours, orange, green and yellow/red, with a little freshly chopped ginger and garlic, plus little fresh rings of squid. It’s not to everyone’s taste, squid that is – but it could be any little morsels of fish, chicken, red meat or tofu, all stir-fried with a dash of soy sauce and Oyster Sauce together with fresh Udon Noodles, Stir fried in just a few minutes in a wok.

A bowl of heaven awaited me on my return from work tonight.