Luscious Lemon Balm and Honey Lip Salve
We recently brought home some lemon balm to plant in our garden. Since this is a herb that is new to me, I looked up all the things you can do with it for natural skin care as well as in food.
It works great as an alternative to mint added to Iced Tea, and as a herb to add into salads, it is a great herb with medicinal properties that include helping to calm down anxiety and sleeplessness and as an aid for digestive health.
I’ve also read that it is a great herbal remedy for cold sores, which gave me an idea to find a way to incorporate it into a lip salve.
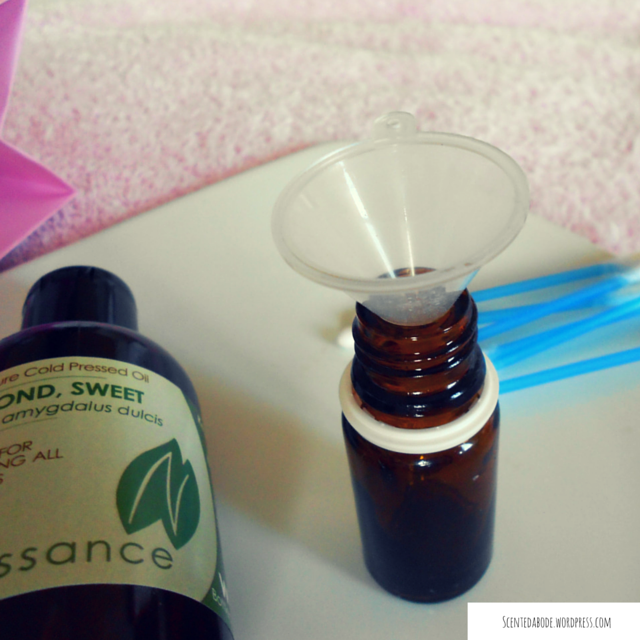
To get the herb into the lip salve, I created an oil infusion, so that the goodness of the lemon balm can be transferred into the carrier oil. It is simple to make and the process of infusing oils with different herbs and flavours can be used for other purposes – such as creating a lovely lemon oil to use in salads. I picked a small amount of the leaves of the lemon balm, which I then bruised in a pestle and mortar so that all the goodness of the plant can be transferred into the carrier oil.
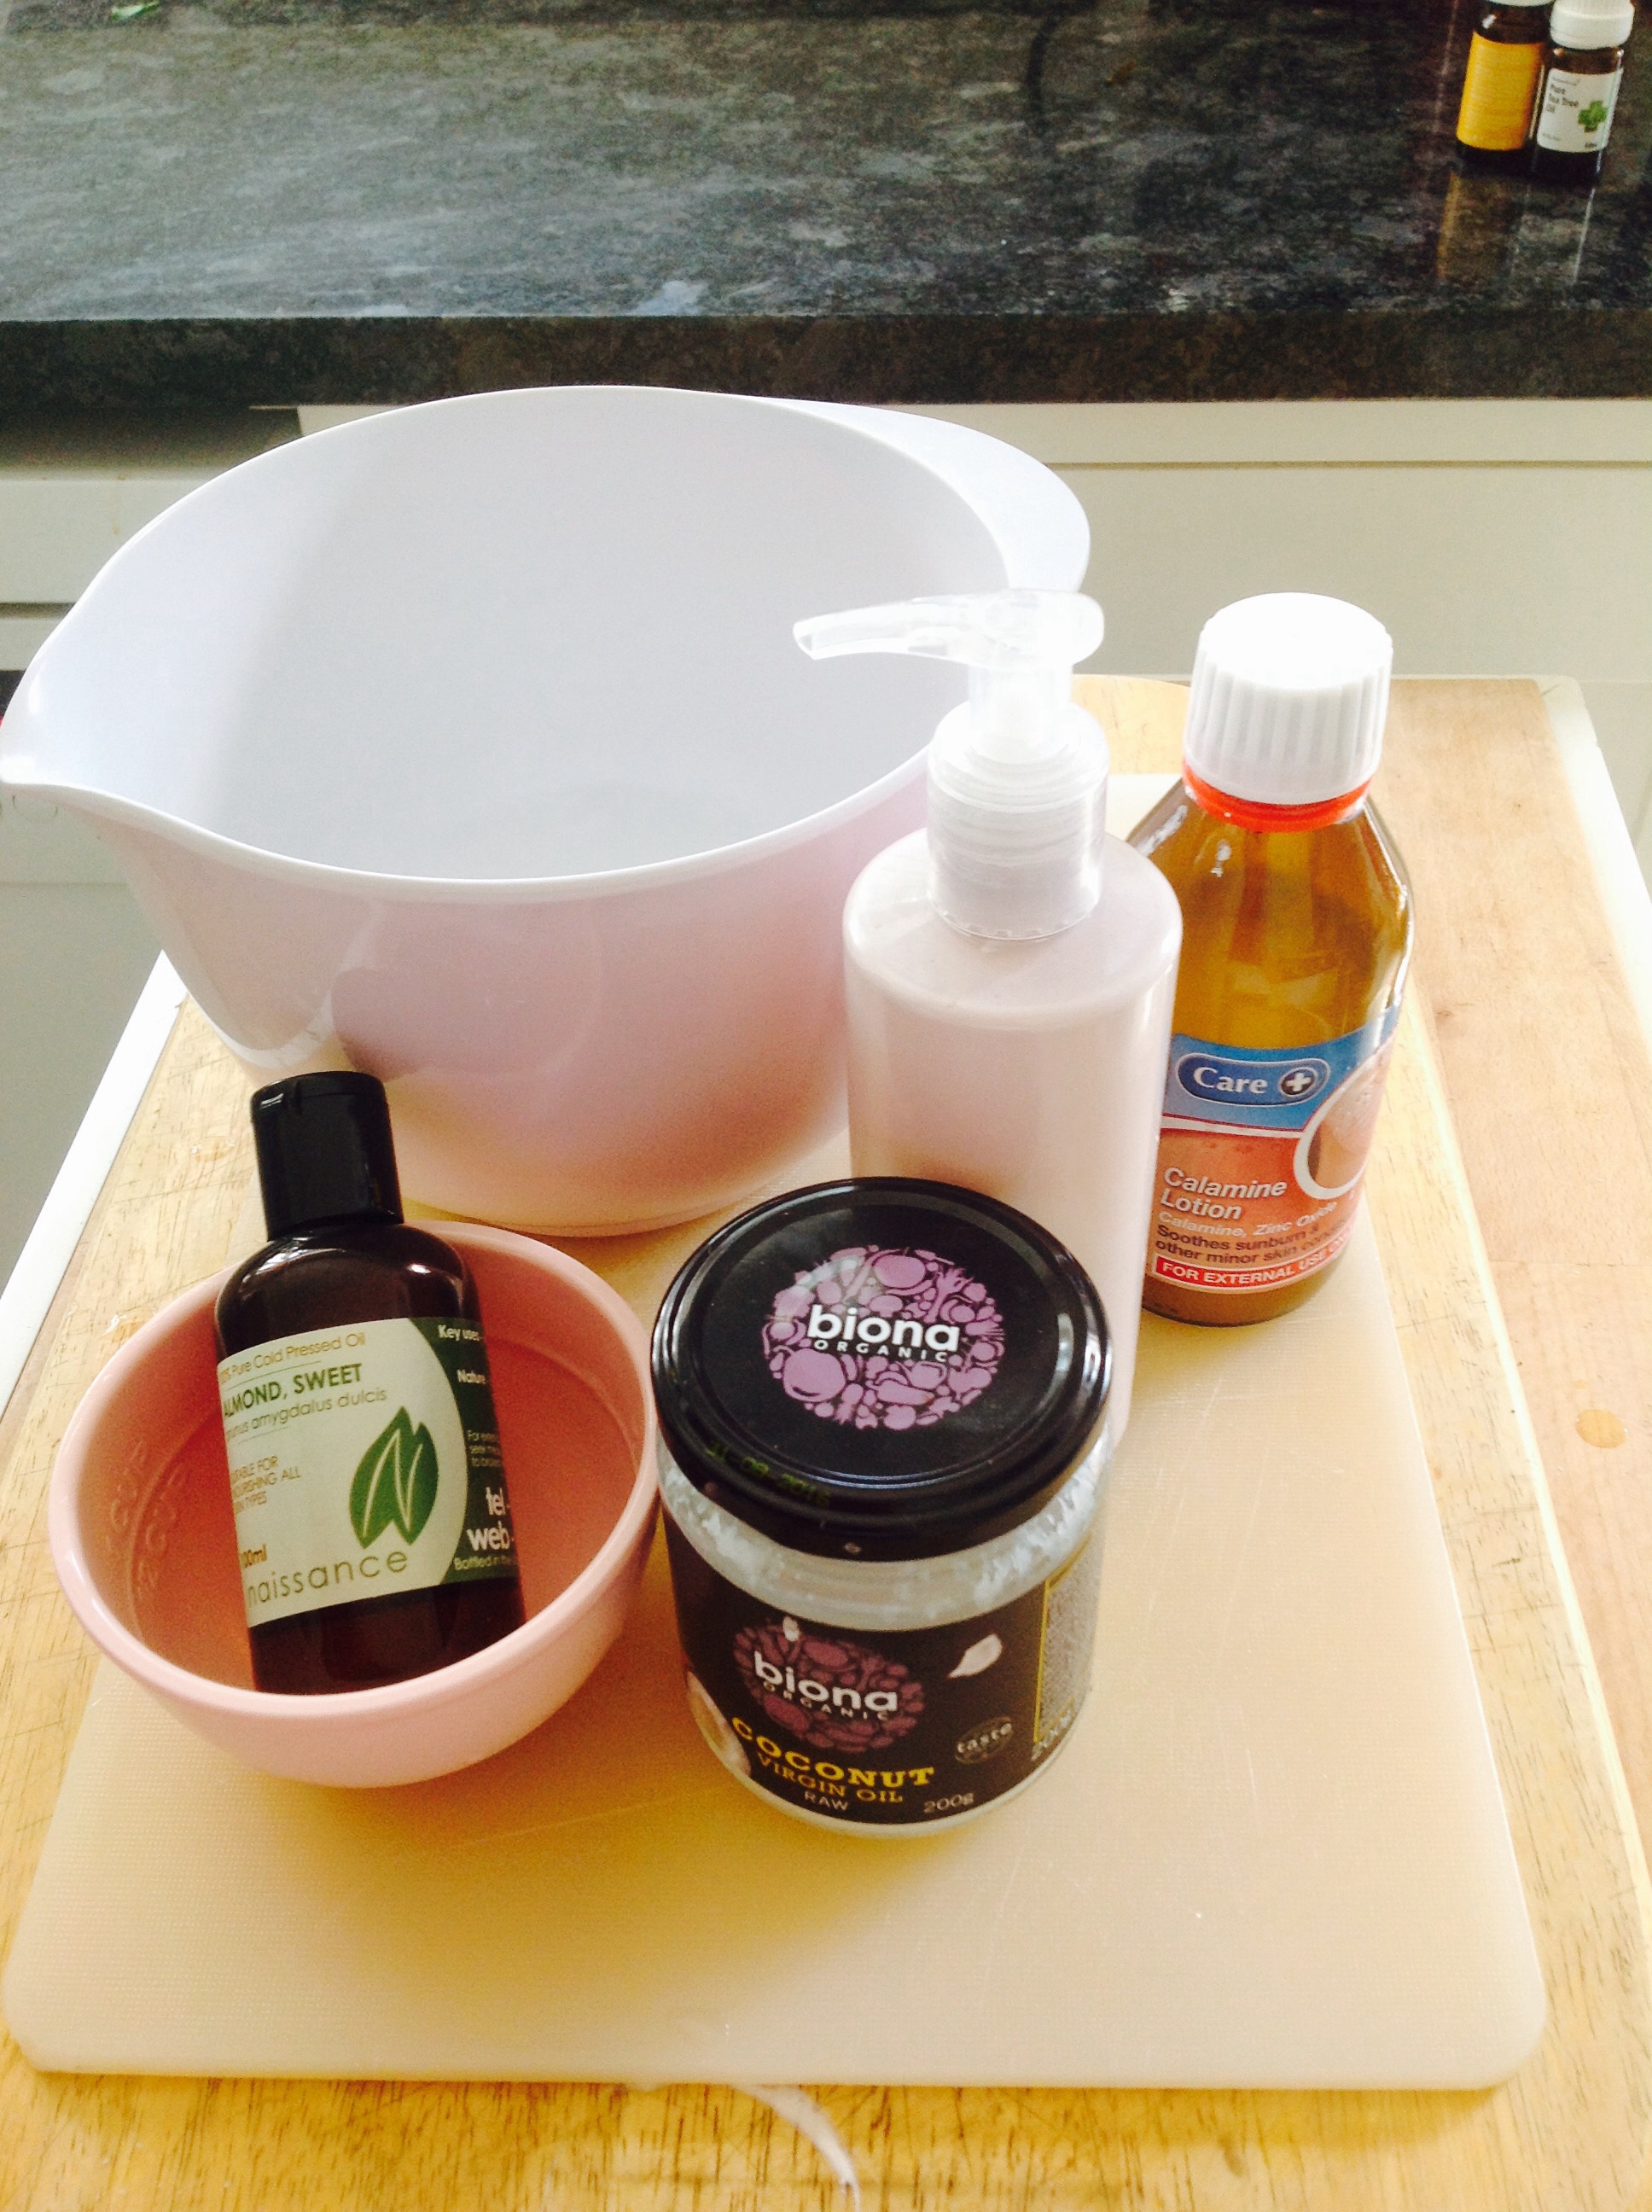
To keep things simple, I’ve used Sweet Almond Oil as it’s a good carrier oil for aromatherapy massage therapies. As I have no patience (if you want you can use dried herbs and leave in the oil to infuse over 4-6 weeks, leaving the mixture in a dark place) to speed up the process for the infusion, I have gently heated the oil with the lemon balm and transferred this into a clean jam jar and left it to sit on the windowsill for a few days.
Once the colour of the oil has taken the colour from the leaves, the oil is ready to be used.
For the lip salve recipe, I’ve used the following combination:
Ingredients:
1 tablespoon of beeswax
1 tablespoon Lemon Balm infused oil
1 tablespoon of Coconut Oil (organic cold pressed)
2 teaspoon of honey
4 drops lemon essential oil, 4 drop Peppermint essential Oil
The amounts above makes 60ml of lip salve mixture, which would fit into 2 x 30 ml pots shown in the picture.
Making the lip salve is very easy. In a simmering pan of water, put a glass jug into the water, add the beeswax and wait for this to melt. I use the beeswax pellets as this is much easier to use than the large blocks of beeswax.

Beeswax melting with sweet almond oil and coconut oil
Add the lemon balm infused oil along with the coconut oil and wait until this is all melted into the beeswax.
Add the honey and take the mixture off the heat.
Add the essential oils (I’ve chosen Lemon and Mitcham Peppermint essential oils to intensify the scent of the lip salve).
Pour into the pots of your choice and wait for the mixture to solidify before use.
As the lip salve is made with natural ingredients, I am keeping the quantities made up small so that it can be used straight away. It should keep for around 4-6 weeks, and is a great way to keep lips soft.
For a beauty ritual that helps to maintain the condition of your lips, gently exfoliate lips to remove any dry or flaky skin (I use a toothbrush with soft bristles to do this, but you can also try using a muslin cloth) before applying the lipsalve at night before bedtime.

")
")
")
")
")
")
")
")
")
")
")
")


")