Home Made Cuticle Oil

Sweet Almond Oil for home made Cuticle Oil

This week, I took the opportunity of doing some gardening with my kids and planted some lovely herbs. The combination of this and the broken dishwasher has meant my hands have taken a battering.

Since I have all the ingredients to make a home-made Cuticle Oil, I thought I would share this with readers of this blog.

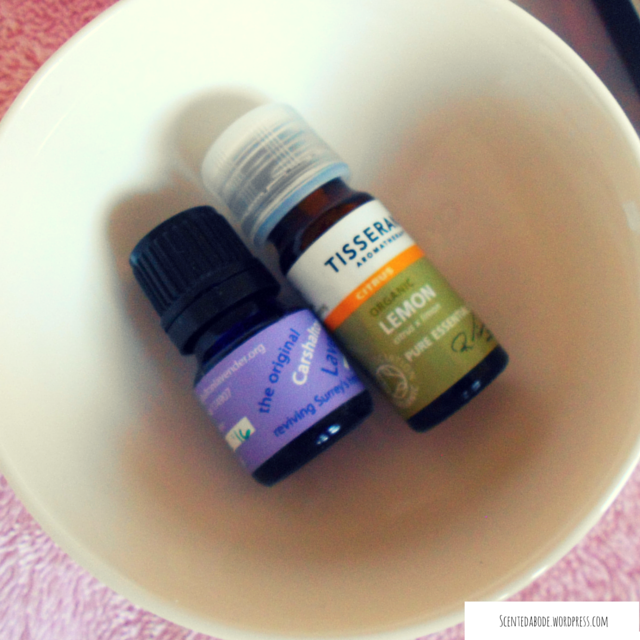
Lavender and Lemon Essential OilIt’s so simple that it really requires very little effort and saves a great deal since I no longer purchase commercial cuticle creams or oils to condition my nails.

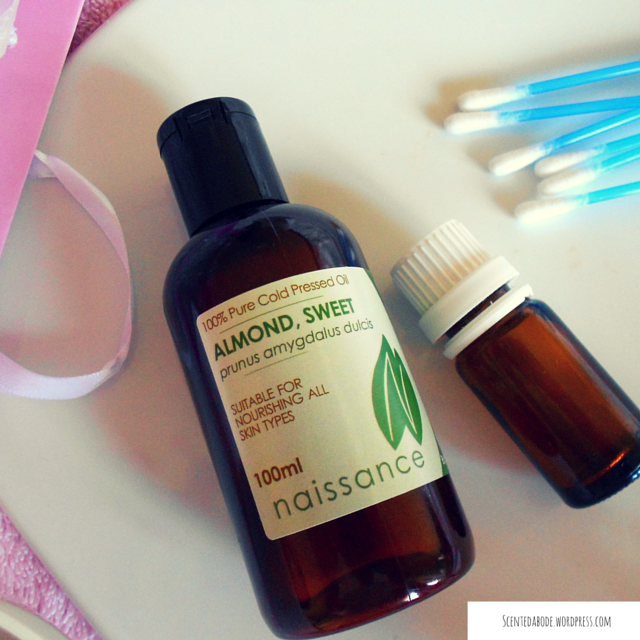
If you have some Sweet Almond Oil* or Olive Oil, these can be used as the base, both are perfect oils for conditioning and softening nails. Other oils to try are Coconut, Grape Seed, Jojoba oils.

The oils will nourish, add moisture and soften the cuticles.

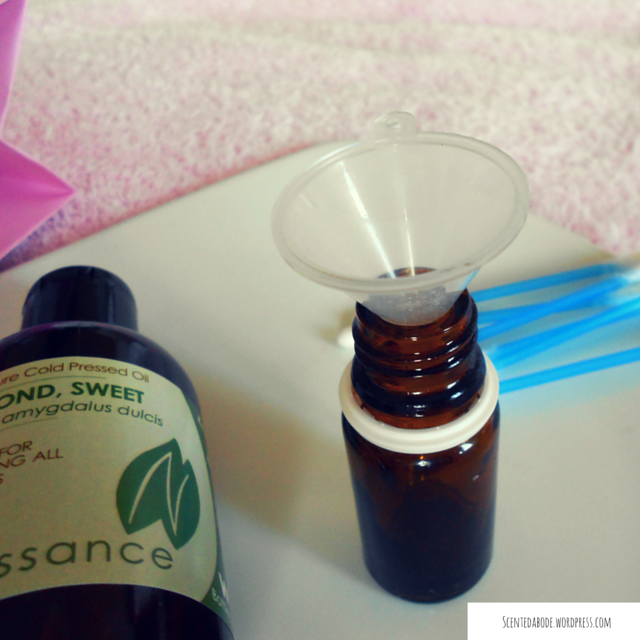
I’ve used an empty essential oil bottle which I’ve washed out – but really you don’t need to do this if you are pressed for time as the one I’m using contained Tea Tree Oil,  any residue in the bottle will simply mix with the carrier oil.

Into this 10ml bottle, I have added just one drop of Lavender Essential Oil, along with Lemon Essential Oil. Sweet Almond Oil for making Cuticle Oil

Both the essential oils have been chosen for their cleansing, rejuvenating and healing properties. (Lemon is also antibacterial, used along with Tea Tree Oil, will combat against the threat of any infections.)

Mixed thoroughly, I have then applied this mixture using a cotton wool bud all over my nails covering the cuticles as well.

Left on overnight, my nails and cuticles feel stronger and the rough cuticles have been smoothed out. I didn’t even need to use a cuticle stick to push them back which I normally resort to.

Simple!


*If you would like to order the Sweet Almond Oil in the UK, the link will take you through to the product page on Amazon.

*If you would like to order the Sweet Almond Oil in  the US, the link will take you through to the product page on Amazon.

*These are affiliate links, which if you order through, a small commission is earned. Thanks in advance for using the links – any money earned will go towards maintaining the blog.

Home made Rosewater, Witch Hazel & Glycerine Cleanser vs Micellar Water

Rosewater & Glycerine Cleaner vs Micellar Water

I ran out of my favourite brand of Rosewater recently and since Edgware Road is no longer on my way home, I did not want to go out of my just to get a bottle of Rosewater.

I found the Cortas brand of Rosewater in a local store selling Middle Eastern, Continental and English food, on my way home,  you might have read about this in an earlier Post about a bowlful of Cherries, I also purchased a lovely bottle of Orange Blossom Water along with the cherries at the same time.

The bottle, although not as pretty as my previous brand, said Cortas was established in 1930. It wasn’t very expensive, so I thought I would try it out.

After some research, I found out that there are several types of Rosewater, the ones that include other ingredients and use Rose Oil, are used for skincare only and may often include artificial scent and preservatives.

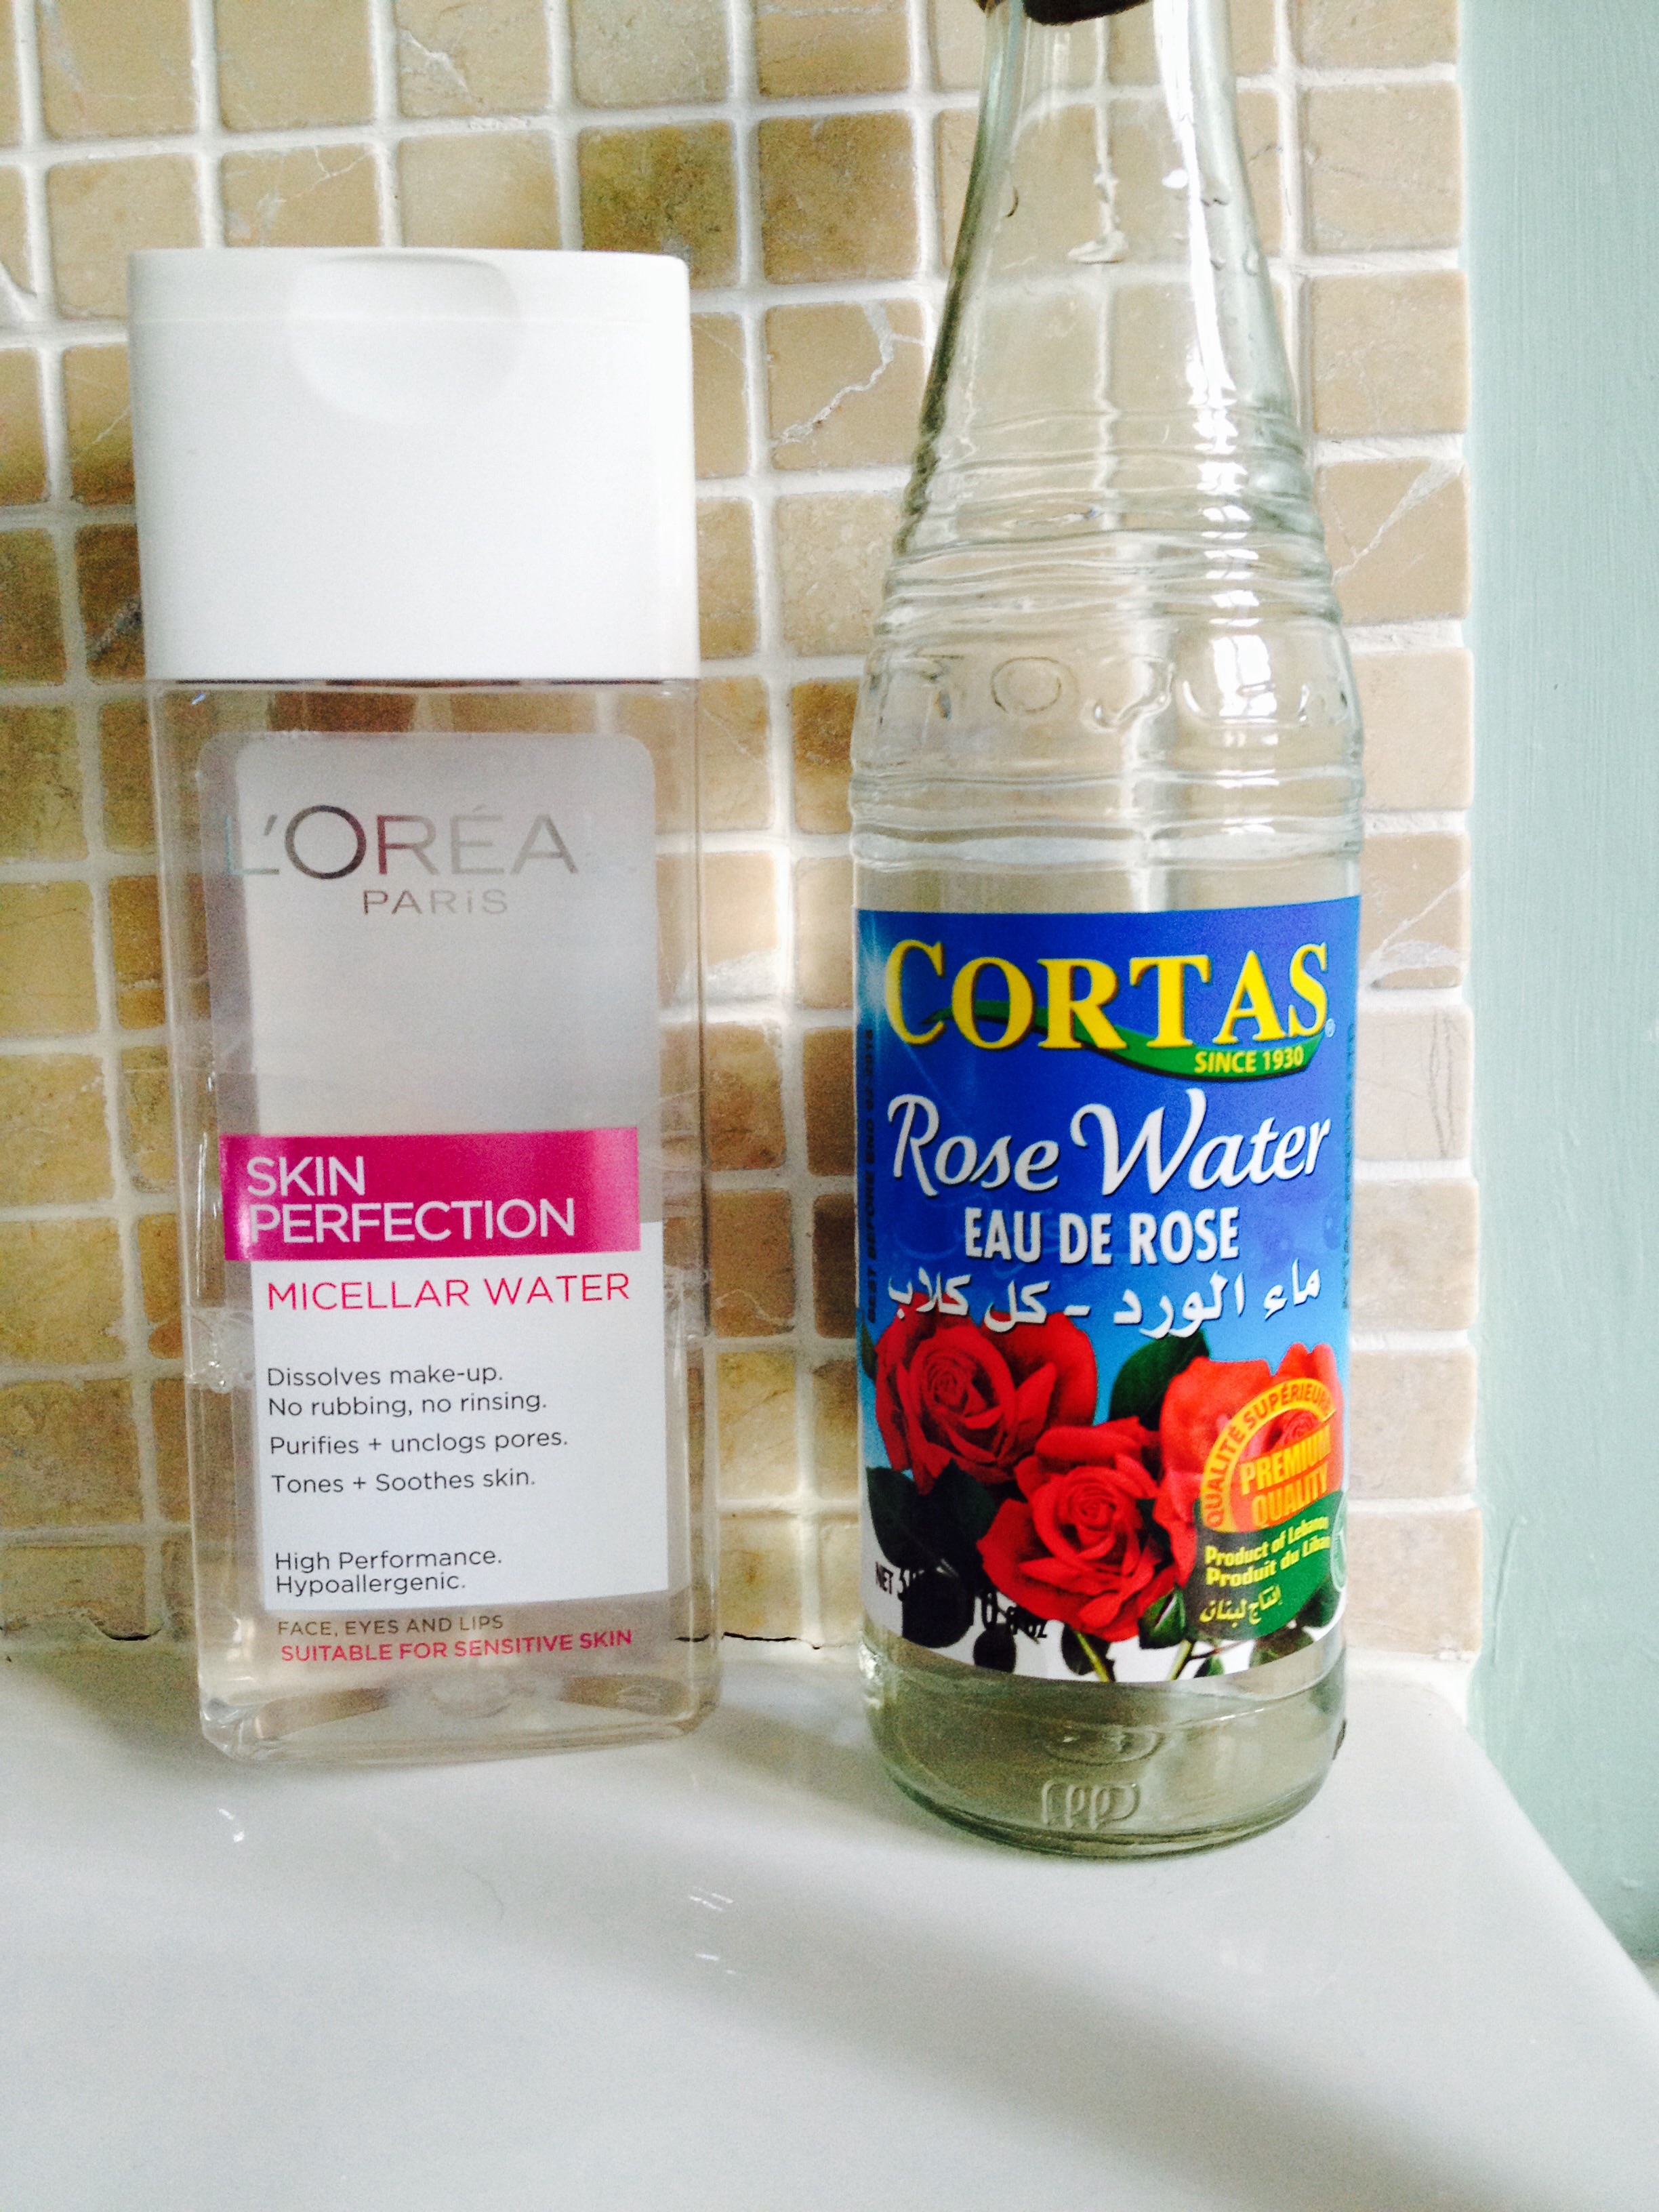
The Cortas Rosewater lable had little information about what it was made of or how it was made but after a bit of digging, I found out that it is all natrual, and food grade, it is made from distilled Rose Petals with no additives. It has a lovely sweet Rose Scent, a little tangy compared to my last bottle of Rosewater. It comes from the Lebanon and is a very popular brand stocked by many Middle Eastern stores.

Since I am running low on Micellar water, it occurred to me that the home made Rosewater and Glycerine toner, I’ve been using was pretty good at removing make-up on the occasions I had managed to leave some on my skin after washing my face with a liquid facial soap.

Before getting some more Micellar water make up remover (I use it when I’m in a rush or need a quick freshen up) I thought I’d try making up a batch of a cleanser using Rosewater, Glycerine and Witch Hazel.

Micellar Water is made up of special molecules within the liquid that act like tiny sponges, absorbing any dirt or make-up, grabbing it off the skin and depositing it on the cotton wool pad that the water has been soaked in. There are many brands, some that promise not just the benefits of cleansing, but lots of other claims besides.

I thought that the properties of Glycerine were pretty similar, it’s a humectant, attracting and retaining moisture, it been used widely as an ingredient for skin cleansers. So after a few mixes and experiments, I got to what I thought was the right consistency for the cleanser (too much glycerin and it became too sticky and made my skin feel shiny, too little and it did not clean as well as the Micellar Water).

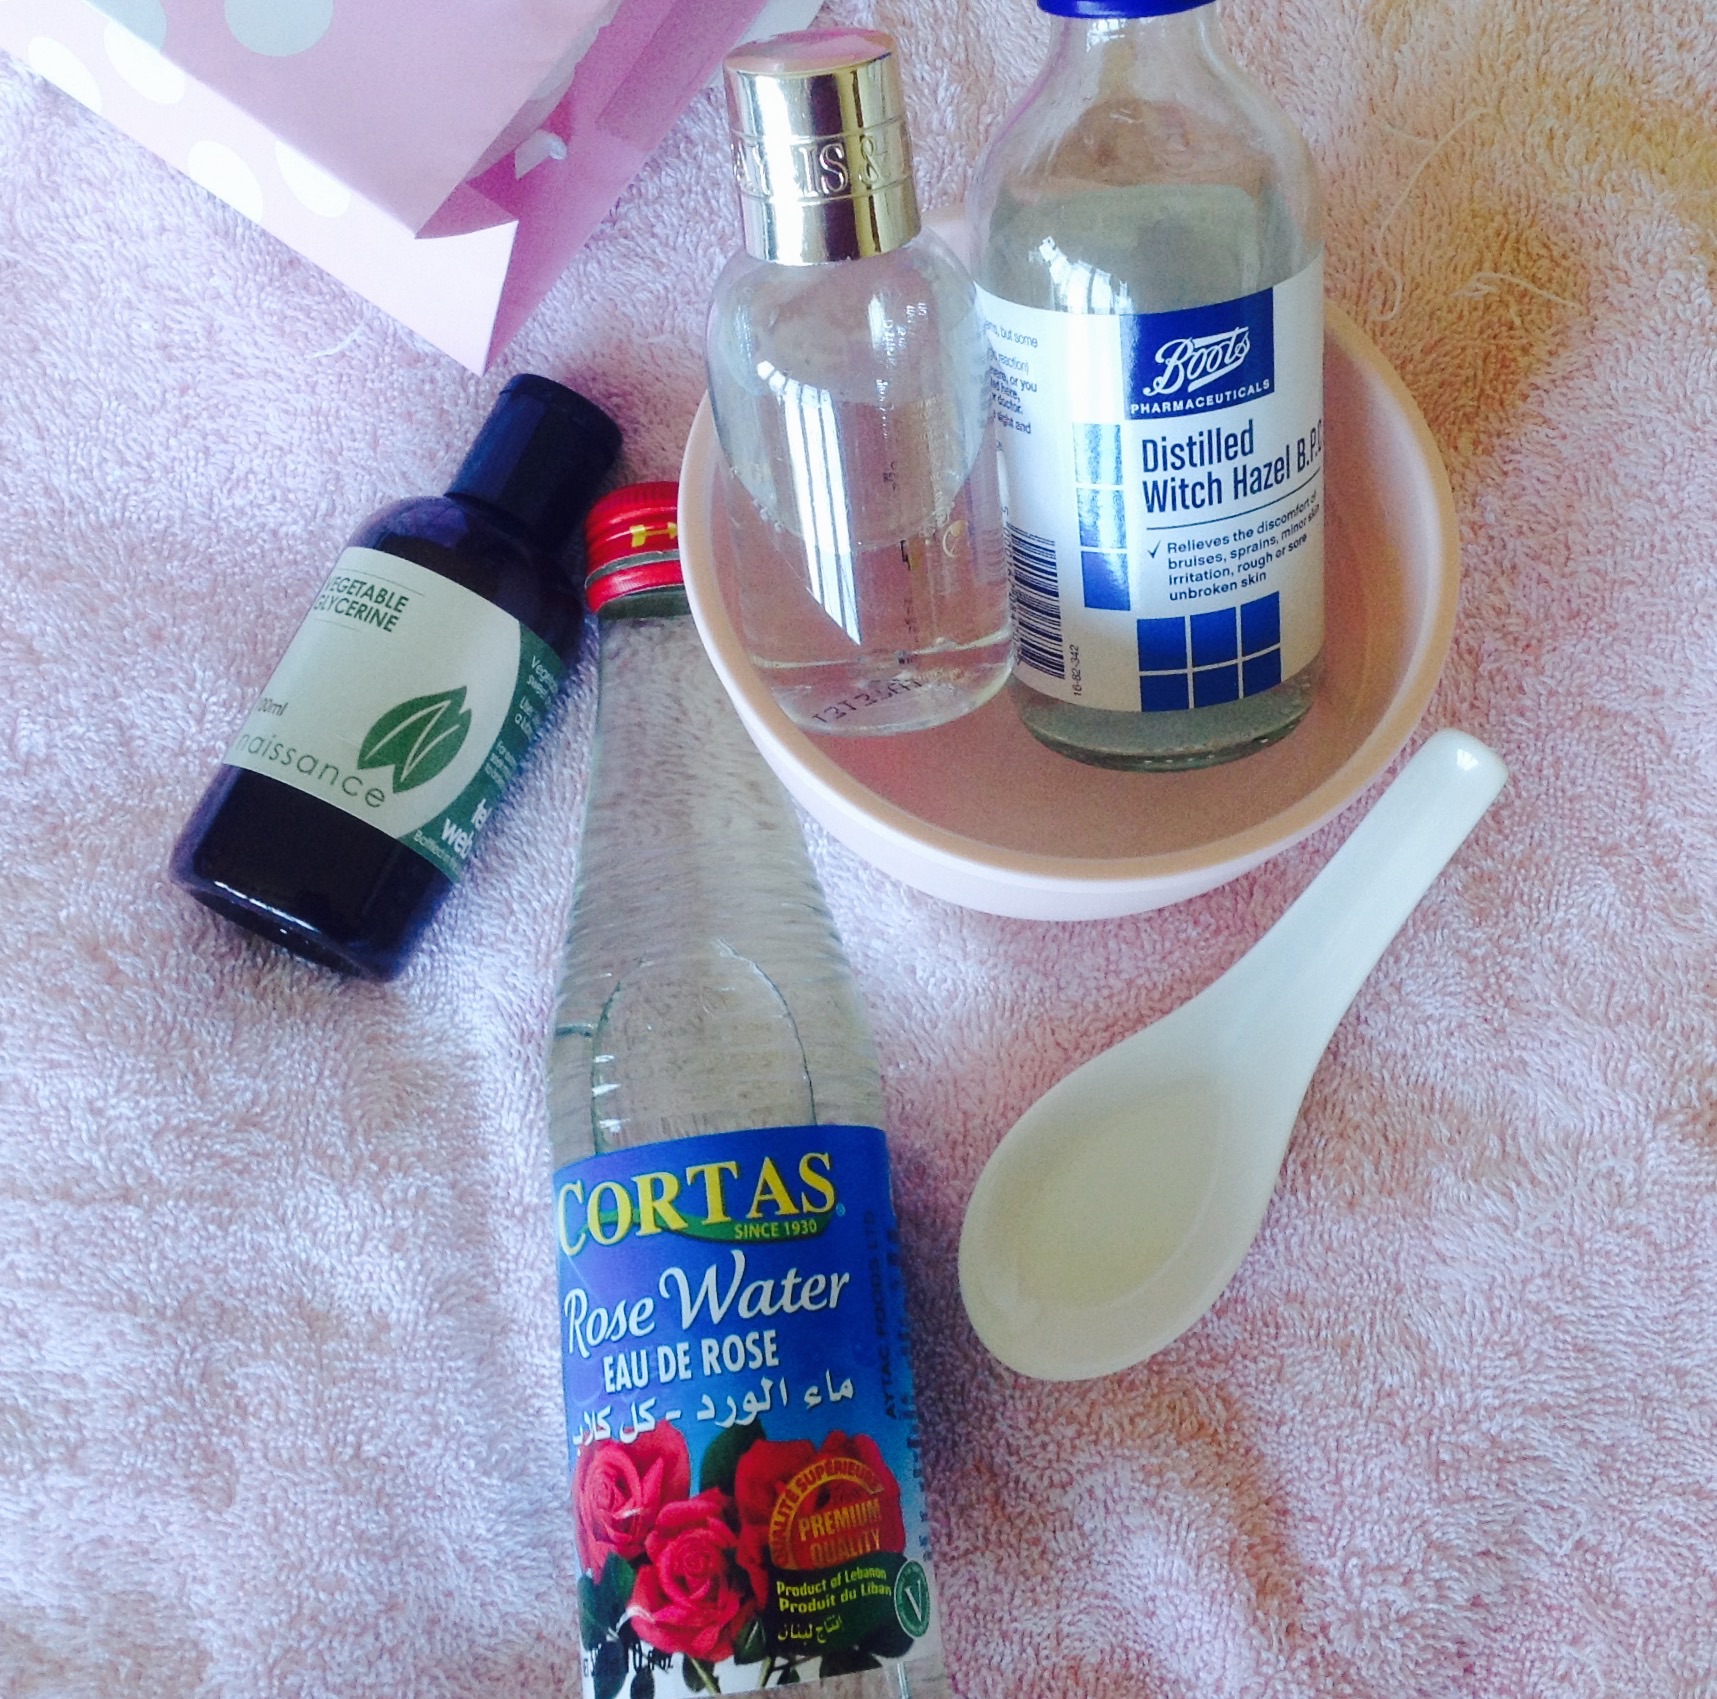
Glycerin, Rosewater, Witch HazelThe final mixture that is almost like the Micellar Water, a gentle liquid, great at cleansing the skin and leaving no sticky residue. It consisted of the following combination:

5 parts Rosewater

2 parts Witch Hazel

1 part GlycerineRosewater, Witchazel and Glycerine cleanser vs Commercial Micellar Water

The ingredients were simply put into a bottle and shaken to mix thoroughly.

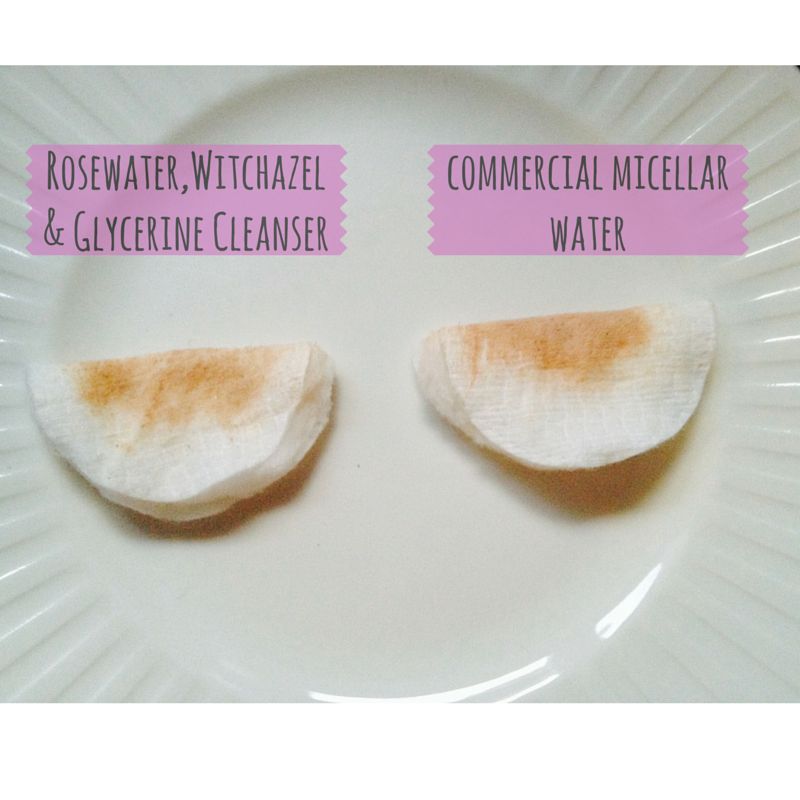
To see if it would work as well the Micellar Water, my experiment involved a comparison test. I used the Rosewater cleanser to cleanse my face on one side, the other side with the Micellar Water.

I’ve been using the home-made cleanser for 2 weeks and my skin feels softer. Since both Rosewater and Witch Hazel have natural astringent properties, I’ve noticed that not only does my skin feel softer, my pores are much smaller too.

The fragrance and liquid are instantly refreshing. I like the fact that I’ve made it, I much prefer to know what ingredients I’m using and in what quantities. As there’s no preservatives, the ingredients are all natural with zero commercial chemicals or preservatives. It also means it’s more likely to be better for my skin.

I think this home-made version works just as well as the commercially made Micellar Water, best of all it smells heavenly, like taking a walk through a Rose Garden, hmmm,  I’m off to go and clean my face.

Lush update

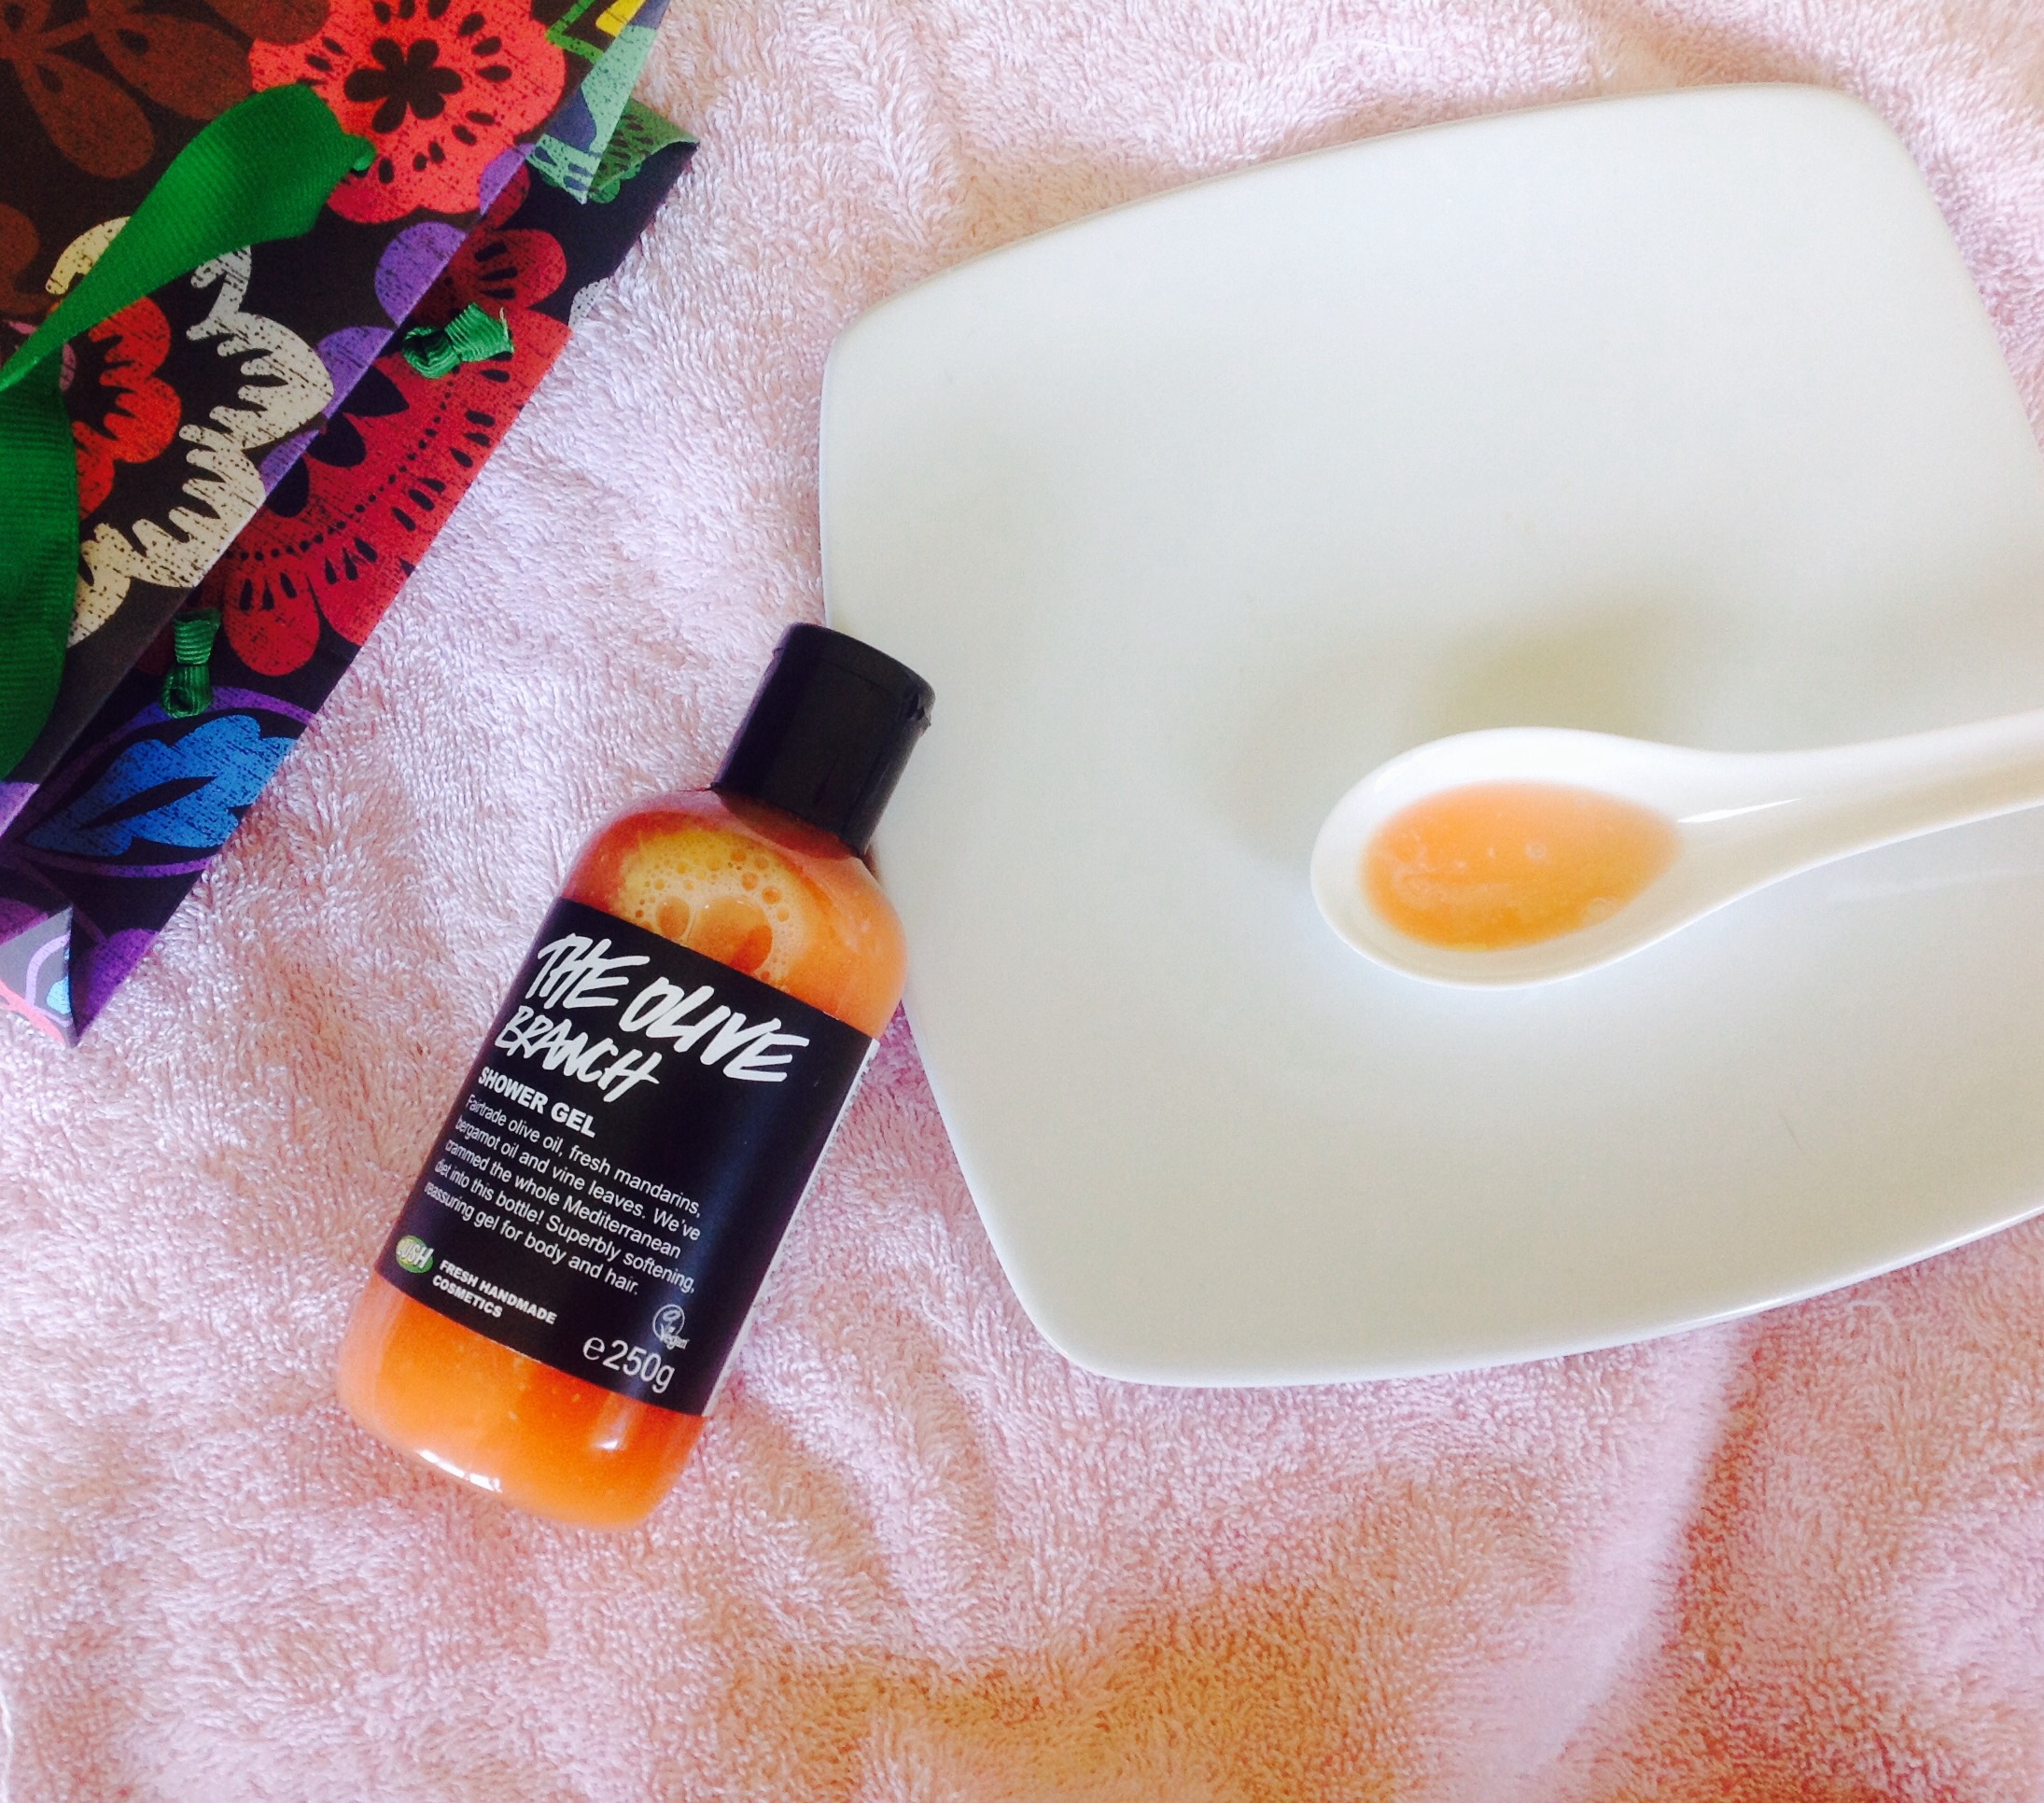
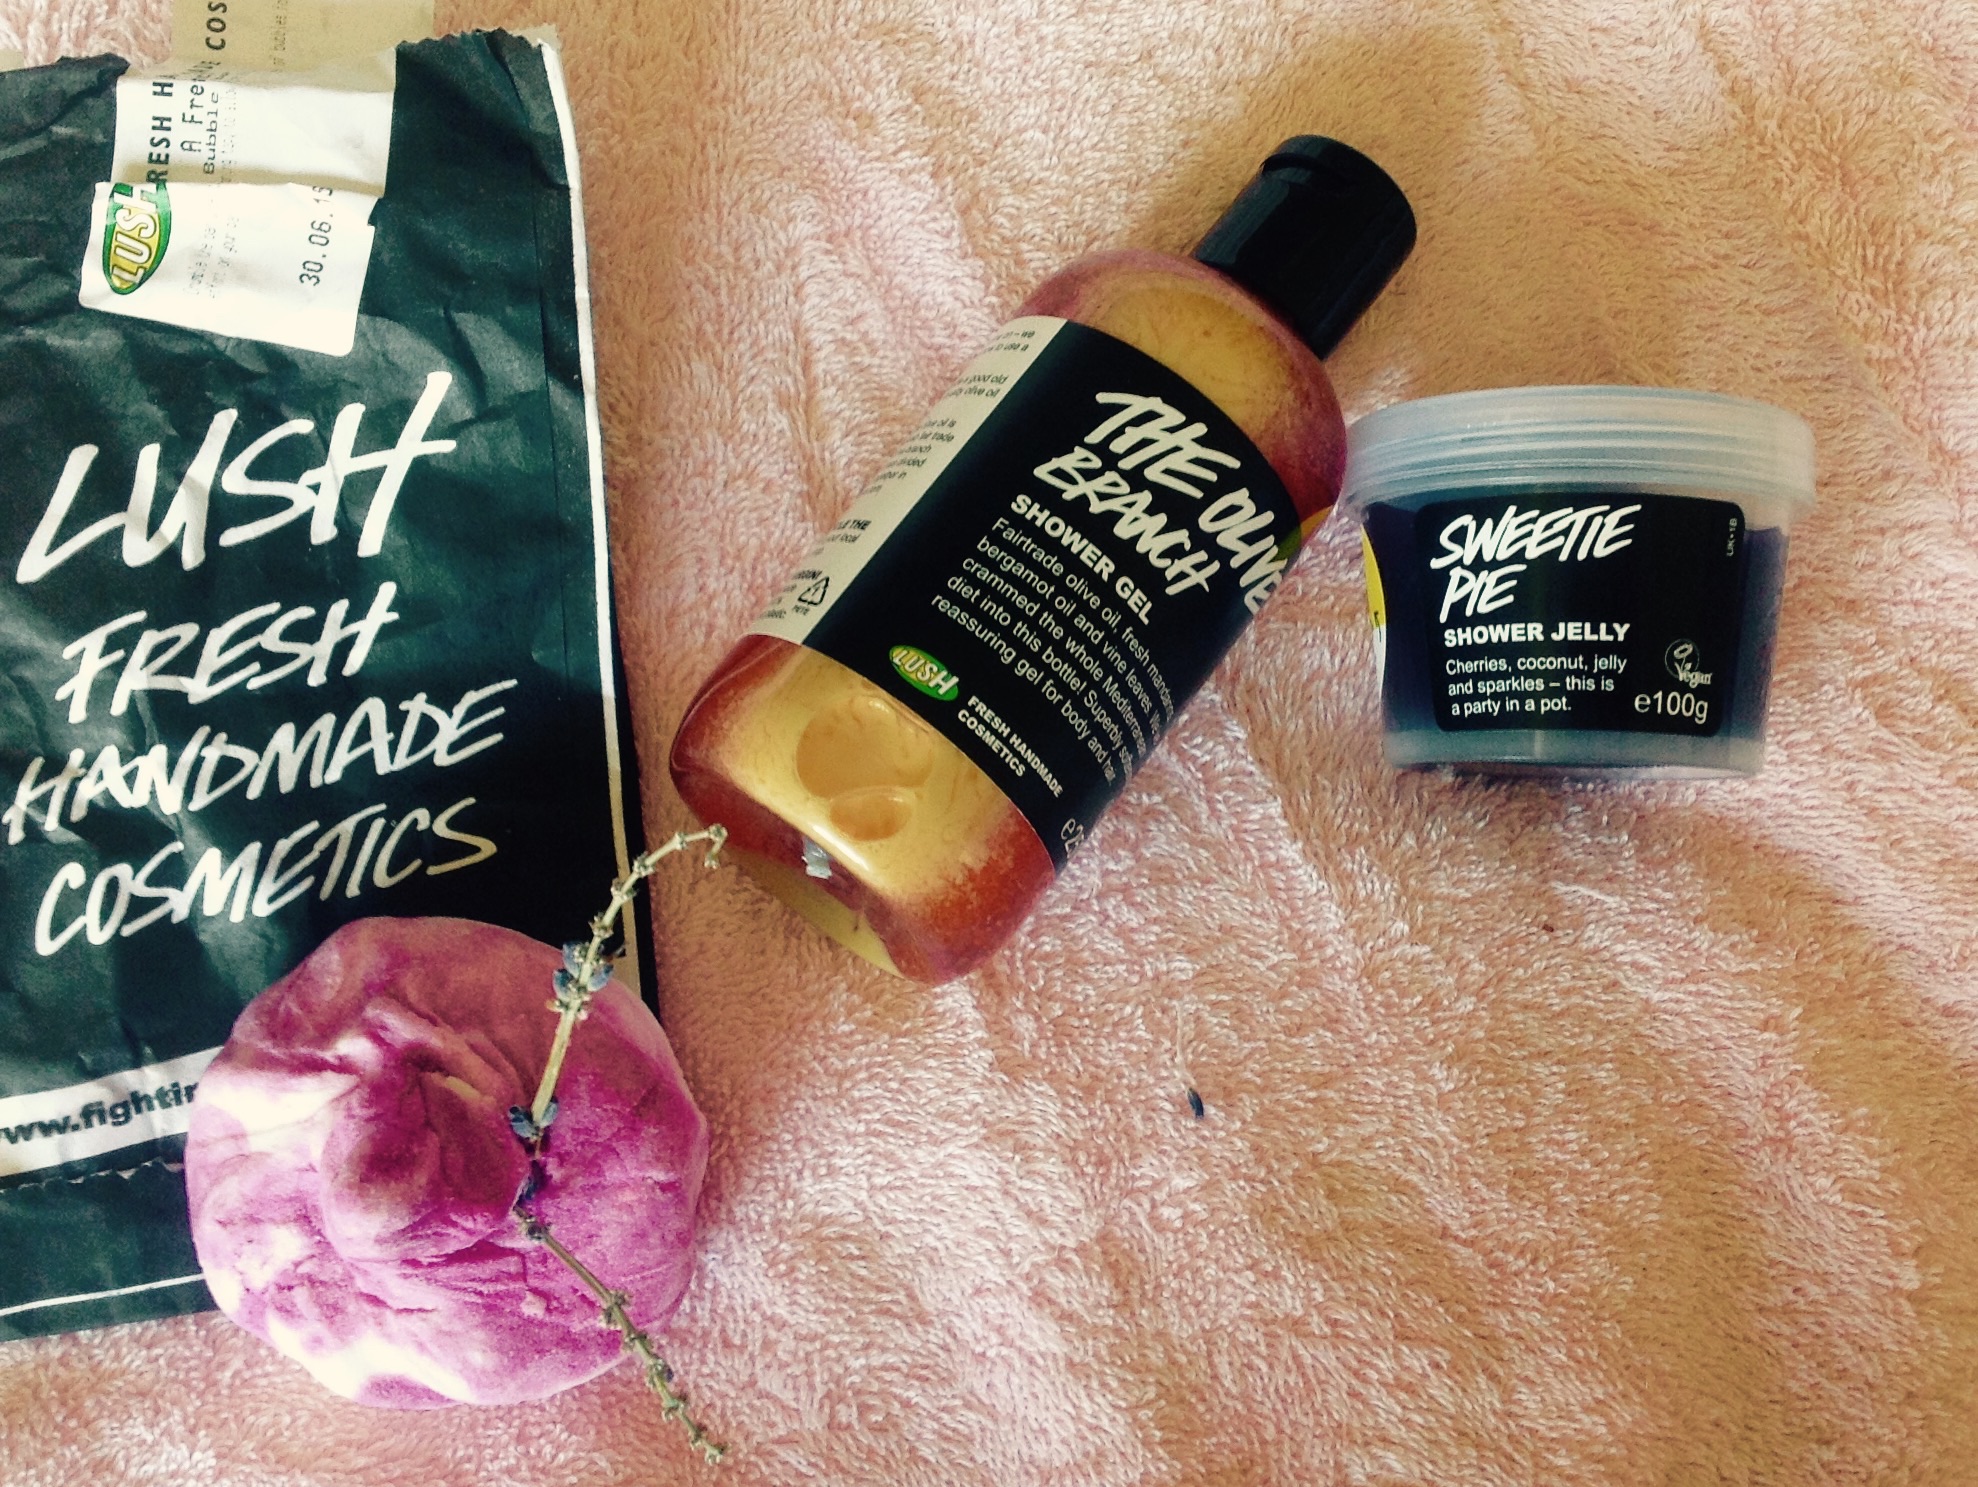
imageFollowing on from last weekend, when I had the chance to try out the Lush Shower Jelly birthday gift, I had the opportunity to try out the Lush Olive Branch shower gel today.

Although it was quite runny to begin with, which is tricky in a shower, since the water is running, you have to keep the shower gel away from the water before using it. It did however, produce a lovely fine lather, which left my skin feeling soft and feeling refreshed.

The smell is heavenly and reminds me of standing somewhere in a Mediterranean garden full of oranges and olives, like the time we were on holiday in Spain.

I love the fact that scent has a way of transporting you back to somewhere or reminds you of a memory and this is a bottle for me that is wonderfully reminiscent of a sunny afternoon spent in Seville.

Since trying the product, I’ll be honest, I wasn’t all that convinced that the ingredients are all natural, or hand made as the label described.

So many brands make these claims, and yet when you dig a bit deeper, you find that the natural ingredients represent such a tiny amount, that I think wherever possible its better to try and make it yourself, to get the full benefit or full potency of the ingredient you like.

That is, after all what happens when we select ingredients to cook with.

So I did a bit of research about Lush and came across this YouTube film:

It has me convinced that most of the ingredients are natural, because here, you can see all the ingredients being mixed together, just as you would in your own kitchen. Obviously, they have to do this on a commercial scale, but its reassuring to see it all in action. So now, I know it really does contain Bergamot, Orange Blossom, Vine Leaves and Olive Oil and in large quantities too.

I love the scent and their ethics. Definitely will be a repeat purchase – I will just have to exercise a lot of self control when I enter the Lush store next time I’m in Wimbledon.

Hand made Calamine & Coconut After Sun lotion to the rescue

Home Made After Sun Lotion

Home Made After Sun Lotion

It is nearly the end of term and with it the annual tradition of the School sports day. This year, my eldest had opted out of taking part. (Apparently it’s optional at her school) Instead she watched the event with some of her friends.

When I returned home that evening, both she and my husband were glowing bright red from where they had been sitting in the sun.

When they were much younger, I would run around after both of my kids with a bottle of sun-lotion, smearing them from head to foot to keep their delicate skins protected from the sun.

Unfortunately, I was at work when they caught the sun.

In previous years, my go to remedy for sun stressed skin is Calamine lotion or cream from the pharmacy. The pink liquid is by far the fastest way of cooling down hot skin. It is also good for sensitive skins, the zinc in the lotion reduces any rash faster than anything else I’ve tried.

My daughter now considers herself to be way too cool to be using a lotion that she thinks is for kiddies. She turned her nose up at it declaring “it stinks”. I must admit it’s got quite a chalky medical aroma to it.

This is an argument that I’m unlikely to win.

I have therefore created a lotion that still has the cooling properties of the calamine, but, with all natural healing properties that will look and smell great.

So here’s how I made it:

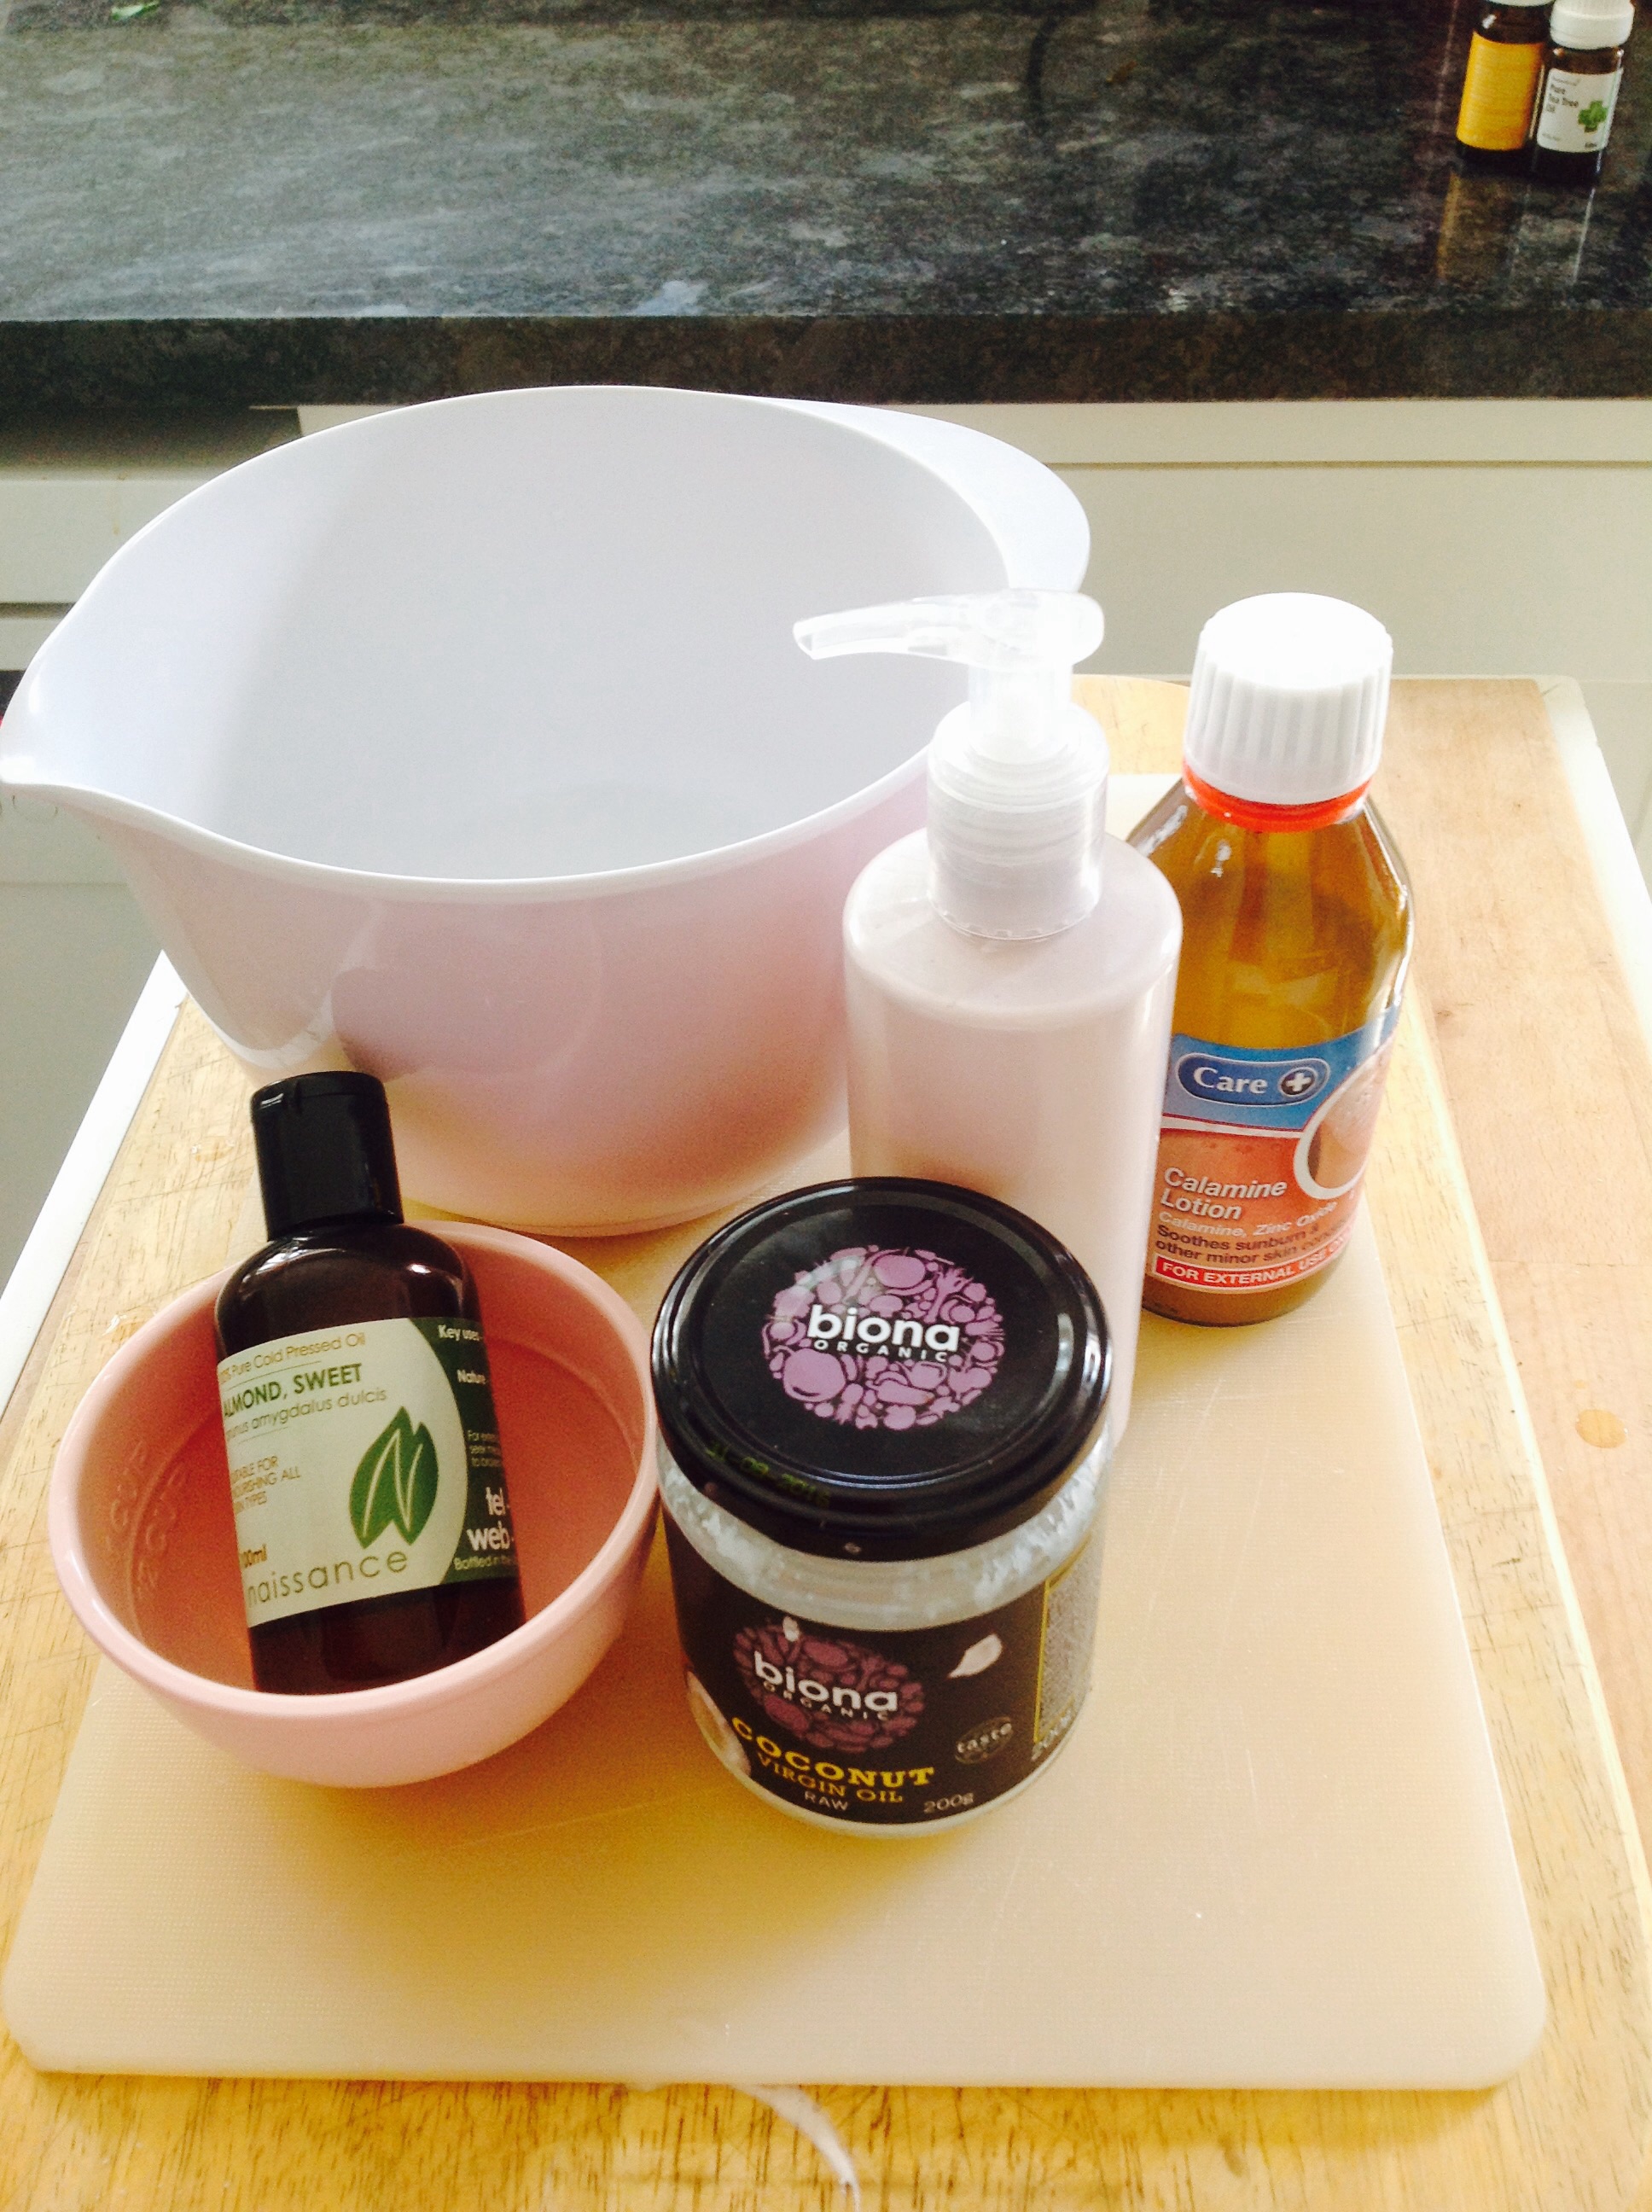
6 Tablespoons of Calamine lotion (the type you get from the Pharmacy)

4 Tablespoons of Cold Pressed Organic Coconut Oil

2 Tablespoons of Sweet Almond Oil

1 teaspoon of Stearic Acid (orderd online from natural Heath & Beauty store)

Home Made After Sun Lotion

Ingredients for Home Made After Sun Lotion

For the scent, I added the following essential oils: 7 Drops of Lavender essential oil (Great healing and skin soothing properties) 5 drops of Lemon essential oil (good antiviral and antiseptic properties and a refreshing scent), 1 drop of Citronella (just one drop, as it can overpower everything else, it’s a good bug repellent during the summer months).

As this was the first time I made this lotion, I tried out a very small amount first to see if it would work.

The Calamine lotion is water based, mixing it with the oils would need something to bind them together to stop them from separating.

I used Stearic Acid as this is a natural ingredient and works to act as an emulsifier, I simply added this to the mix in quarter teaspoon amounts.

This meant it was easier to whisk into a creamy consistency, switching to Sweet Almond Oil once I’d gotten to the bottom of the jar of Coconut oil.

I continued to alternate between the Calamine and the oils, adding the stearic acid whenever I felt the mix started to look too thin. I kept going until It was the consistency of a soft cake batter, in a pretty pink colour.

Essential oils were added at the end,  which was whisked into the mix.

As there are no chemical preservatives, I’ve kept the quantity small, enough to last a couple of weeks for the whole family to use.

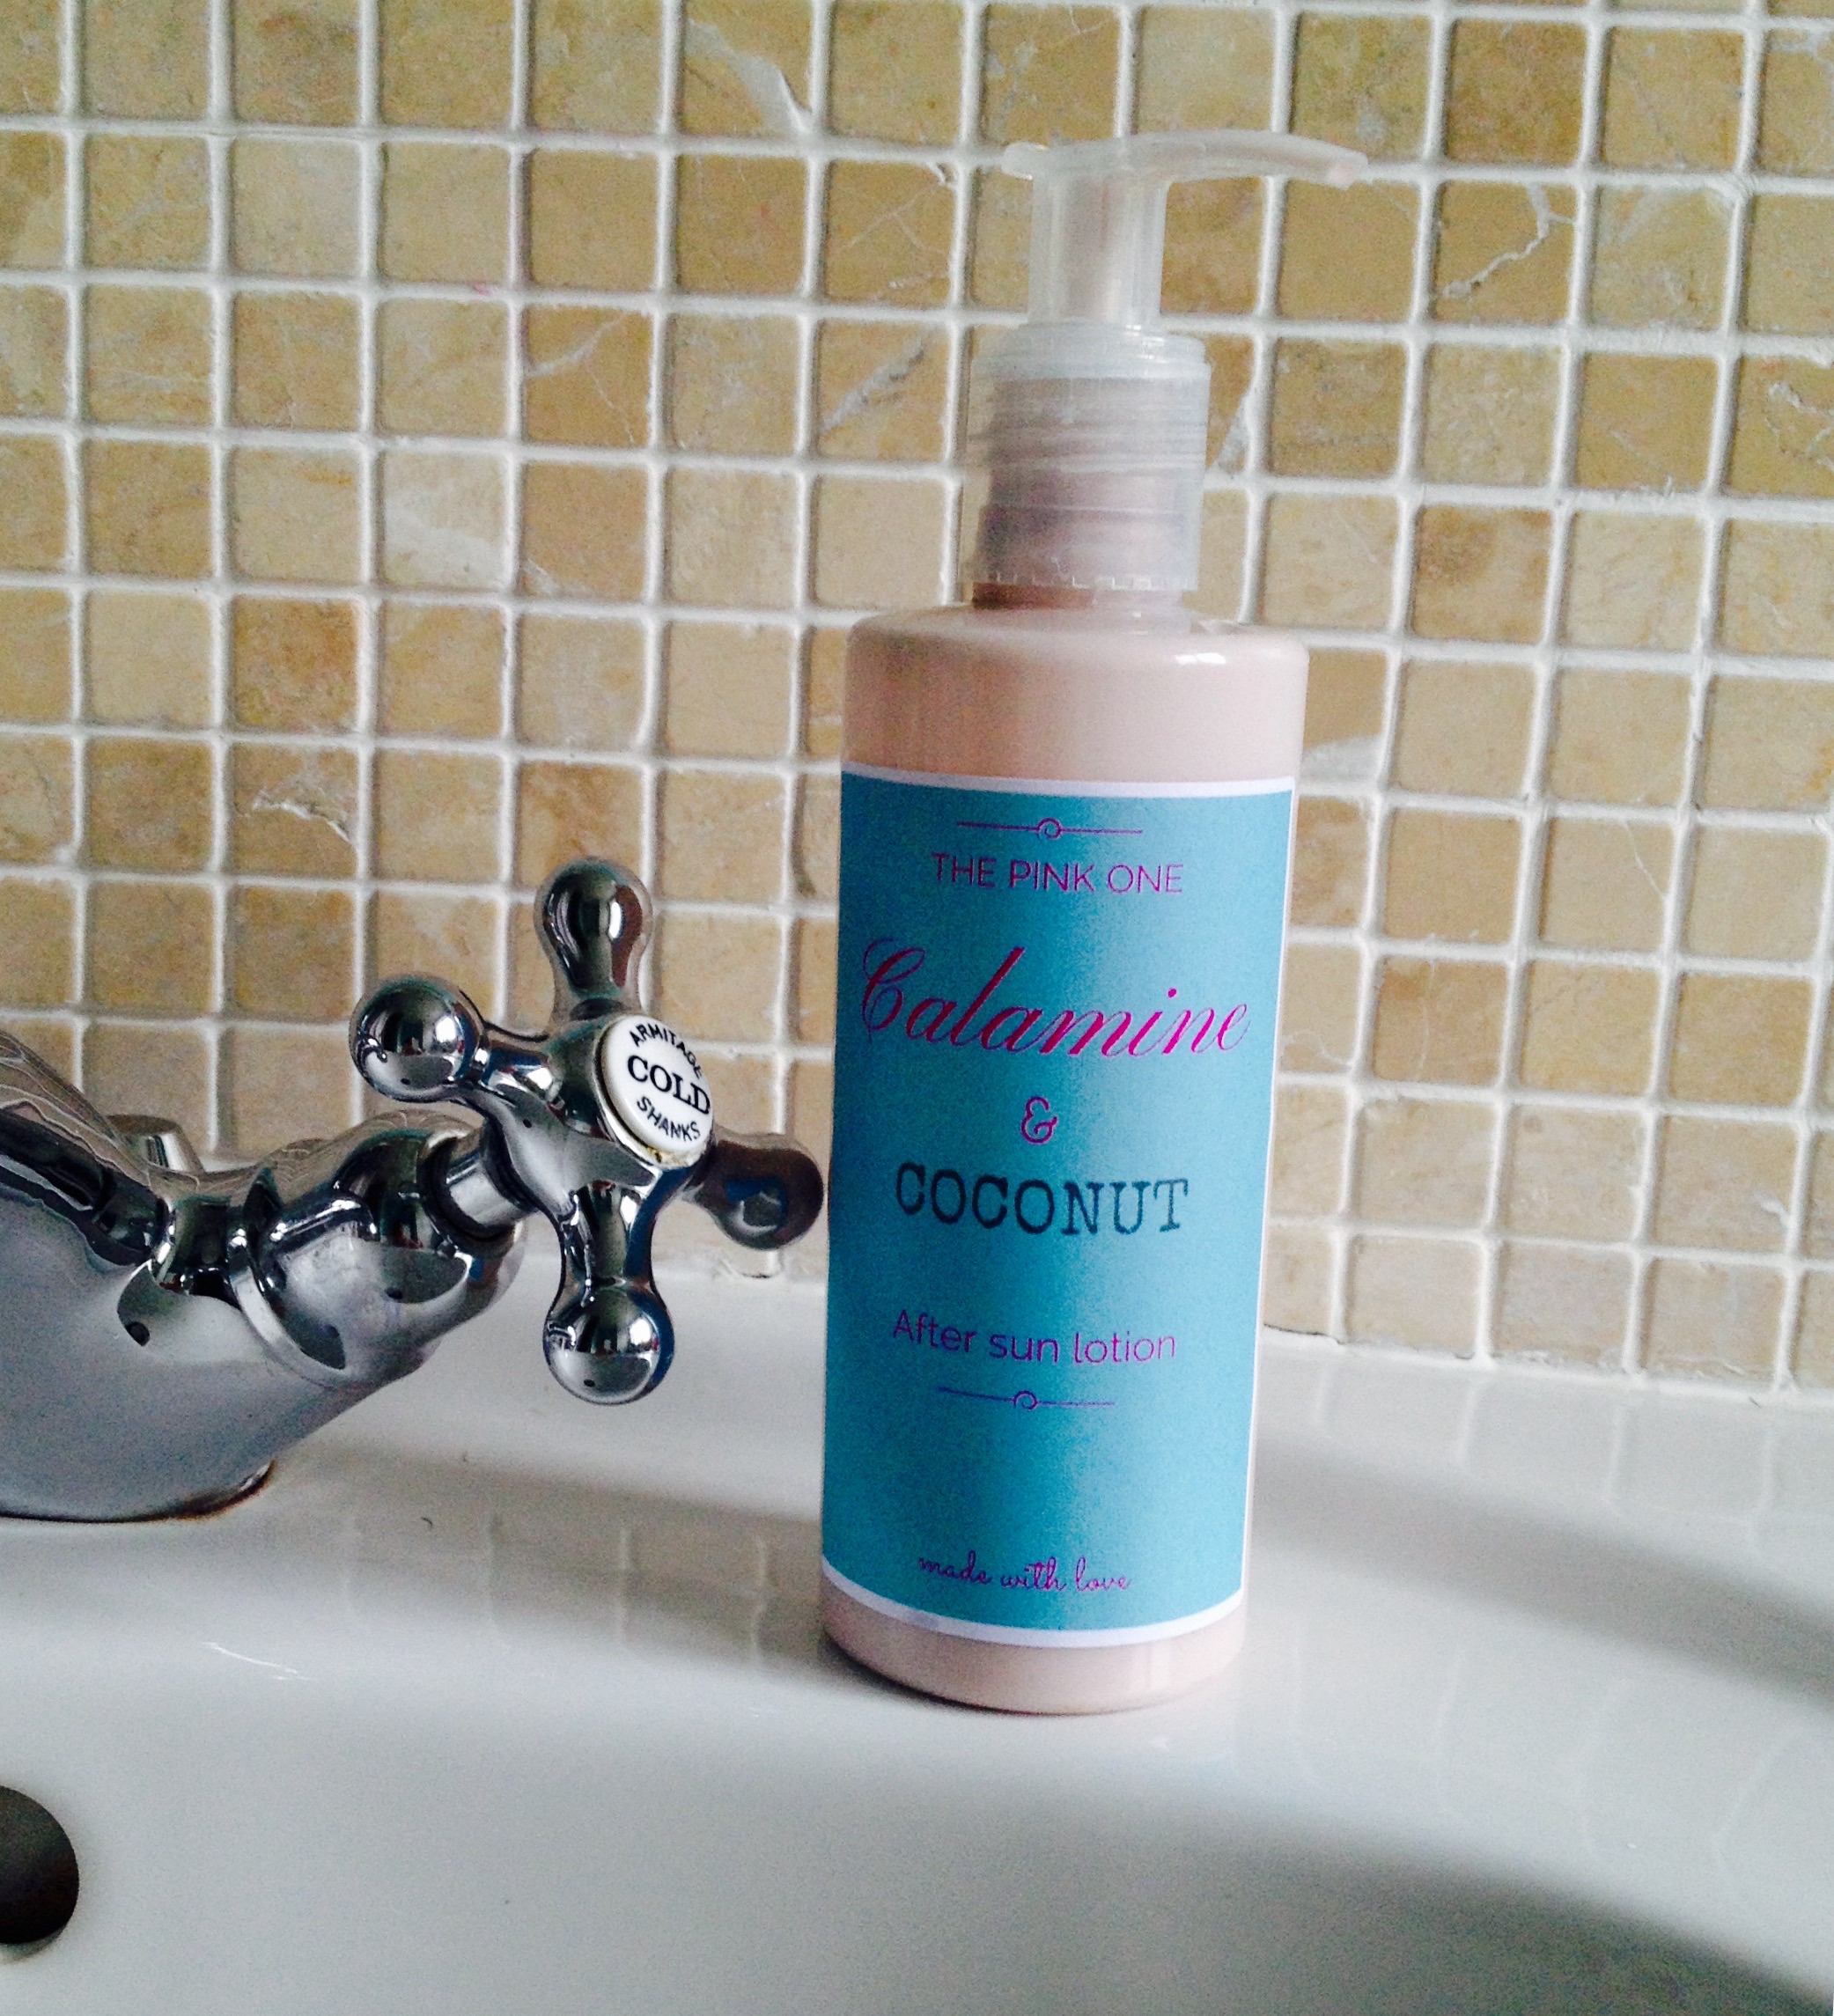
The mix was poured into an empty clean recycled bottle that used to contain a hand wash. I designed and added a lable and some clear vinyl to make the label waterproof.

I think the finished result wouldn’t look out of place in a beauty store. My husband was first to try the lotion, no adverse reaction from my Hub, no adverse reaction from me or from my kids.

The texture and smell is a lot better than the original lotion.

Do let me know if you’ve made your own  sun lotion, or can recommend one to try.

I got Lushed for my birthday

Lush shower Gel, Lush black currant shower gel and Lush bath fizz

Lush bath treats

For my birthday last week, my husband got me Lushed. I’ve always wondered what the store held.

Each time I’m in Wimbledon, the store is just by the train station and as you walk past the storefront, a blast of scent hits you. It’s sometimes over powering, to the point that I wonder what concoctions are being created, like a witches cauldron full of mystery.

I’ve never been in the store in case I get an overwhelming desire to buy everything and anything I can lay my hands on.

Well I guess I got my wish, as a little bag of delights were handed to me by my grinning daughters and a sly looking husband who said that I might like to try these out since he’d watched me experimenting in our kitchen over the last month, whisking up home made deodorants, foot soaks and the like.

I’ll update this post as soon as I’ve tried each one of these little treats. The cherries and coconut jelly tub looks particularly yummy, but as I’m not entirely sure how it will get from the pot onto me, without it washing away in my hands, I’ll let everyone know tomorrow how I get on with it.

Update – Sunday morning

The Shower  Jelly was an interesting experience. Exactly as the tub described, it looked and smelled like a pack of Rowntrees Jelly before you add water and make it into a jelly, which means it was a little hard to scoop out of the tub with your fingers.

It also smelled like a delicious tub of sweeties, the kind that you know is not good for your teeth kind. It rubbed on and lathered up, but didn’t have a load of bubbles, it was a fine lather. I’d say it’s best to use in the bath-tub as it kept slipping out of my hands. A lot of fun, I think my youngest will enjoy in her bath tonight. Worth trying just for the fun of it.

Summer Party and 10 tips for stay put make up

Summer Heat Proof Make-up tips

Summer Heat Proof Make-up Tips

Although this post is not particularly about scent, I feel it might be helpful now that we are in high summer, to share 10 beauty tips I’ve learned over the years.

The company that I work for decided to throw a summer party this year in celebration of it’s 150th year anniversary, it also happened to be on my birthday.

While everything was being prepared, what we hadn’t accounted for, was that the date scheduled for the party happened to be the hottest day of the year.

Since I was determined to enjoy myself without having to worry about  makeup sliding off my face, I applied every tactic I’ve learnt to keep my make-up intact and ready for the party.

Some years ago, I had a number of make-up lessons for my wedding from various make-up artists from various brands. What I learnt about wedding make-up was that it needed to be flawless, fade resistant and take you from day into evening with the minimum of touch-ups.

Here’s the 10 tips I’ve learned for stay-put make up:

1) A good Oil Free Moisturiser: Before applying make-up, and after you have cleaned, toned your face, the moisturiser should be oil free and best quality you can afford as this would protect and act as the base for any primer and foundation.
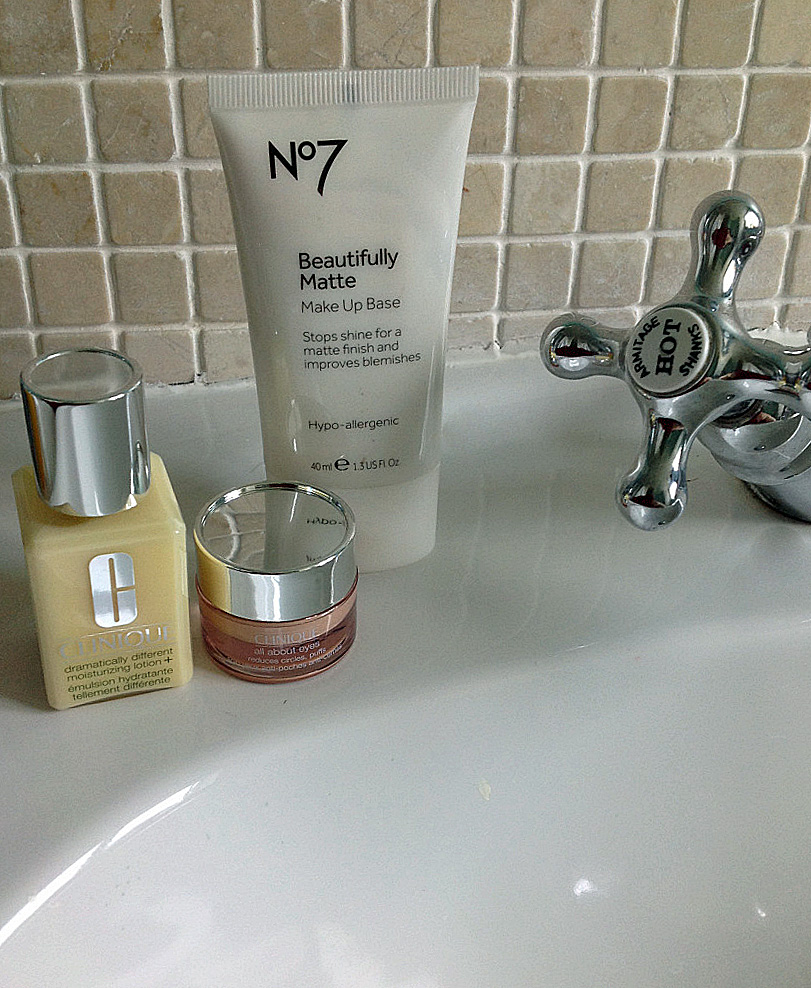
No7 Beautifully Matt Make Up Base

No7 Beautifully Matt Make Up Base

Chanel’s Makeup artist’s tip on applying makeup was to let the moisturiser sink into the skin before applying a primer or base.

2) Mattifying primer/base: To maintain a shine free complexion, apply a mattifying base over the t-zone area or whole face. The one I have discovered recently which works very well at keeping my face shine free is from Boots No7 Beautifully Matte Make-up Base.

3) Oil Free Foundation with high SPF: Leave the primer to settle for just a little while before applying any foundation. The one that I am currently using is the CC Cream from Clinique as the oil free formula, combined with the SPF30 is a great way to have coverage whilst keeping everything looking natural during the day. As soon as I finish this however, I am going to try the Chanel Vitalumière Acqua that I discovered on Ravishing Roses’ blog here. and use it along with Clinique’s oil free Super City Block SPF 40 that I use alone at the weekends.

4) Concealer for eyes: Apply a primer over the eyelid area, this will prevent eyeshadow from creasing and blur any wrinkles. I always use a base for my eyes – Clinique’s All About Eyes concealer, which I find works great as a concealer and primer in one.

5) Set with Powder: Applying a light dusting of powder will set and help make-up last longer in heat and humidity – the one I’m using is Clinique’s Blended Face Powder, Transparency 3.
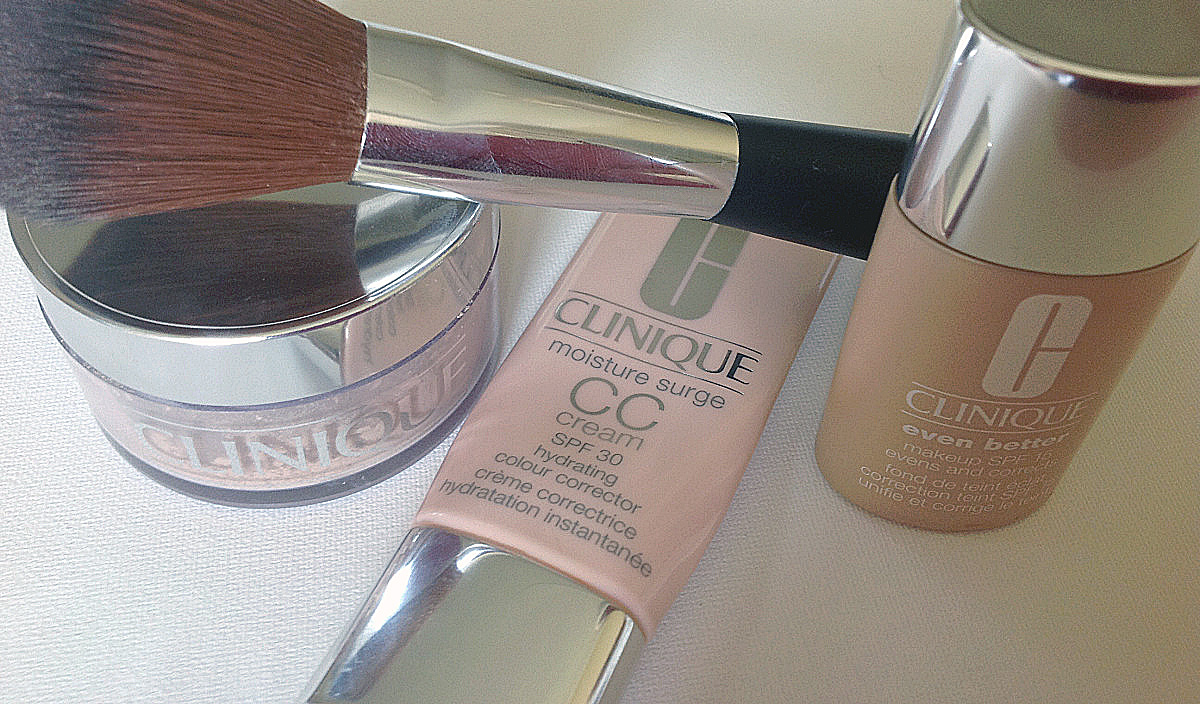
Clinique Transparency 3 face powder with CC Cream and Foundation

Clinique Face Powder, CC Cream & Foundation

Over the years I have tried many face powders, but this one is the one I keep returning to. It is mineral based and natural looking, you forget that you’re wearing it and is also long lasting.

6) Use good quality products for eyes:  The tip from my make up lesson from Chanel was to use a tiny bit of water to mix in with the eyeshadow to create a more intense look, it will also last longer. You can use it even as an eye liner, with the darkest shade in the eye shadow palette.To line the eyes, I used Bourjois Khol and Contour eye pencil in a dark grey, I find this is a good quality pencil and easy to blend. I took the Bourjois Smoky eye trio in Gris Party a very dark instense grey pallet to use for the party.
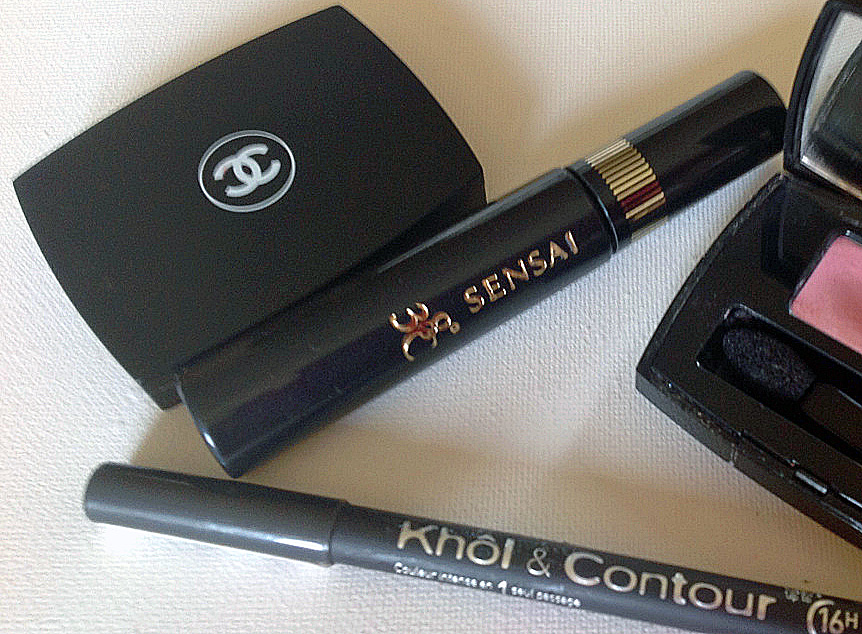
Kanebo Sensai 38°C Mascara

Kanebo Sensai 38°C Mascara

7) Smudge free mascara: To compete the eye make-up, the mascara that I use is Kanebo Sensai 38°C in black, this stays put in any heat. As it is smudge proof and suitable for contact wearers, it’s helped me avoid the dreaded panda eyes. Best of all it only comes off with warm water that is over 38 degrees. I have been known to bulk buy this so that I do not run out. You can now order this online through Harrods website. I have also discovered that Clinique has a similar product called Lash Power Mascara Long Wearing Formula which I’ve not tried yet so can’t tell you if it stays put as well as Kanebo’s.

8) Lip line the whole of your lips: The final tip from the make-up artists, was to use a lip-liner, a natural shade close to your own lip colour and fill in the entire lip, that way you don’t get the circle of colour around the mouth.

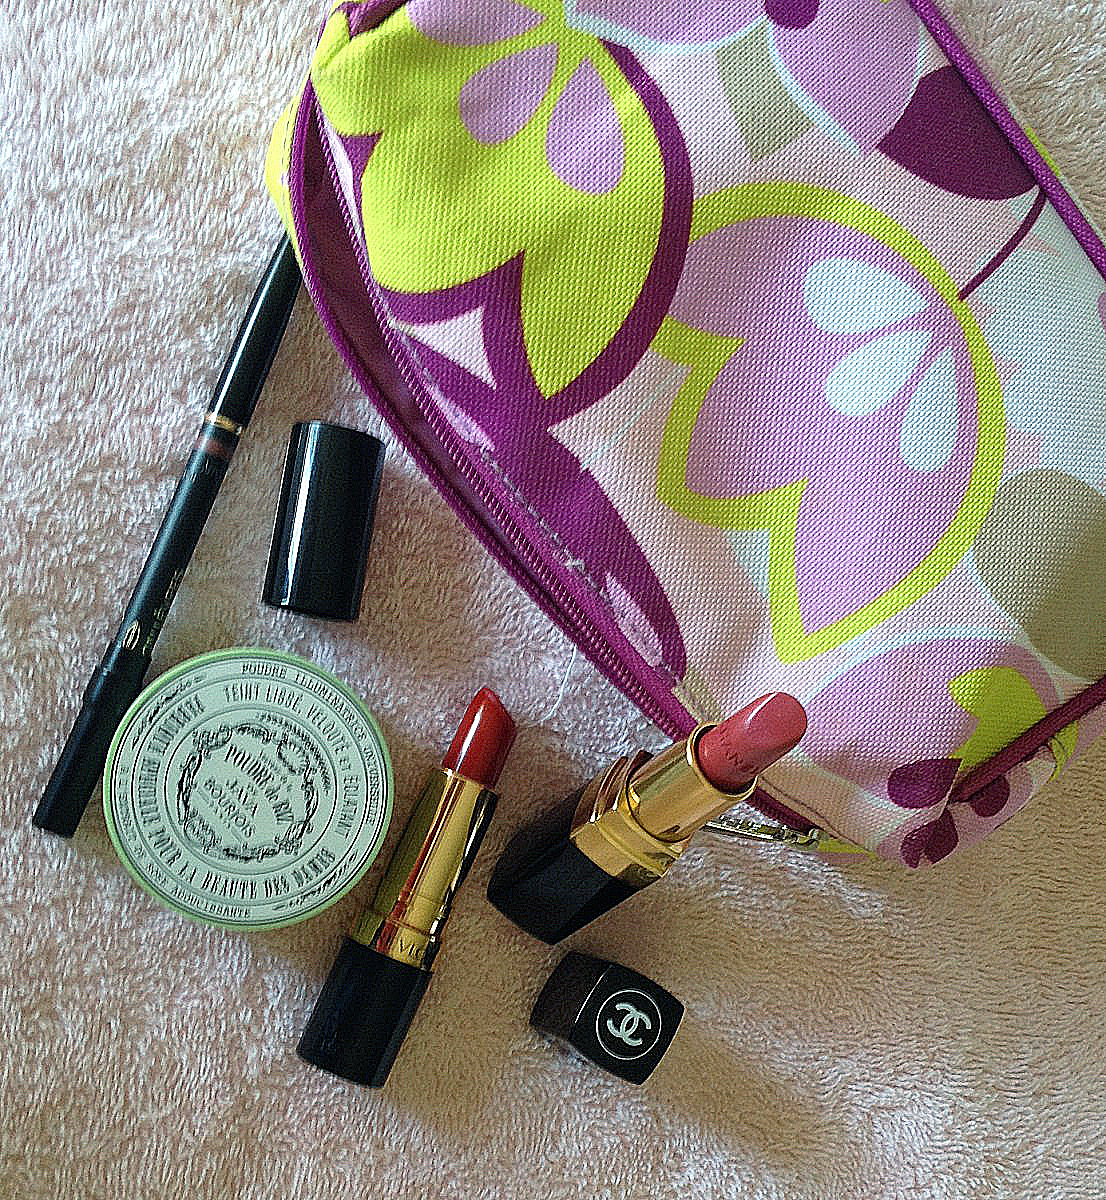
9) Long lasting lipstick: My all time favourite lipstick is Chanel’s Rogue Coco in Légende which has a slightly blue tone and is a perfect match to my lip colour, it adds a slight iridescence and I love the subtle scent of rose.

It tends to last and last so I never really have to remember to re-apply more than one or two times in a day. Although it’s pricey, I find it lasts 2-3 times longer than budget brands and that means for me, better value and a little bit of luxury that makes me smile.

For the evening, I chose Revlon’s Super lustrous lipstick in Revlon Red 730, which is a vintage red, that suits any skin tone. This is also a great quality moisturising lipstick which has very dense pigment is also very long lasting.

10) Use blotting paper or loose fine powder: Finally, I have always kept blotting paper in my bag for the occasional touch-ups. My favourite is the little booklet of Lehacresor Papier Poudre which is now only available to buy online. Since I had run out of this, I took the Bourjois Java Rice Powder that I use occasionally as
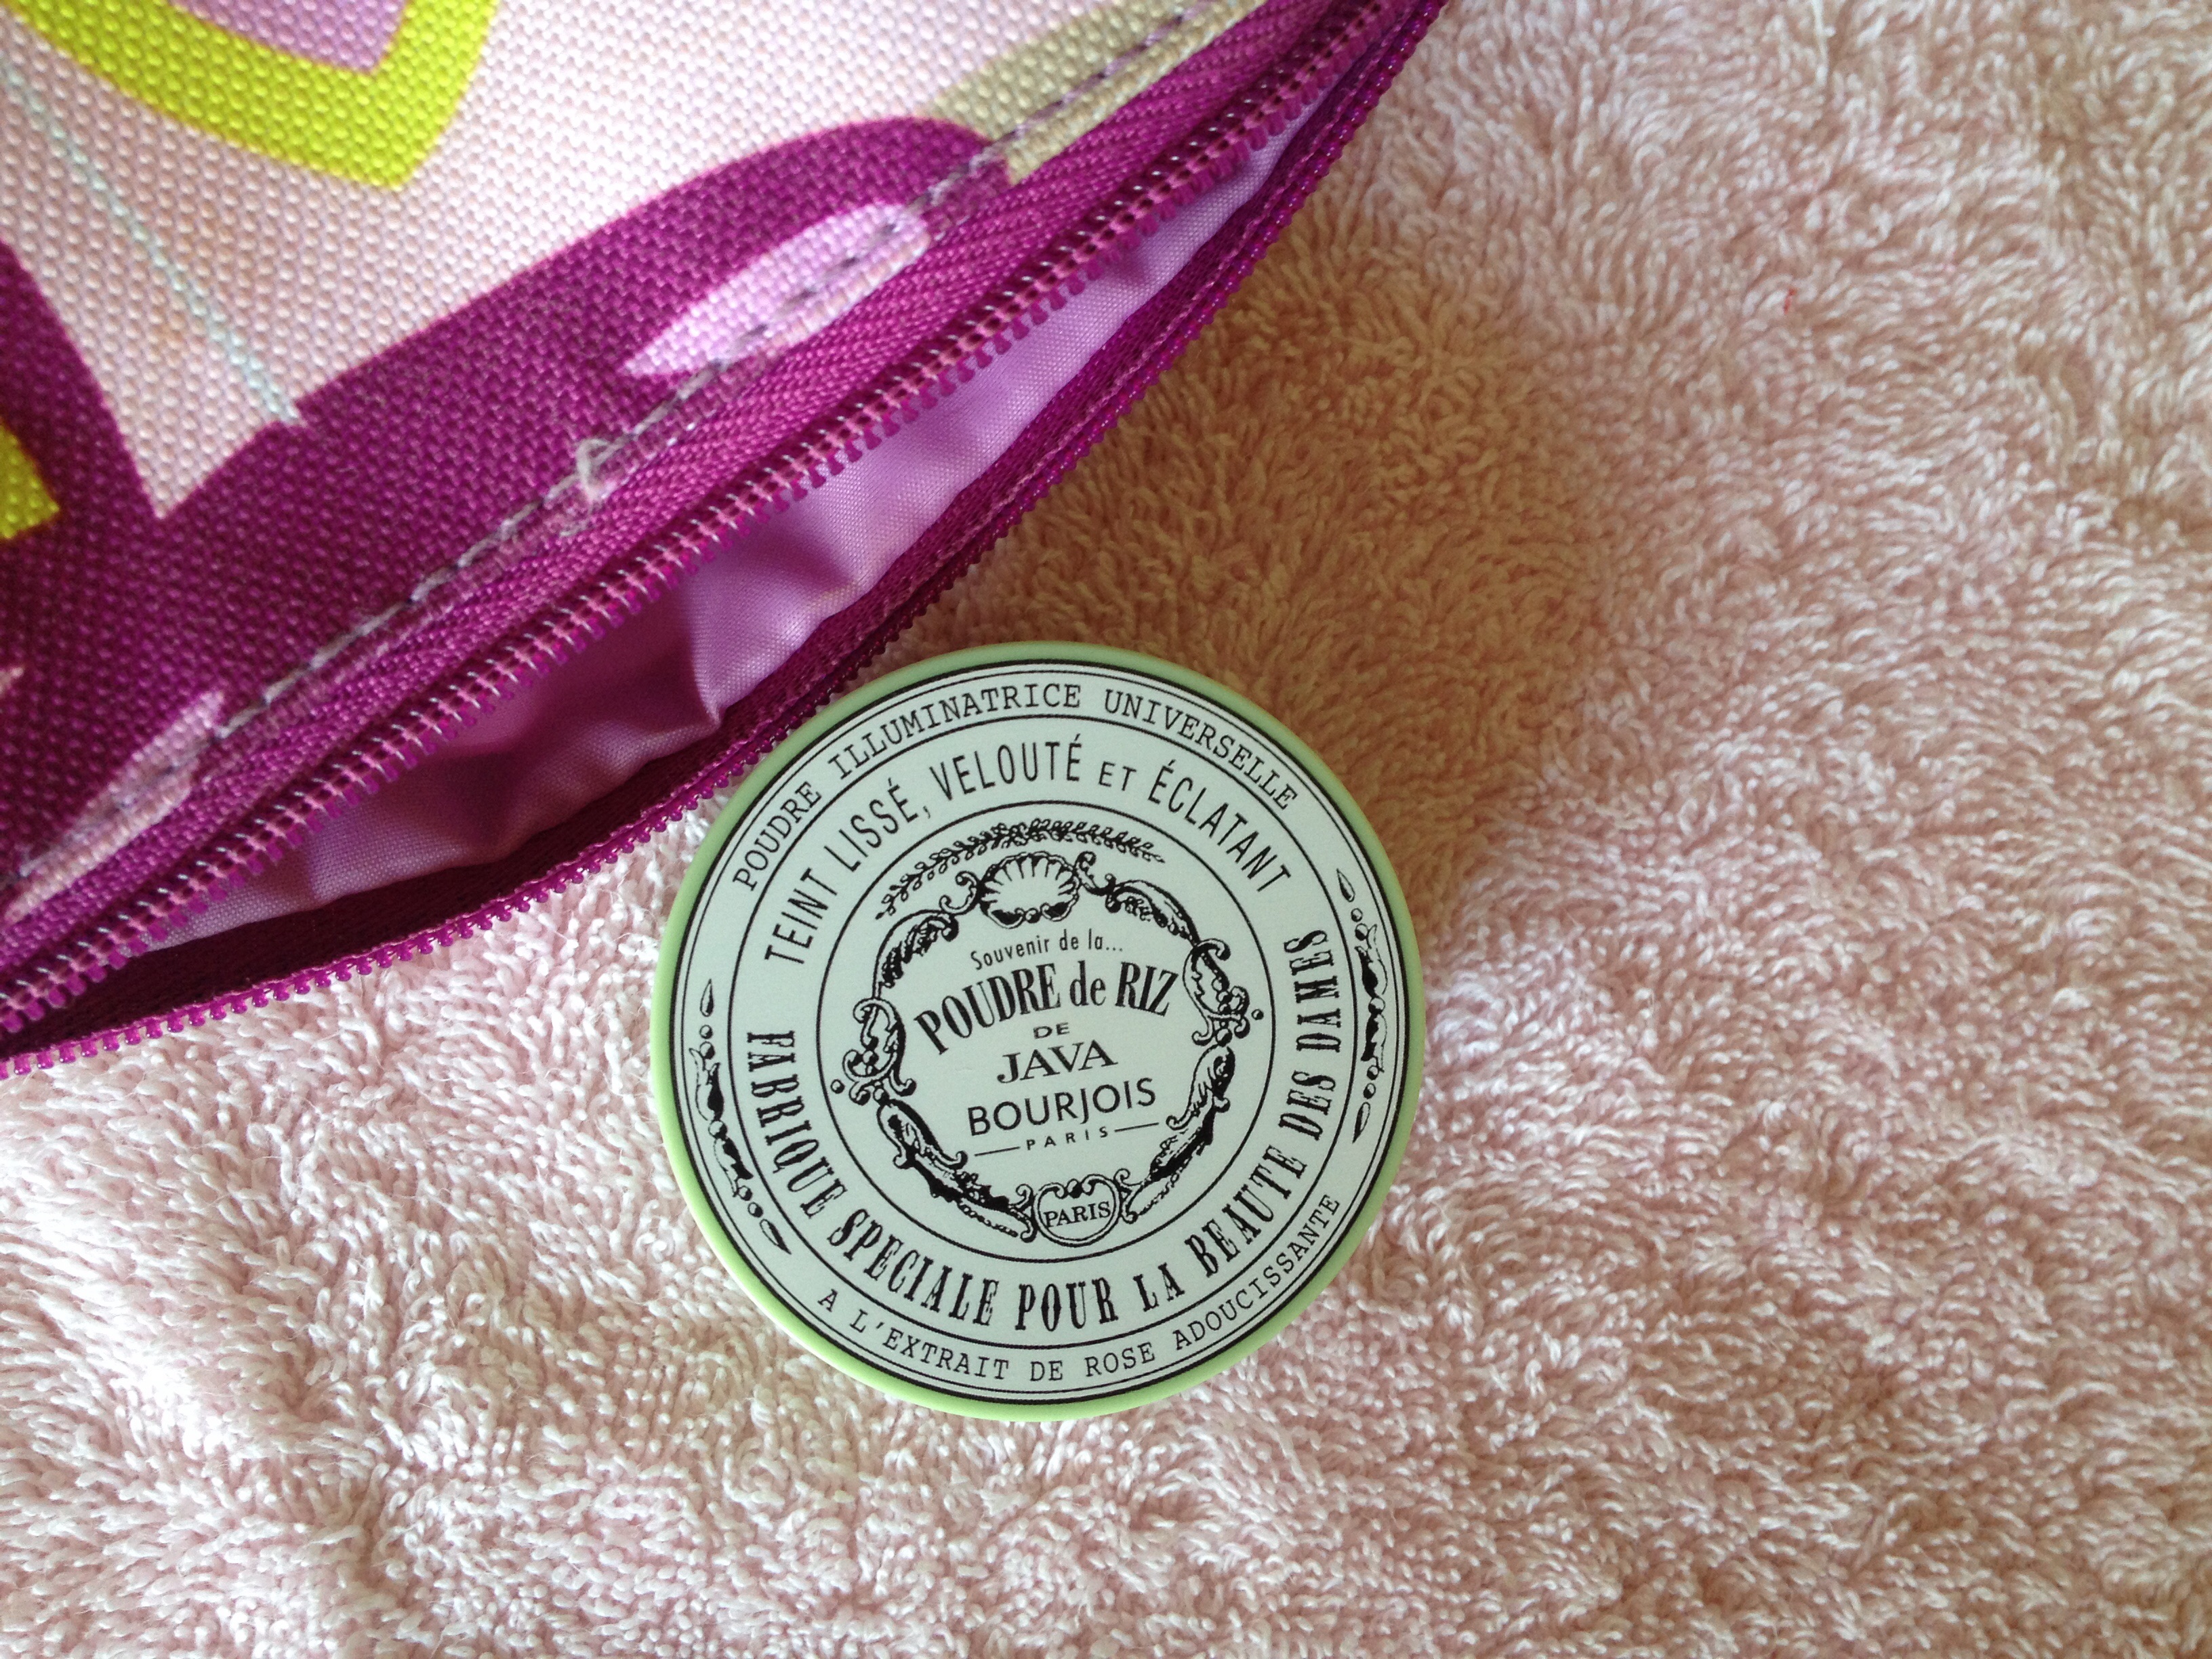
Bourjois Java Rice Powder

Bourjois Java Rice Powder

a subtle highligter for days when I think my skin needs help.

This powder looks like powdered mother of pearl. Although it is a soft delicate pale creamy pink, it is very fine and is translucent with a lovely light rosy fragrance which as you apply wafts around you, making the air feel soft and fragrant. I love the retro packaging.

By the time of the party, the office had literally melted in the heat, we had a power outage in the morning which meant most of the building had been without power and with it no air conditioning or fans to keep everyone cool.

I gave up on any idea of taking off the day-time makeup and re-applying fresh make-up for the party. Instead, I opted to dust the Bourjois powder over my face to revive my skin.

As the heat of the sun begun to fade, the open roof-top terrace was transformed into the maritime themed party, complete with a bar in the shape of a ship’s deck serving cocktails. The humidity and heat was forgotten as everyone turned up in fancy dress and partied on the lawn. I slipped away to get home early enough, just in time to unwrap a few of the birthday presents my kids had made for me before their bed-time.

Cucumber, Witch Hazel and Rosewater Eye Mask, a delight for sore eyes

Cucumber, Witch Hazel and Rosewater Eye Mask

Cucumber, Witch Hazel and Rosewater Eye Mask

I’ve not written a post for a few days, quite honestly this is because there have been a few late nights, combined with the summer heat, contact lenses and staring at a computer screen, my eyes feel sore. I mean really sore, the kind that feels as if you have sharp sandpaper in your eyes and are on fire.

By the time I got home last night, I needed something to help soothe my eyes. I’ve used cucumber slices before and they do help, but I needed something that would be potent and act quickly to relieve the sore tight feeling in my eyes.

I thought about this on the commute all the way home and I decided the best way to get results would be to mash up cucumber slices so that all the juice from both the flesh and the skin could be used.

I had recently purchased a bottle of Witch Hazel to try and make a Rosewater and Witch Hazel toner that was featured in Janis Natural’s blog. She’s got some great tips about natural beauty.

This was a good combination I thought. Witch Hazel is a natural astringent and is good for helping to soothe bruised skin. (It lists this as one of it’s many uses for Witch Hazel on the bottle I bought) Cucumber has lots of health benefits that is widely known and written about.

So here’s what I made:

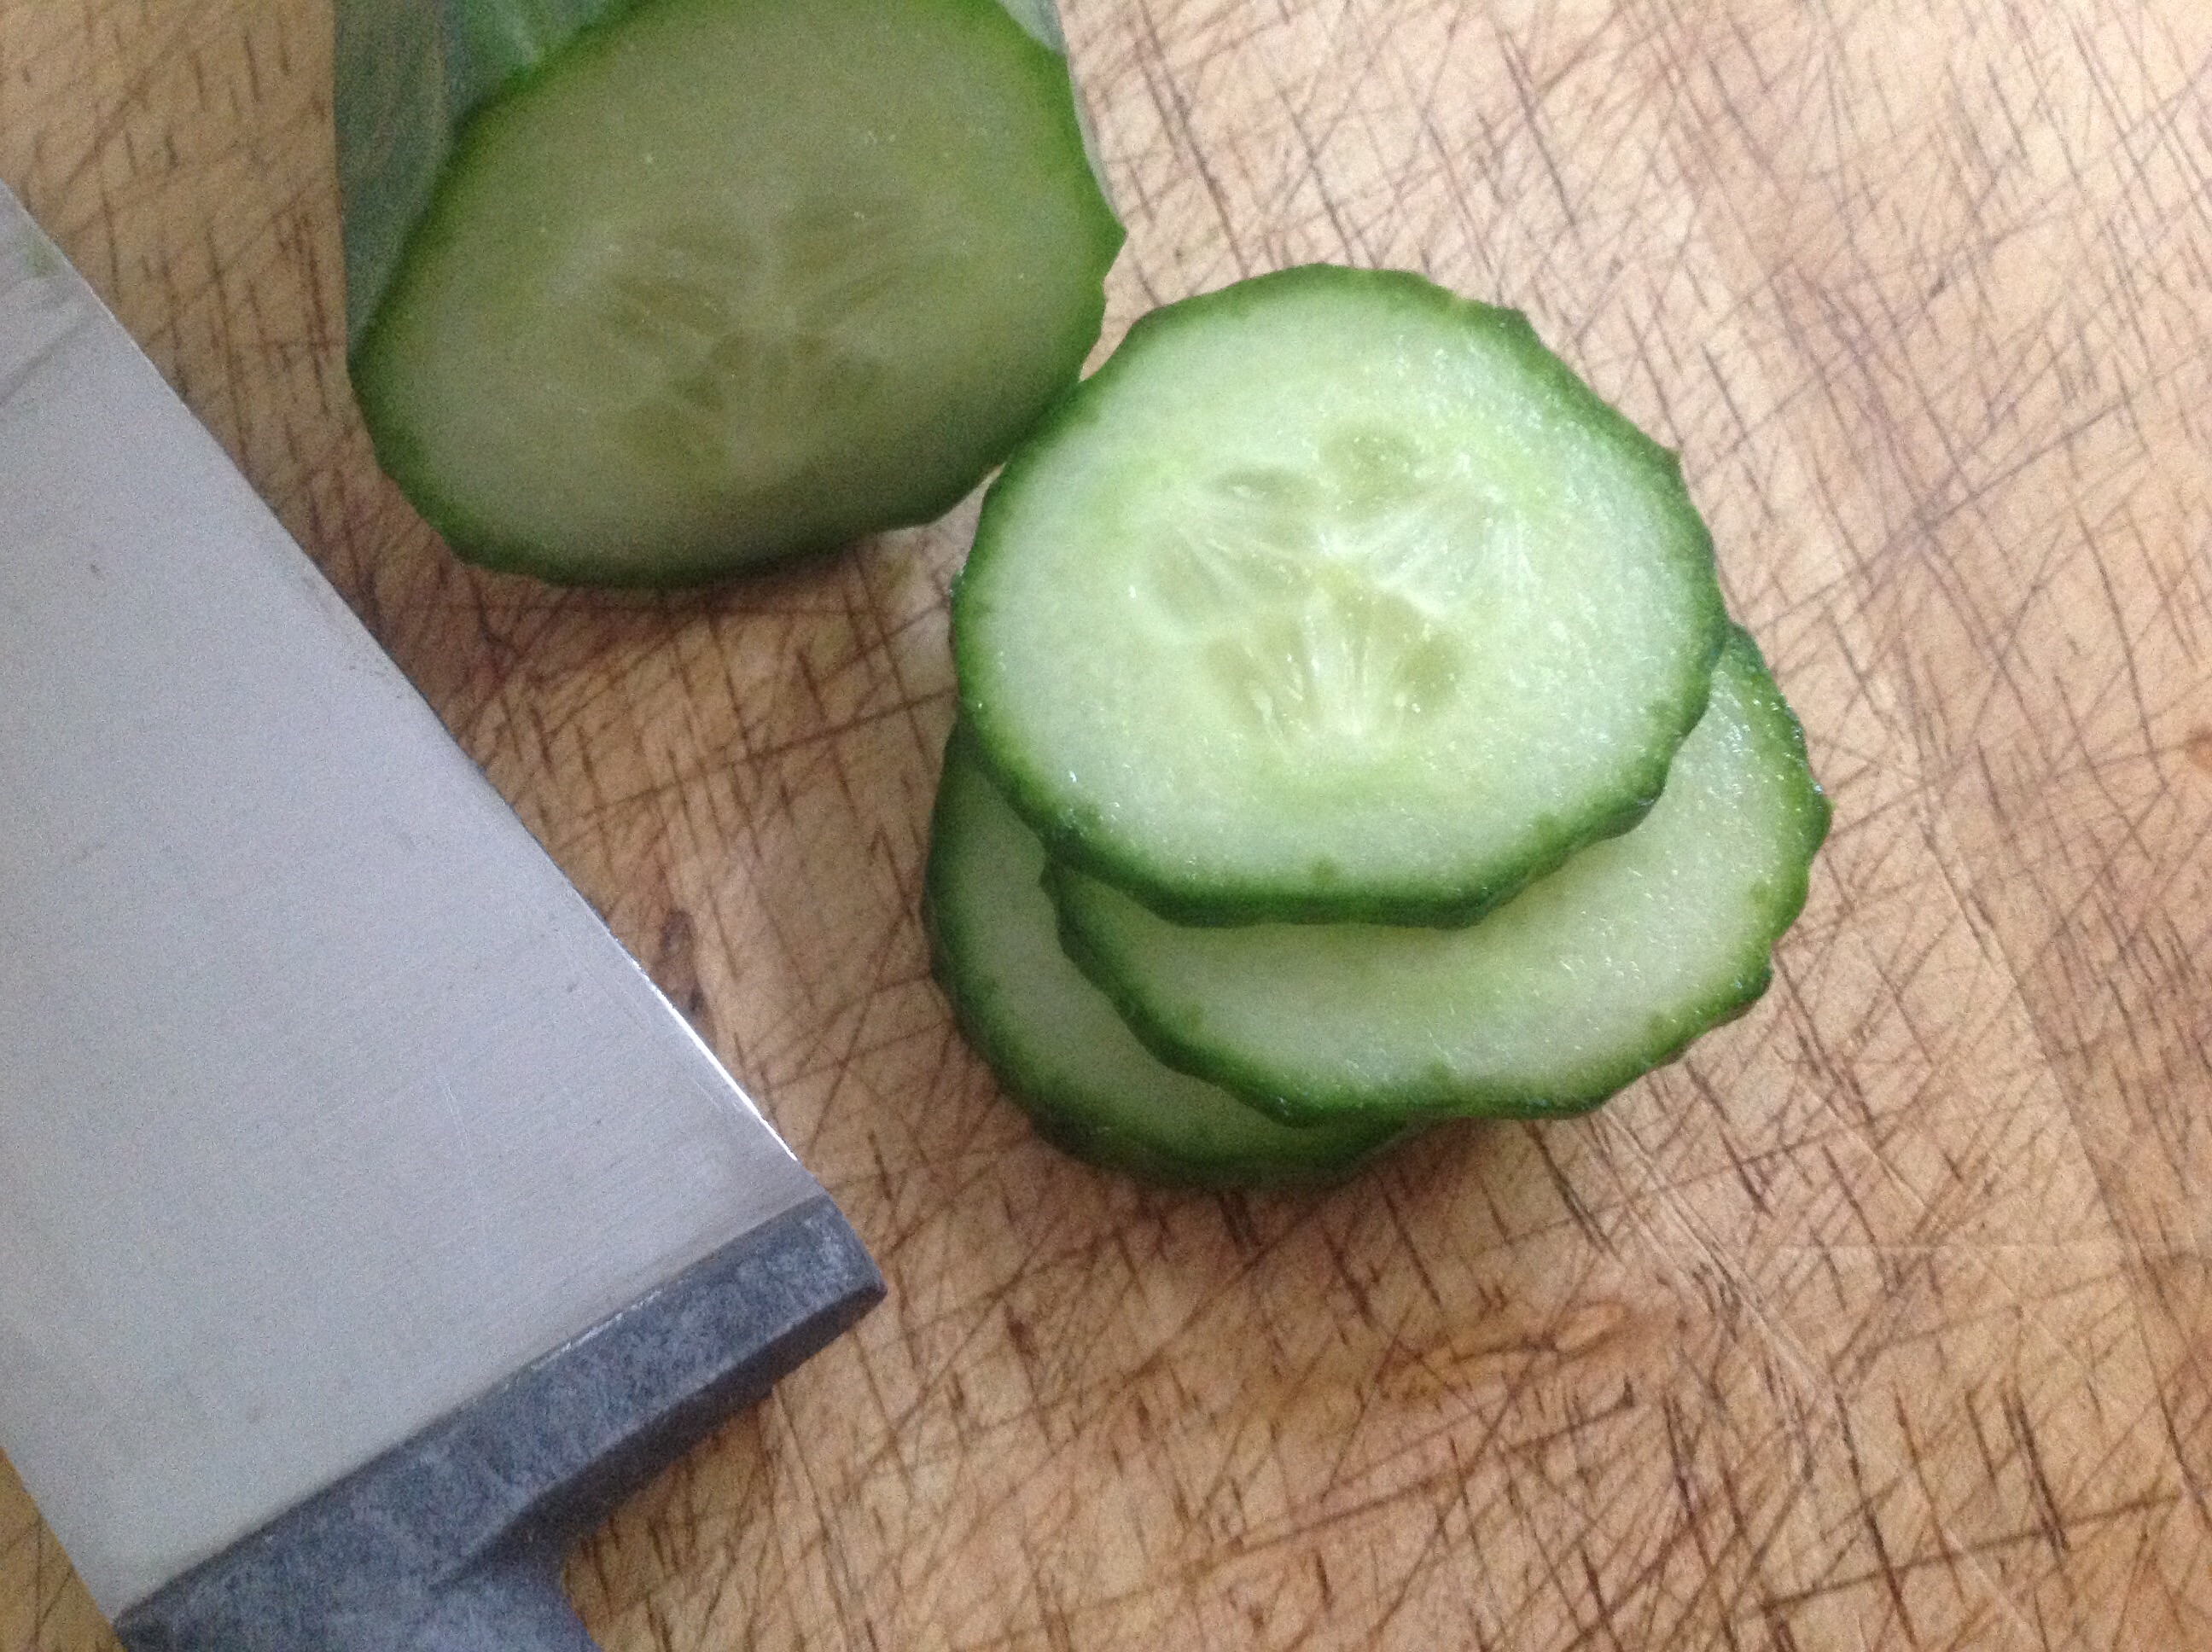
Cut 4 thin slices of cucumber and chopped them up thinly. In a pestle and mortar, I mashed the cucumber up as much as I could.

Sliced Cucumber

Sliced Cucumber

Into the mortar a poured some Witch Hazel and added some Rosewater.

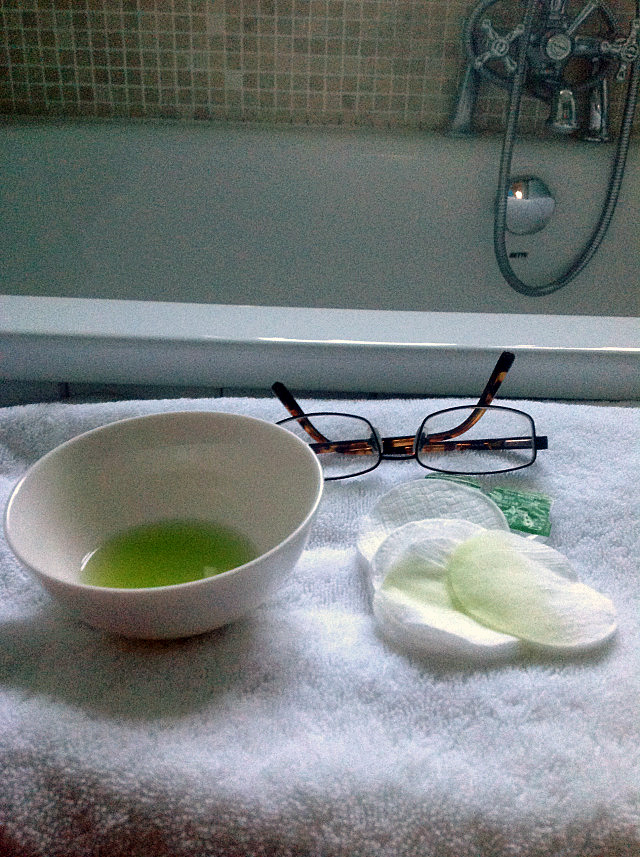
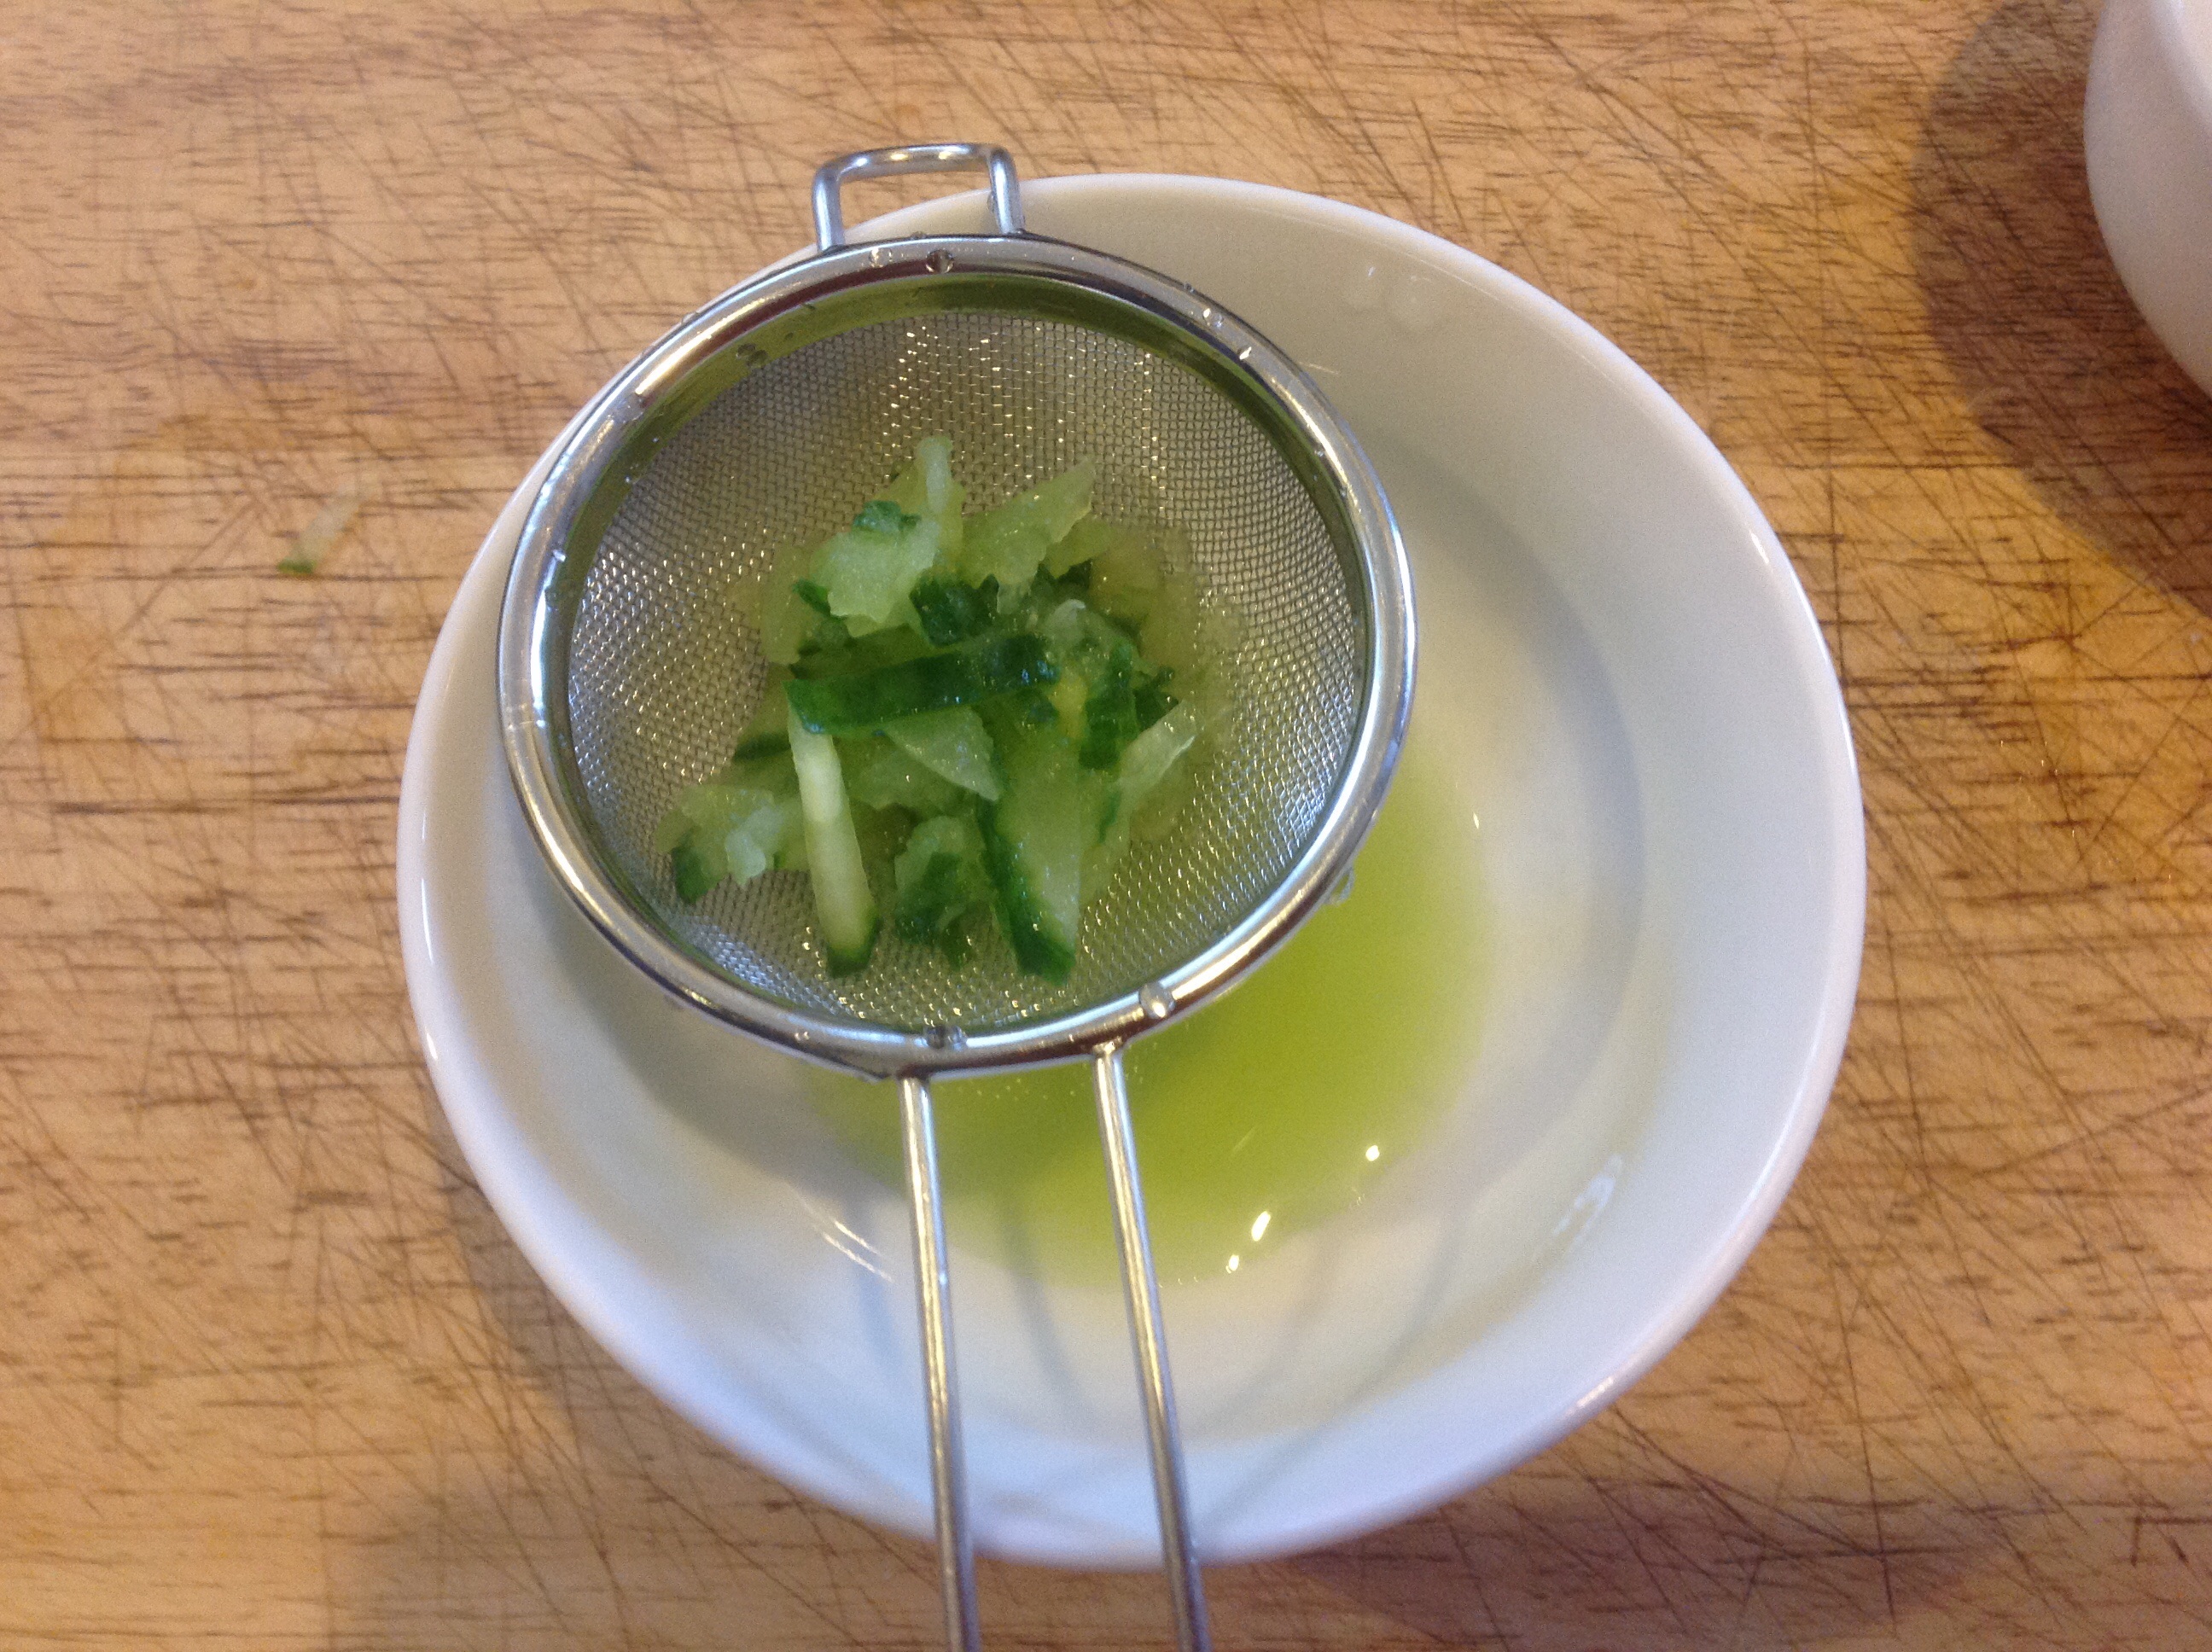
I combined this with the cucumber and let it sit until the cucumber, witch hazel and rosewater had infused and mixed with one another. I poured this mix into a small bowl over a small sieve so that all the solid bits of cucumber were removed. The remaining liquid was a lovely cool green colour and had a lovely cucumber scent.

Cucumber with Witch Hazel & Rosewater liquid

Sieved Cucumber, Witch Hazel and Rosewater

Using a couple of cotton wool pads I dipped them into the mix and squeezed out the liquid so it would not drip into my eyes.

I put these pads over my eyes once I’d removed my make-up and contact lenses and let them do their work for about 10 minutes – basically, I was so tired yesterday, I fell asleep in my daughter’s bedroom with the pads on my eyes as they were so lovely and cool.

When I awoke, my sore eyes felt much, much better.

There’s enough mix for a couple of days. Which is about right as I don’t think it can keep any longer than this, as it’s the freshness of the cucumber that I think makes it so powerful at combating sore and puffy eyes.

Do let me know, if you have a remedy for tired sore eyes, I’d love to find out about other ways to help de-puff sore eyes.

(BTW apologies for the slightly blurry, wonky photo in this post – I didn’t have my glasses or contact lenses in, which means I was as blind as a bat, when I took the picture.)

Lavender, lemon and Rosemary foot scrub and soak in one

Lavender and Lemon essential oil, with Dead Sea salt foot scrub

Lavender and Lemon foot scrub and soak in one.

Summer has finally and at last arrived. As I was sitting outside on the terrace at work, I thought how lovely everyone looked in their sandals walking about on the lawn.

My feet though felt hot and uncomfortable in the shoes I had been wearing, by the time I got home they were puffy and sore and all I wanted to do was plunge them in cold water.

So yesterday evening, I made this quick no fuss foot scrub and soak in one, which was inspired by a blog post by Emily Jefford about a sugar and coconut oil scrub she uses to clean her hands with after painting with oils, you can read it by visiting here.

I have major art envy, her paintings are exquisite and I have fallen in love with her summer collection, so am figuring out what I can do to save up for the set.

If you’d like to try out this version, which uses just coarse salt, so that you can use it as a soak for tired feet. (I wasn’t sure what soaking with sugar might do) The foot scrub couldn’t be easier to make. All of it is made with ingredients which most people should have in their cupboards:

Coarse salt

Essential oils

Fresh or dried herbs

Oil – either sweet almond or coconut

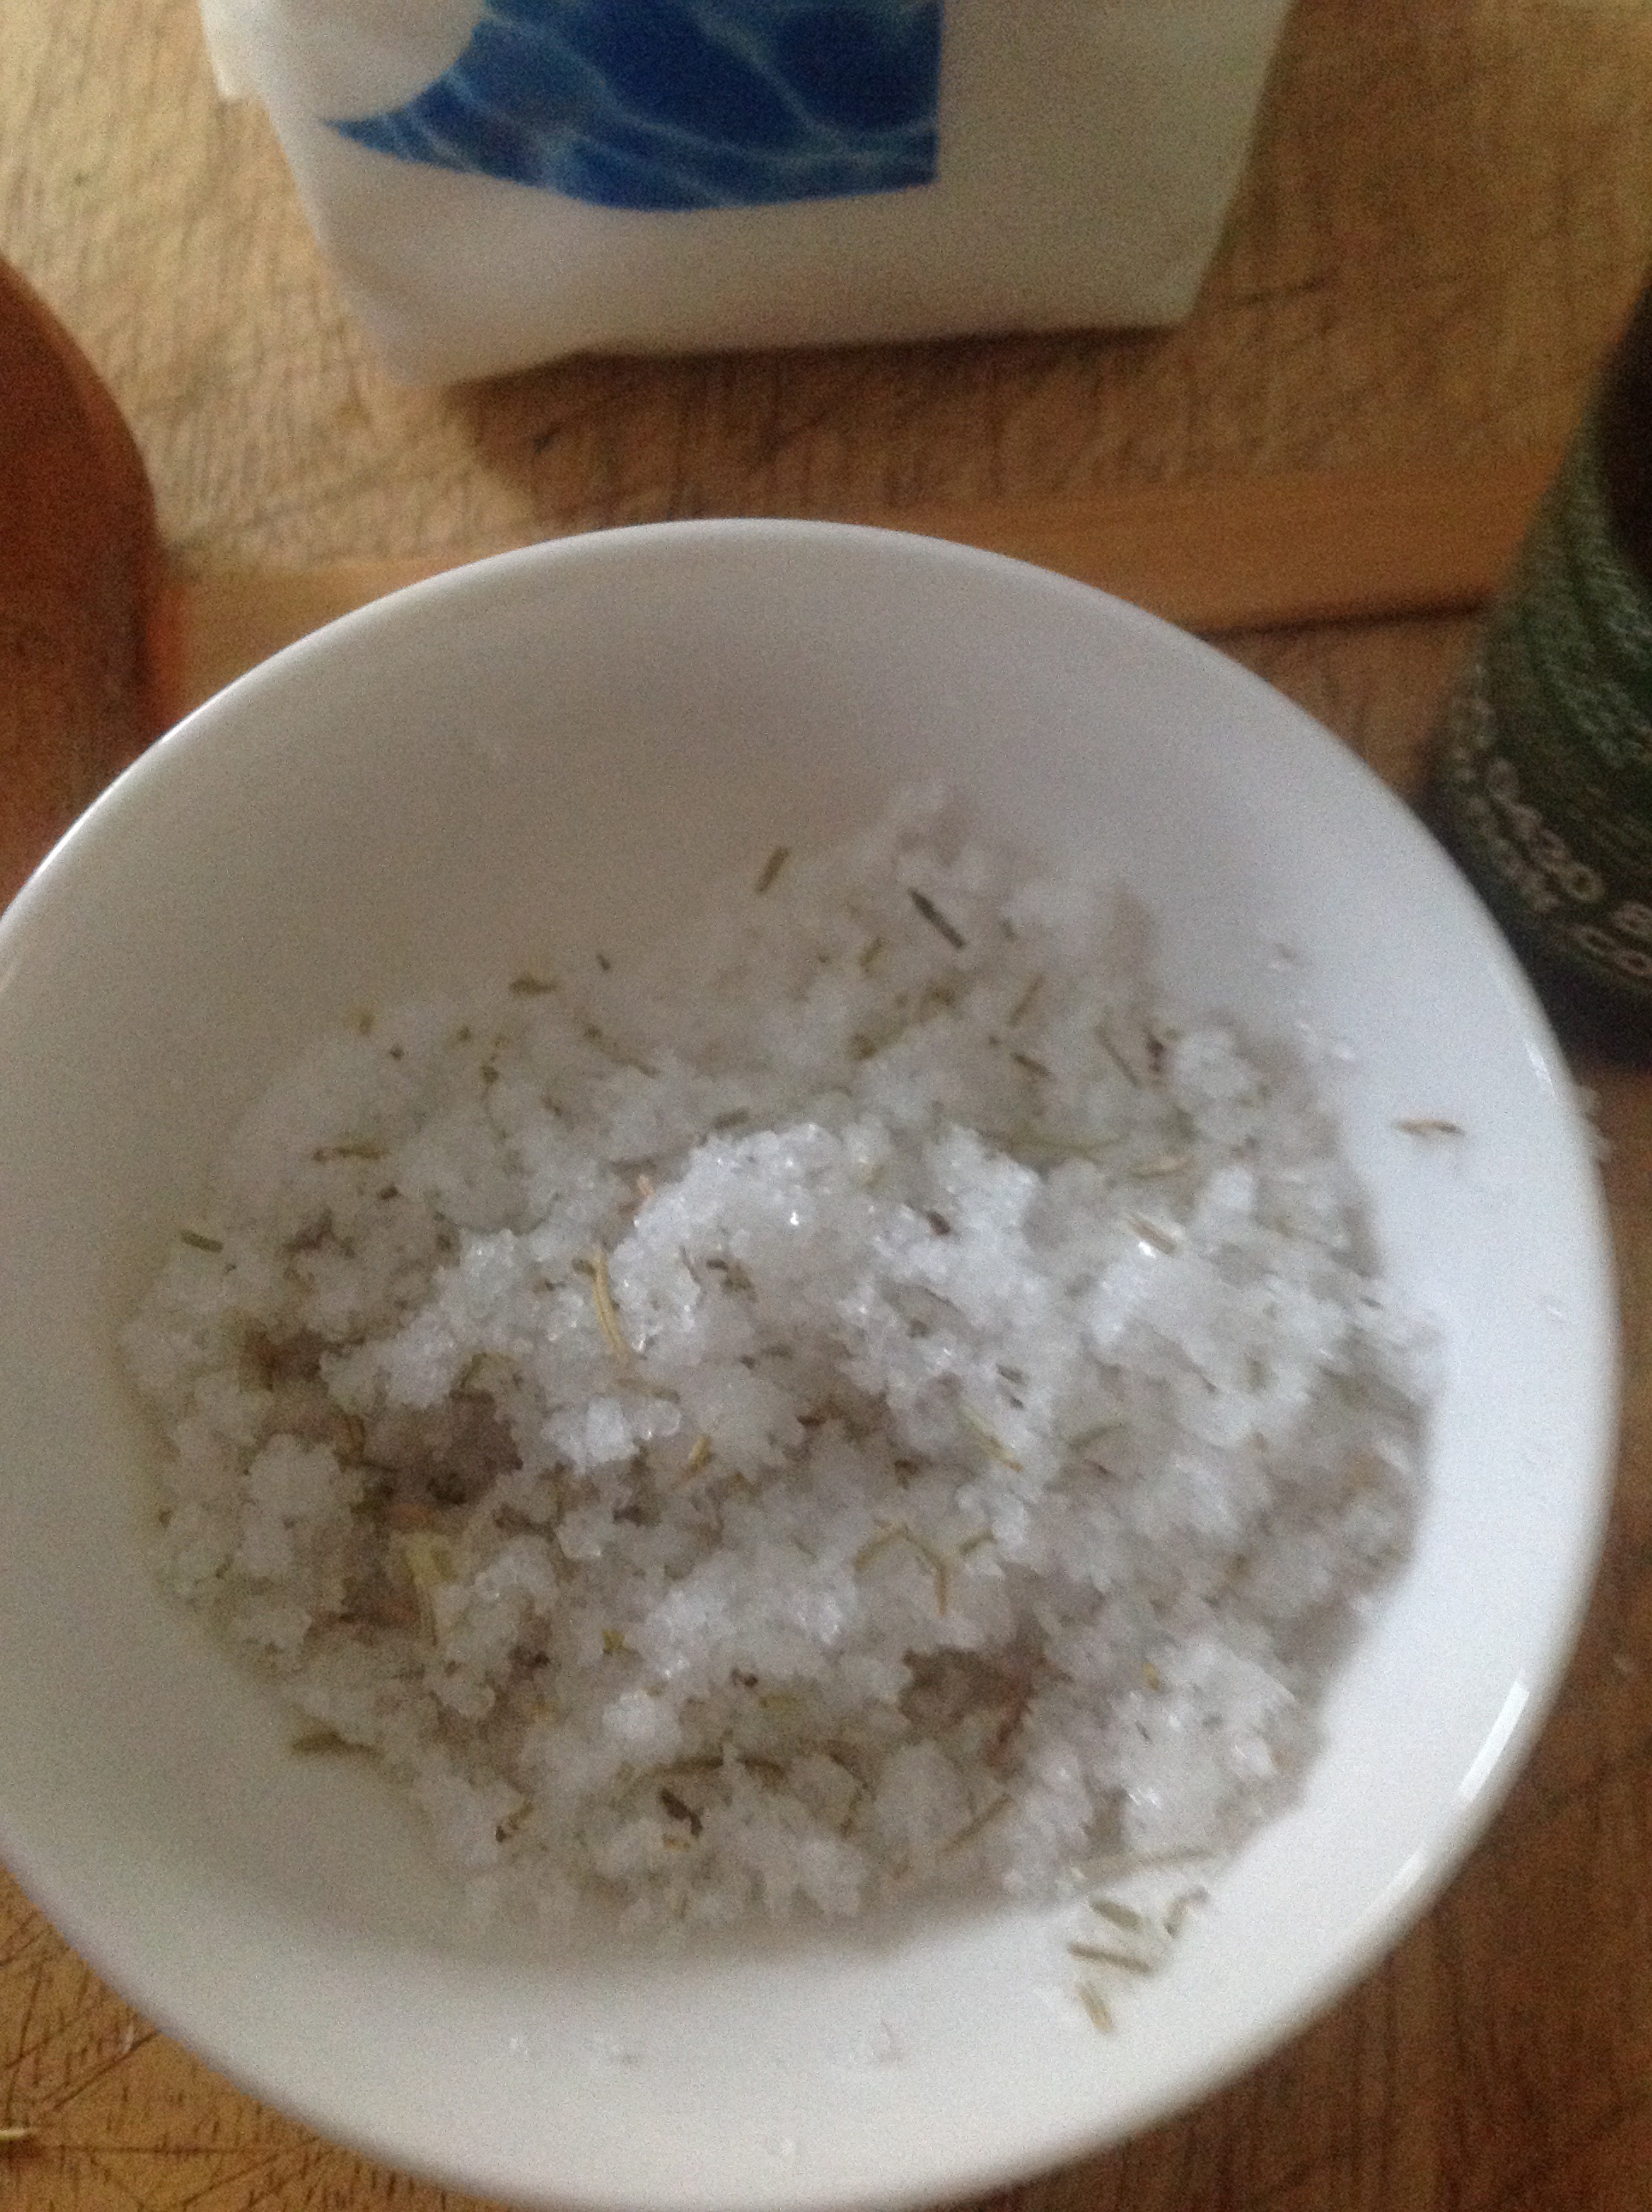
Lavender and Lemon essential oil with Rosemary and Dead Sea Salt foot scrub

Dead Sea Salt foot scrub

The one I made is with Dead Sea salt which you can get in a chemist or online. As I wanted it to be refreshing with the scent and a pick me up for hot tired feet after work, I used Lavender and Lemon essential oil. To exfoliate the skin, I mixed the Dead Sea Salt roughly with some dried Rosemary and a dash of sweet almond oil, along with a squirt of lemon juice (don’t use this if you have broken skin as it might sting).

Once all the ingredients have been combined, I sat down and rubbed my feet over a bowl of warm water. The coarseness of the Dead Sea Salt acted like a pumice and took the dry skin off.

Any flakes of salt or dried herbs that fell went into the bowl of warm water beneath. I poured the remaining salt mix into the bowl and let my feet soak for about 10-15 minutes.

Dead Sea Salt has many therapeutic benefits. In fact, I managed to snag a bargain as the bag I purchased had a big sign with an extra 25 percent included.

Here’s what it said on the back of the pack: Dead Sea Salt have a unique ability to attract and retain moisture. For dry skin conditions and aching joints, Soak for 20 minutes. This reminds me, I  will need to find an air tight container for the salt as it has a habit of turning to liquid though it’s still good to use in this state.

Bliss. My feet are literally tingling and feel like new. I think I’ll be wearing sandals tomorrow now that they have had a bit of TLC. My kids were a bit sceptical, they took one look at the mix and left me to it.  Just wait, once they’re older they will appreciate this recipe and I’ll be gloating with the Mum knows best smile!

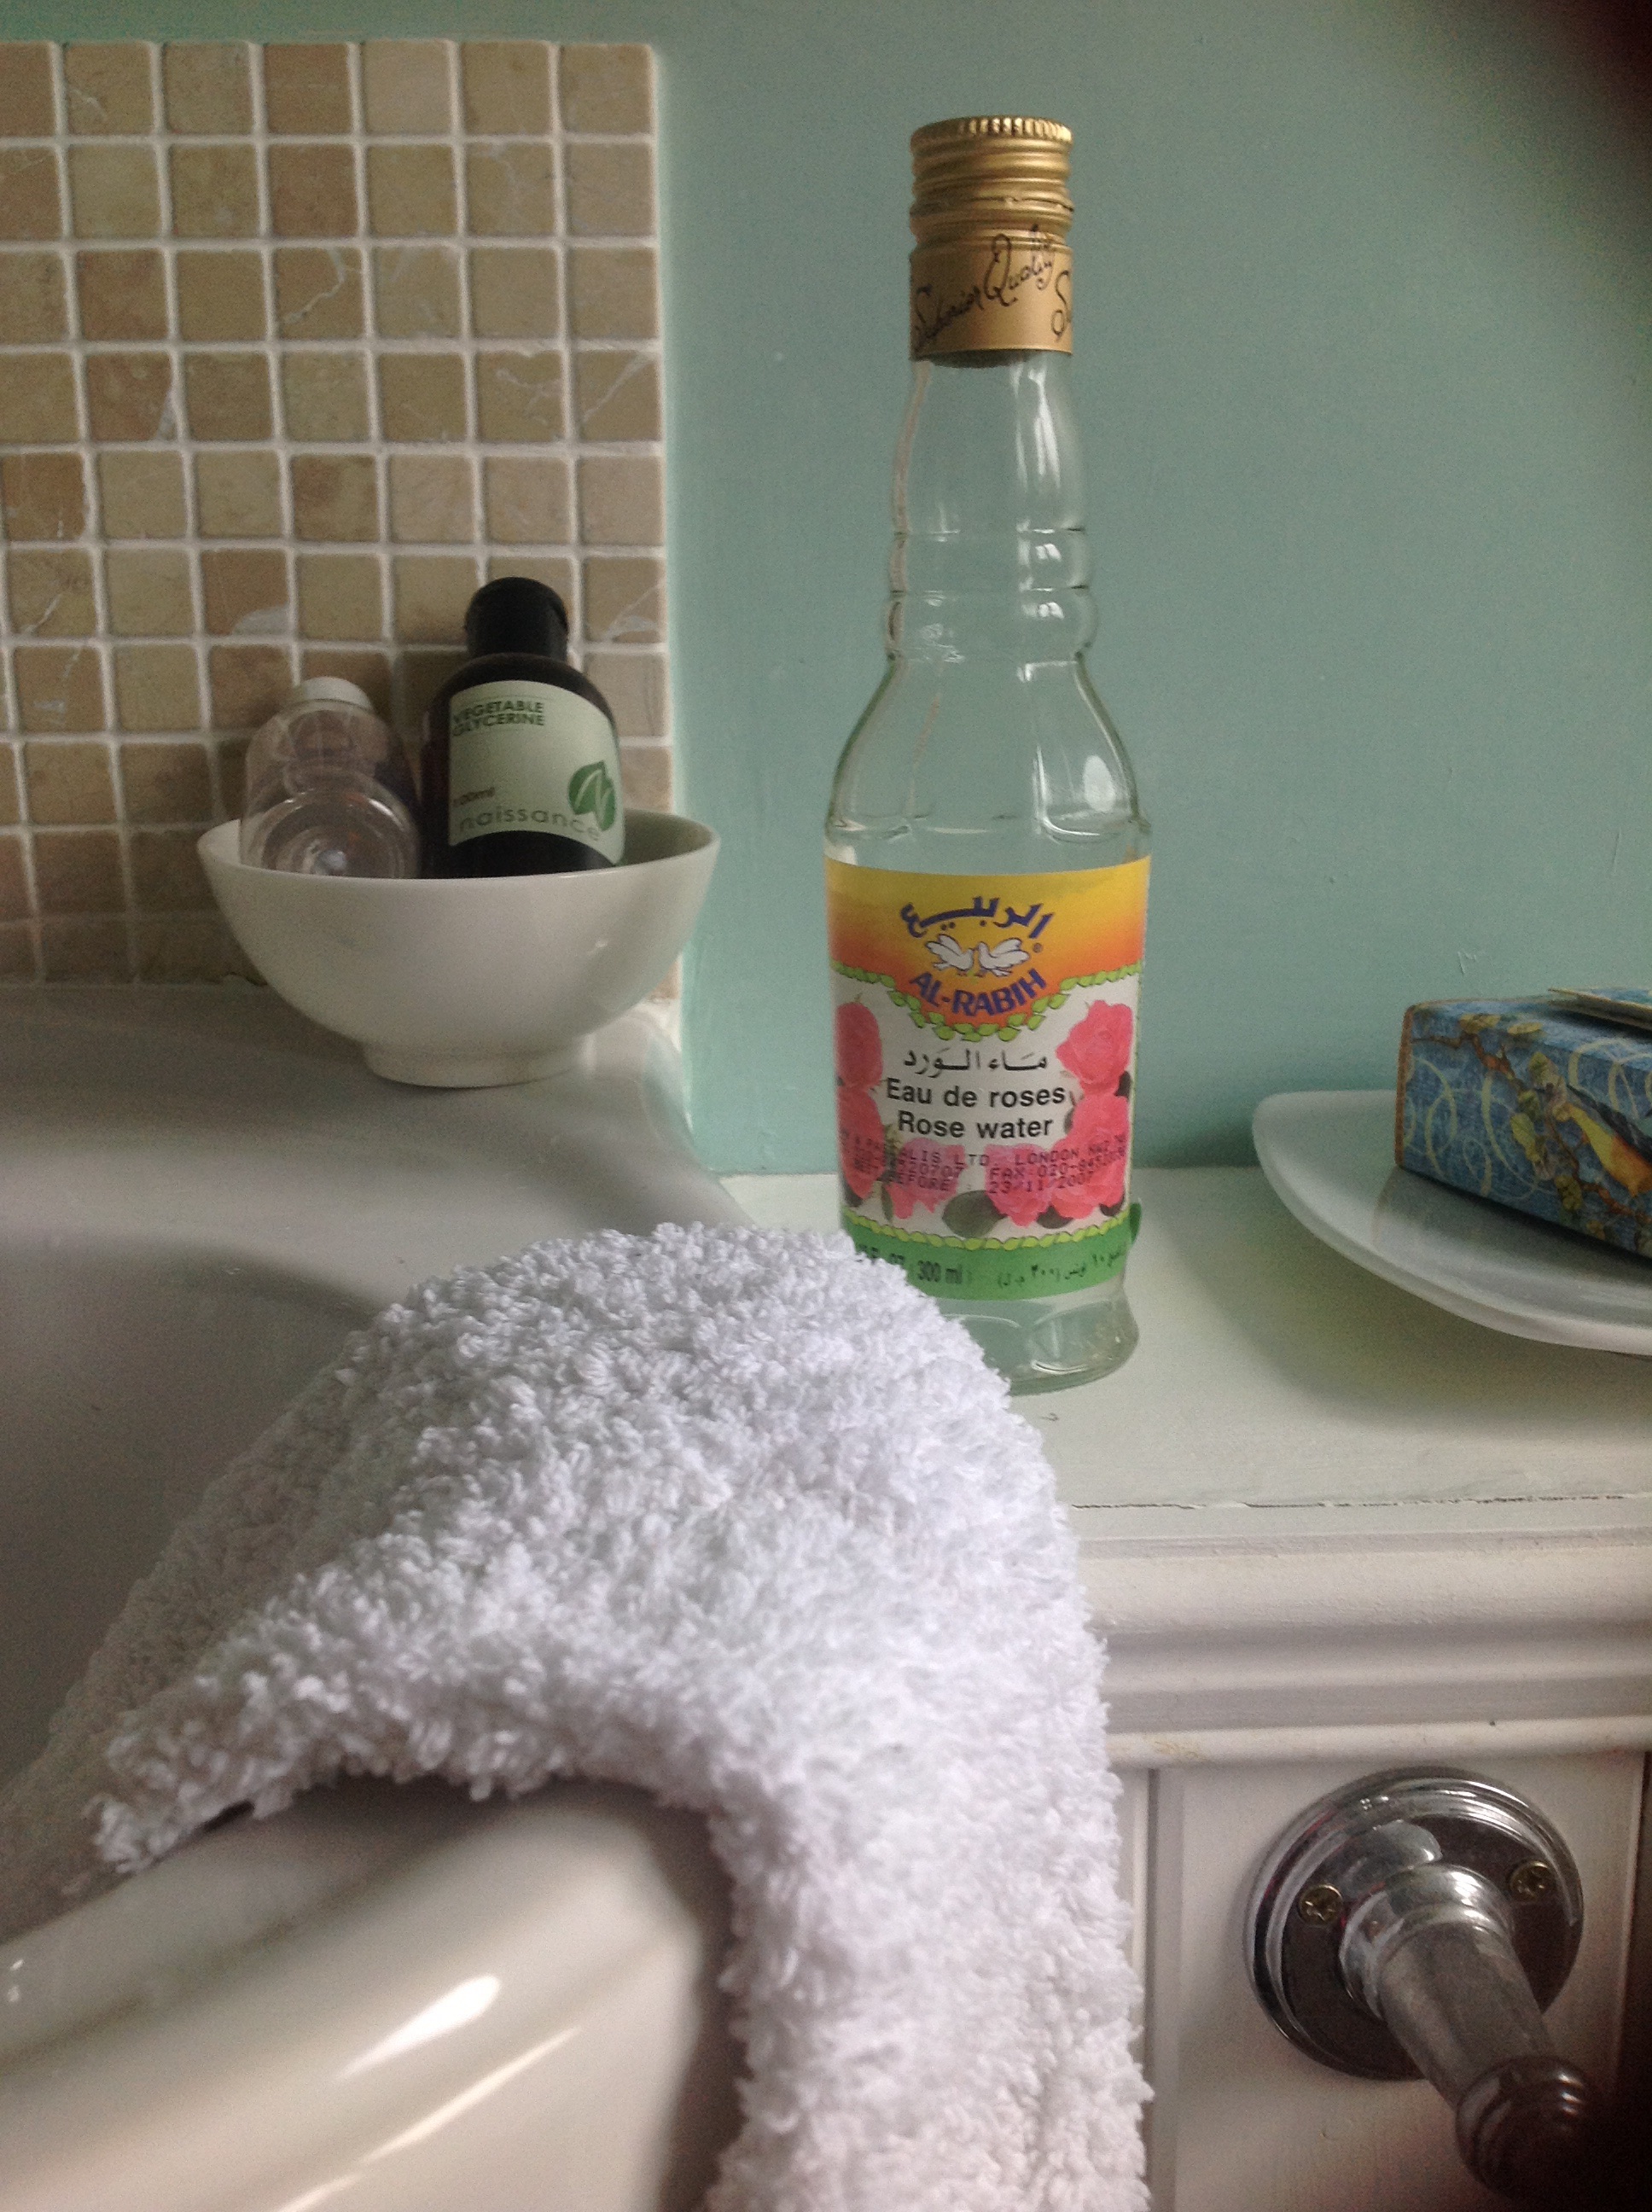
Rosewater and Glycerine toner

Rosewater and Glycerin toner

Rosewater and Glycerin toner

I love the floral scent of Rosewater. It is one of the most versatile ingredients to use both in beauty and in food.

Sometime ago, my daughter’s sensitive skin had a rash and as I was discussing this at work with a friend, he took me to one of the many shops along the Edgware Road that sells Middle Eastern ingredients for the local community that lived in the area.

He explained that his wife used Rosewater to soothe mild skin rashes for their children and it always worked. He showed me in the store where to find it, amongst the herbs and spices and explained that using the type of rosewater that is for cooking was better for the skin.

The bottle looked beautiful and I offered to pay him, but he said it was his gift. I took it home and that night applied it gently over the rash that was on her arm. After about a week the rash was gone.

Since then there is always a bottle of Rosewater in the bathroom, to use as a skin toner, refresher and of course as a tonic for irritated skin.

This is one of the simplest recipes for an all purpose toner and moisturiser in one, using just two ingredients.

Rosewater and glycerin. Both of which have properties that will make skin feel silky soft and refreshed.

I don’t really measure out the quantities, I fill up a 30ml bottle to nearly full and then add a small squirt of the glycerin into the bottle and shake well before use. I tend to use a cotton wool pad to apply, as the mixture is a liquid, like a toner.

If you have dry skin, add more glycerin. Your skin should not feel taught after using the toner and it has dried on your skin.

Making it in smaller quantities means it stays fresh and keeping it in the fridge, will make it extra cool and refreshing when you are feeling hot.
Embed from Getty Images