Lately my hair feels like straw. I think it must be the combination of feeling under the weather and the chlorine in the swimming pool on holiday.
In my teenage years, I came across VO5 hot oil treatment and would use this on my hair every Sunday as I was convinced by the marketing that it was necessary for long hair.
With all the natural ingredients I have in my cupboard however, it would be simple to make up a batch of hot oil treatment for my hair, without the hassle of having to go shopping.
To condition and put moisture back into my hair, I have chosen to use Extra Virgin Olive Oil, well-known for its health benefits, full of antioxidants. It is also a great hair restorer, it contains vitamins A and E and works to treat damaged hair and promotes a healthier scalp.
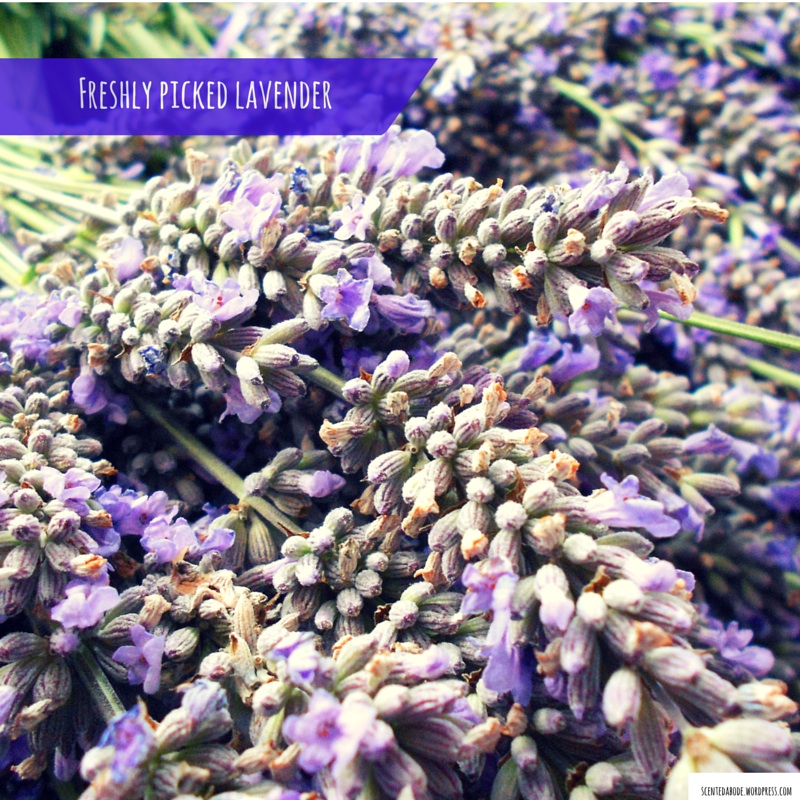
Since I also have fresh Rosemary growing in the garden, I have taken a sprig of this herb to use with the Olive Oil. Rosemary tea and Oil is widely used in hair treatments and is known as a traditional treatment to darken hair and slow the appearance of grey hair. Since I now have a sprinkling of white showing through my black Chinese hair, this will be great to slow down the rate at which my hair is going grey. The herb is also great at regulating and re-balancing dry itchy scalps.
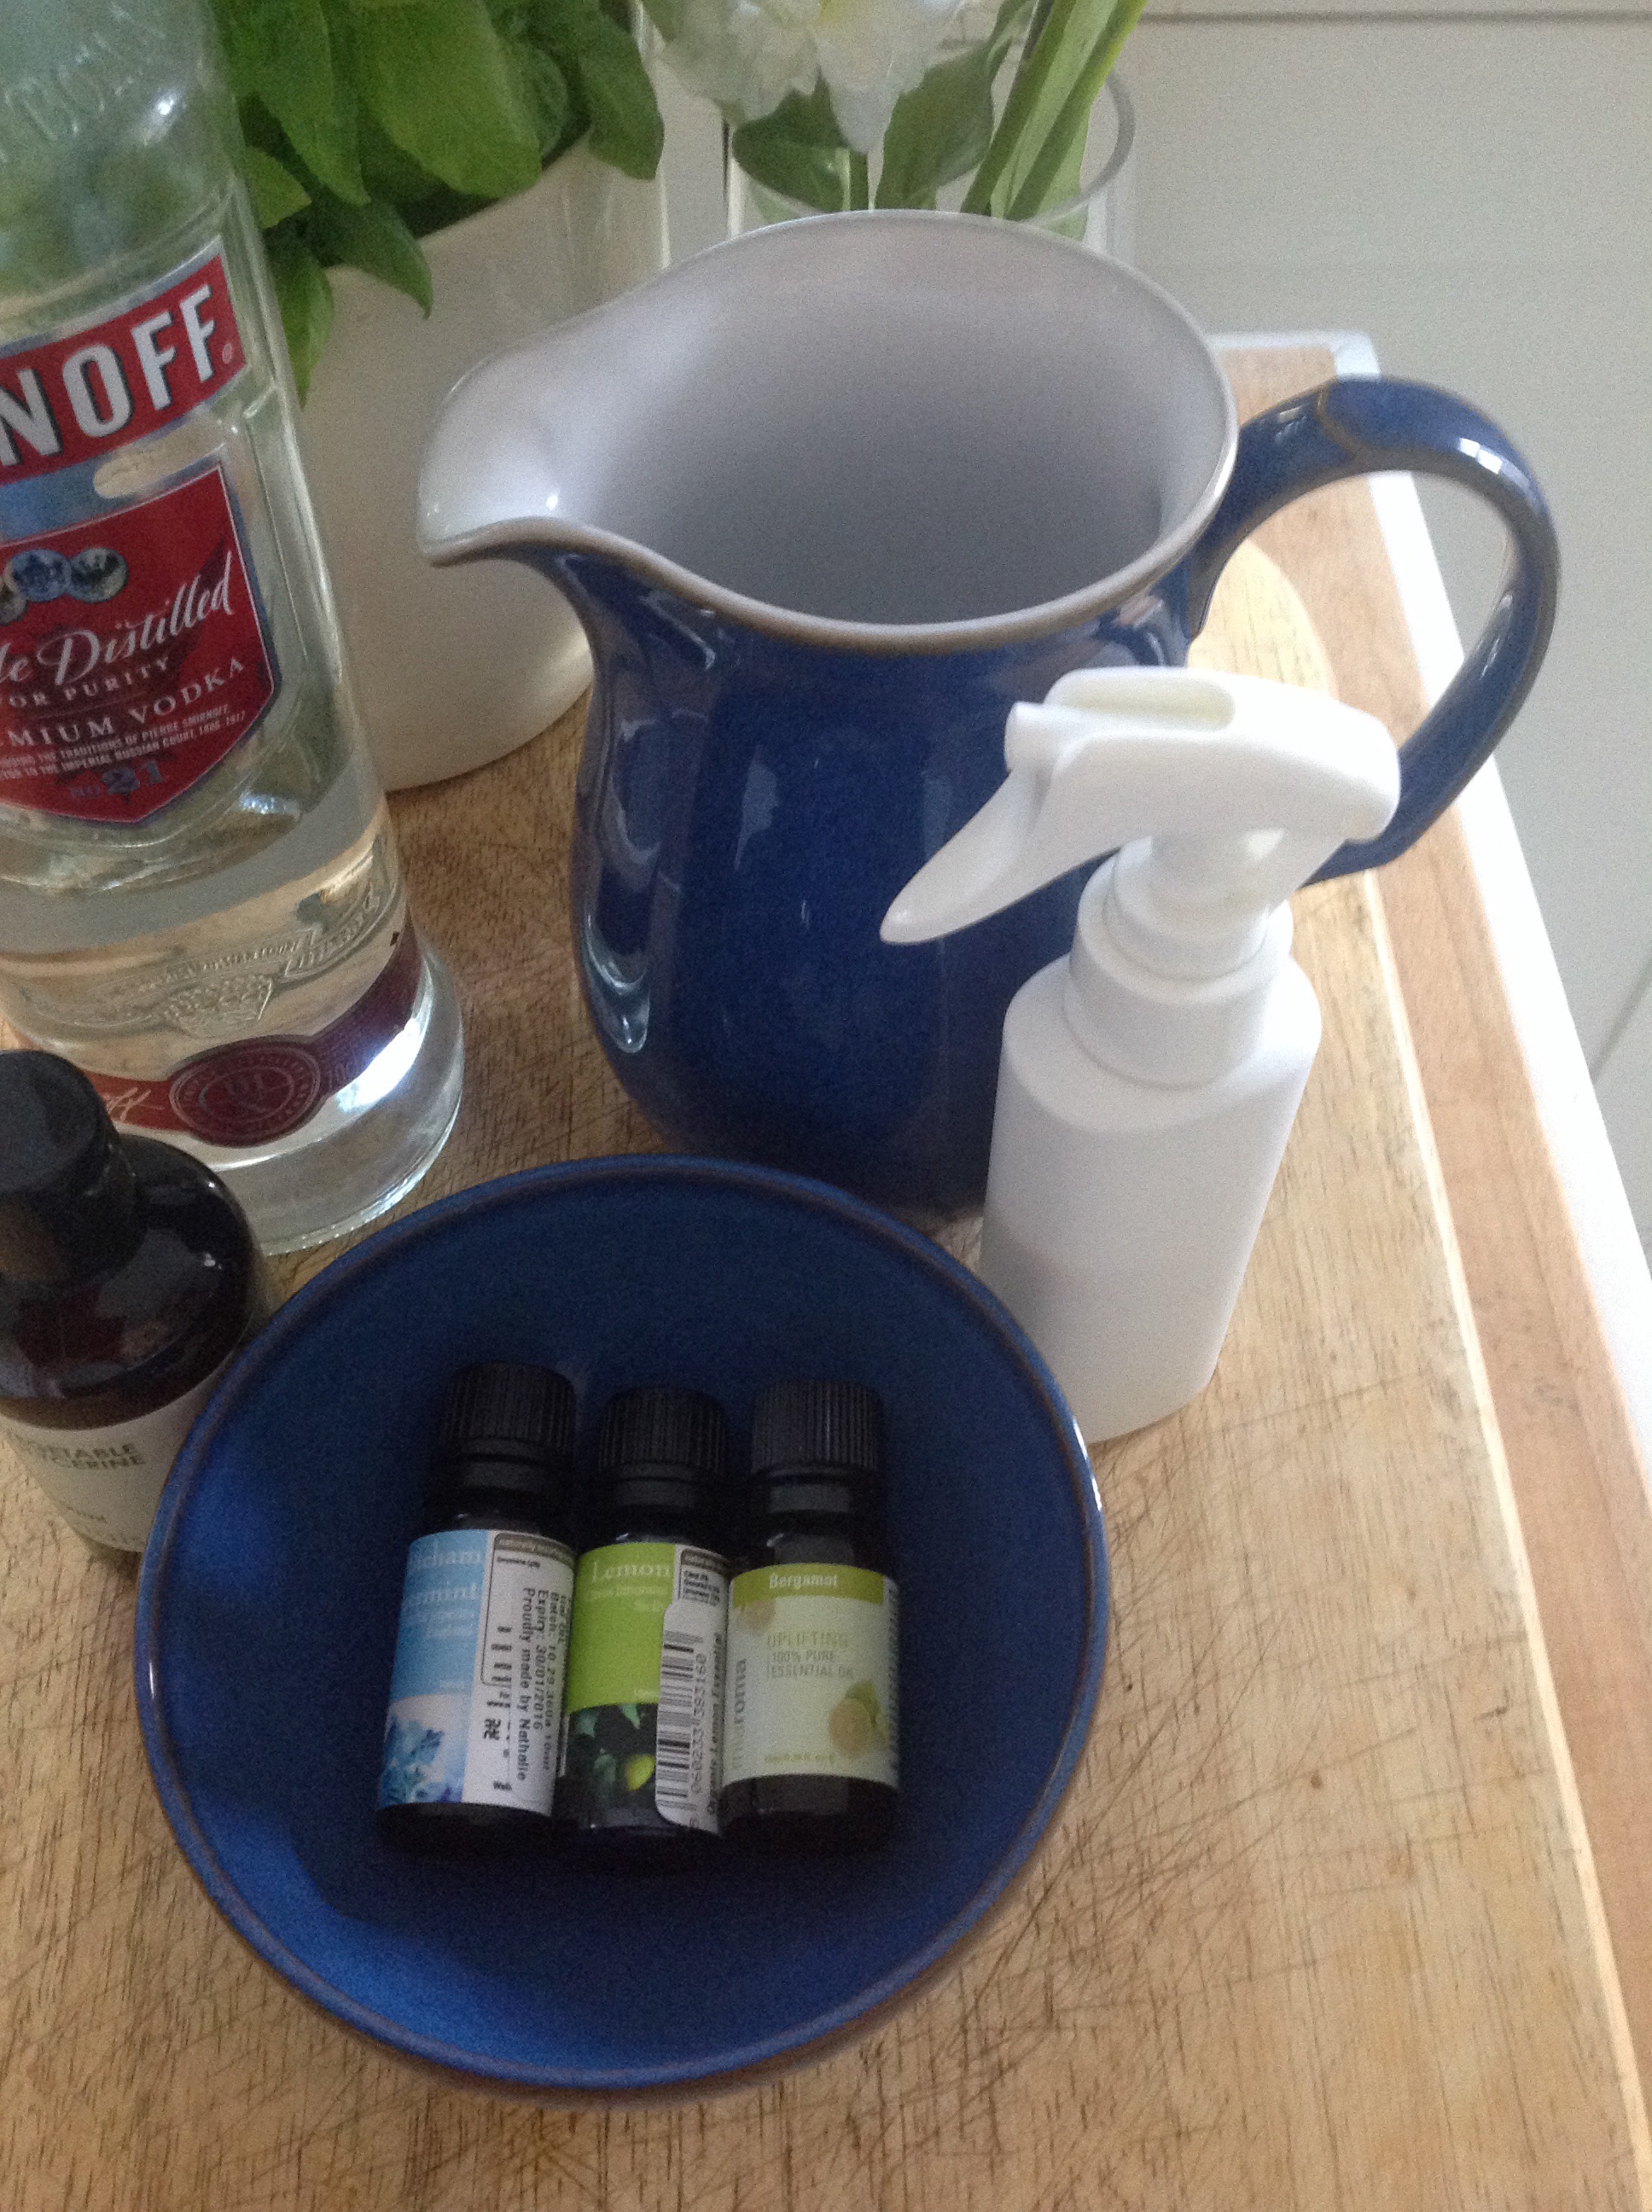
One of the most used essential oils I have is Tea Tree, this essential oil has fended off the dreaded head lice that most school kids come home with. Whenever, I receive a note from our kids schools advising of Head Lice, I make sure to add tea tree oil when my kids are washing their hair. In fact they now don’t need reminding to add a few drops into their shampoo.
The oil helps unclog pores that may be blocked due to use of shampoos and hair products that contain fillers and polymers. It’s also great at getting rid of dead skin cells, to help healthy new hair to grow.
 Finally, as I have fresh Sage growing in the garden also, I will combine this along with the fresh Rosemary and use it as a herb infusion in the olive oil. It is also known as a herb that helps to darken hair.
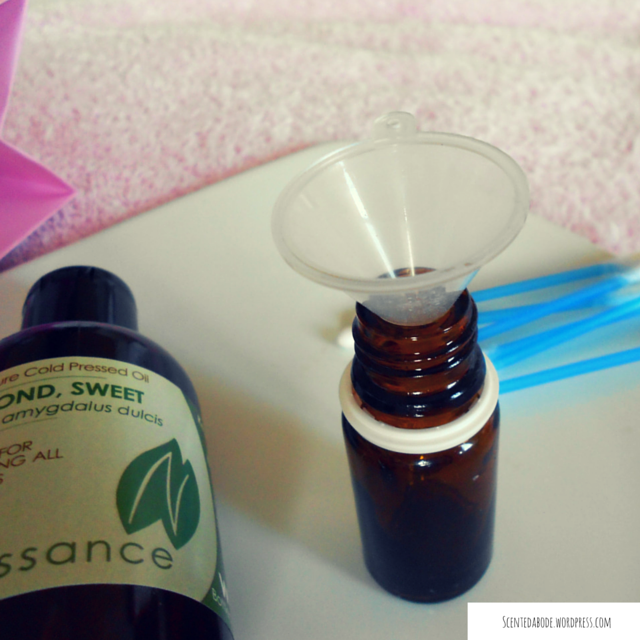
Making the hot hair treatment is very simple.
In a pan, gently heat two tablespoons of extra virgin olive oil.
Gently bruise the fresh rosemary and fresh sage with a pestle and mortar and add to the hot olive oil, leave to steep for as long as possible (overnight is preferable) but if you are stuck for time, you can use immediately.
I have simply heated the herbs through in the olive oil, then left to cool until it is comfortable to touch with my finger.
With the oil warmed through (be careful that it is not so hot that it will scald – you should be able to put your finger in the oil without it feeling uncomfortable to touch.)
Add 2-3 drops of tea tree essential oil.
If you also have Rosemary essential oil – 2-3 drops can also be added to the hot oil to give the properties of Rosemary an extra boost.
To apply the hot oil
In a bowl, using fingers massage the warm oil into your scalp in circular motion, until all your scalp has been massaged thoroughly, add the remaining oil and run through the entire length of your hair. (1 – 2 tablespoons should be plenty to cover shoulder length hair).
If you have a disposable shower cap, cover your hair and wrap in a towel so that the warm oil can penetrate your hair.
Leave for as long as possible.
Wash with your usual shampoo and condition as necessary.
Once dried, my hair, which felt dry and brittle, has regained some of its bounciness and shine.
Hmm definitely will need to do this on a regular basis.
If you have lighter coloured hair and want to try this hot oil treatment, try Calendula, chamomile and lemon peel added to the olive oil, as I’ve read these herbs will help to lighten and add highlights to hair.


")