Sunday Spa Feature – Rice and Lemon Skin tone brightening face mask

You can be gorgeous at thirty, charming at forty, and irresistible for the rest of your life.” Gabrielle Chanel

Rice Powder facemask with honey and lemon

Skin Brightening Rice Powder facemask with honey and lemon

My skin is what can only be described as mature, I am fortunate in that I have Chinese skin which doesn’t wrinkle so much, but the signs of age are starting to show. Since Chinese skin is more prone to pigmentation and age spots, I have always used a sunscreen and kept out of direct sunlight as much as possible.

Yesterday, though, in spite of all the sun protection, the little dark marks on my skin seemed more noticeable and there were a few more freckles which must have appeared while we were on holiday. Even though I have been using Clinique’s dark spot corrector and day cream, it looks as if my skin needs more help.

Whilst I like the idea of aging gracefully, with the signs of age acting as markers that define who you are, I think it’s equally important to do as much as possible to maintain healthy looking skin,

Thinking back to a time when I was at home with my mum, she would use rice in many of the beauty treatments she made at home. I think history must be repeating itself, my daughter calls me a hippie because of my enthusiasm for all things home made. I used to think the same of my mum.

So back to the ingredients for the skin tone brightening face mask – Rice is the staple food in Chinese cooking. It is also an ingredient that features in many beauty products. My mother used to keep the rice water (soaking the rice removes the starch to help improve the texture as it cooks), rather than throwing away the starchy water, she would save this and use it as a toner.

It contains PABA, (Para Aminobenzoic Acid) an ingredient you find in expensive skincare products, as well as ferulic acid, (an antioxidant), allantoin (anti-inflamatory) as well as vitamins C and E. In recent studies, it has been proven that rice and ricewater can improve and brighten skin. Some have even reported it can give skin a translucent glow.

As I want to use Rice in a facial, the best way to do this is a face mask using the rice in a powder form, so that all the goodness in the rice can soak into my skin.

I have simply put a small handful of Jasmine white rice into a hand blender pot and whizzed this until the rice has become a fine powder.

Once the powder is ready, add a teaspoon of honey, this is great for skin as well. I like to use this in masks because it will bind and hold the rice powder in place on my skin and act as a moisturiser.

I’ve included a very small amount of lemon juice and grated the skin of the lemon peel, both of which will also have a lightening effect on skin. But on their own, I think would be too harsh on mature skin, so just a teaspoon of lemon juice.

I’ve included some rosewater to make the paste the right consistency (You can add more if the paste is too thick),

Spread the facemask on your face and leave for 15-20 minutes. I love using a face mask on a Sunday morning soaking in a bath whilst the kids are still asleep – there’s just enough me time before the house awakes.

Once you’ve finished with the facemask, wipe away with a warm towel and follow with a facial toner and moisturiser as usual. There’s just one last thing, if you’d like to make your own  Rosewater cleanser and toner in one, click on the link for the recipe.

Cinnamon Muffins with Fresh Blueberries and Walnuts

Cinnamon Blueberry Muffins with Walnuts

I’ve been wanting to make something that brings the sweet warm smell of Cinnamon into our home, now that the nights are drawing in and Autumn is showing it’s first signs of arrival.

Yesterday, (Wednesday) it rained so much that even though  both my kids were wearing their rain coats, when they arrived home it was two wet and soggy girls who needed something cheerful to chase away the dreary weather.

Taking a rummage around our cupboard, we have a very small amount of plain flour and some wholemeal flour. In our fridge was a fresh pack of blueberries that we had to put into our youngest’s lunch bag as a snack.

These ingredients will make one of my favourites – Blueberry Muffins.

I first tried this recipe in the early 90’s when Delia Smith shared the recipe and how to bake them on telly.

The recipe and they way they were baked were a revelation, not only did she use fresh berries, (The cakes I had been taught at school had been sponge cakes, or fruit cakes usually made with dried fruit, so weren’t exactly inspiring or tasty) she showed us how easy it was to make American style muffins and most importantly they looked so yummy.

I hadn’t really thought much about baking until that is I made these muffins and realised how easy they are to make and the way they make a home smell so warm and so delicious.

The fresh blueberries burst as they cook and when you bite into these muffins, because some of the blueberries haven’t quite exploded, they’ll do so as you bite into them, so you get the hit of the warm tangy flavour of the berries, along with the sweet taste of the muffins.

Fresh Blueberries bursting in a muffin

Fresh Blueberries bursting in a muffin

I’ve adapted the recipe slightly because I want to combine the fresh blueberries with walnuts and bring in the scent of Cinnamon.

For an extra kick of Cinnamon, I’ve added a caramelised brown sugar topping that gives the muffins a lovely crunchy texture to bite into.

You can of course make these into smaller sized cupcakes, (this recipe will make approx 12-14) but since we’re eating these for our desserts tonight, they’re being baked in our “Man Sized” muffin tin to serve warm straight out of the oven with a dollop of whipped cream or vanilla ice cream.

The ingredients below will makes approx 6-7 large man-sized muffins

Ingredients for the muffins (Adapted from Delia Smith’s American Muffin recipe)

2.5 oz plain flour (75g)

2.5 oz wholemeal flour (75g)

half level tablespoon baking powder

quarter teaspoon salt

1 large egg

one and a half ounce soft brown sugar (40g)

4 fluid ounces milk (110ml)

2oz butter, melted (slightly cooled)

half teaspoon pure vanilla extract (optional)

quarter teaspoon ground Cinnamon

4 oz small blueberries

2 oz Walnuts (Pecan nuts work as well) finely chopped

Muffin mix in tin before baking

Muffin mix with crumble topping in tin before baking

For the crumble topping:

1.5 oz brown sugar

1.5 oz self-raising flour

1.5 oz butter

1 oz walnuts (chopped finely, any nuts if you prefer a different type)

Half teaspoon Ground cinnamon

How to make the muffins:

Sift the flour (You can of course just use plain flour, but we had wholemeal, so I used half and half) with baking powder, Cinnamon and salt into a large bowl.

In a separate bowl whisk the sugar, eggs and butter (melted) and milk together. This time I remembered to put the sugar in!

Fold the dry mixture very gently into the wet batter mixture, the consistency should look lumpy and well, wrong as there should be lumps and bumps everywhere. (Sifting the flour is important to make the muffins light and airy)

Spoon in the blueberries and the finely chopped walnuts. I like pecans with this recipe too, and I think they will work just as well if you like Pecans instead of walnuts. Very gently again, to maintain the light texture of the batter.

Spoon the mixture into the muffin tins. I’ve used these foil muffin cases as it’s easier to get out of the tins and less mess to wash-up.

To make the topping:

Ingredients for the crumble topping

Ingredients for the Crumble topping

This is really simple to make, it’s basically a crumble mixture. Mix the flour, cinnamon and butter and crumble together with your fingers, add sugar and hazelnuts and mix together so that it looks like a very fine crumble mix. Sprinkle over the muffin mixture in the muffin tins before putting them in the oven.

Bake in the oven for approx 20-25 minutes (if you’re going for the Man size versions), 15-20 minutes for the smaller cupcake versions.

Take muffins out of the tins – (they are cooked if you can put a knife/skewer through and it comes out clean). Serve immediately if you want to eat them hot. or let them cool on a baking rack. They can be enjoyed for a day or two afterwards, but really I think they’re yummy straight out of the oven.

Enjoy!

Idiot proof Orange and Almond cupcakes

Orange and Poppy Seed Cupcake

For anyone that can’t follow baking instructions (me) these cupcakes turned out to be idiot proof.

I had the following ingredients in my cupboard and thought I’d make some tasty little cakes.

Some of the Ingredients for Orange Poppy Seed Cupcakes

Ingredients:

125g Butter (softened)

2/3 cup soft brown sugar (or Caster Sugar)

1 large Orange (grate the rind and juiced)

2 eggs at room temperature

1 cup self-raising flour

3/4 cup ground almonds

Some of the ingredients for Orange & Poppy Seed Cupcakes1 tablespoon of Poppy Seeds (optional)

1 tablespoon of Popping Candy (optional)

Icing Sugar (for dusting)

I thought I would make some simple cupcakes for an afternoon / tea time treat.

My daughter arrived home from school early today and I was just assembling the ingredients when she asked if she could help with the baking.

The instructions for cupcakes are so simple, as we have made these so many times, I didn’t pay too much attention to actually reading it properly.

I somehow managed to put the Self raising flour and sugar together in the bowl while I was measuring out the ingredients.

What I should have done was creamed the butter and sugar together along with the eggs and the grated orange.Orange and Poppy Cupcakes (8)

However, when I’m baking with my kids, I am distracted by their questions and excitement at the steps involved in cake baking. This time the distraction took the form of what additional ingredients we should add in the mix to make it our own (Popping Candy) and my personal favorite ingredient for cakes, Poppy Seeds, which gives a cake a bit of a crunchy texture.

Also, using brown sugar was a better alternative than caster sugar, if you have this instead, as it’s not so processed and will give the final cupcakes a softer caramel flavour.  As the sugar was lumpy, I asked my daughter to separate the sugar and we added this into the flour.Eggs and Butter with Grated Orange

So, instead of creaming the butter and sugar together, we mixed the butter with the eggs along with the grated orange zest which produced a very runny looking batter.

By this point I realised my mistake, it would be impossible to separate the sugar from the flour and combine this into the batter mixture, so I got my trusty electric hand-whisk and mixed the batter into the sugary flour instead.

The resulting mixture formed the cake mixture that looked about right. Into this we added the orange juice (1/4 cup) and the almond flour, this was gently folded into the mix, along with the poppy seeds and popping candy.

Batter for Orange and Poppy Seed CupcakesOnce these ingredients were combined, we put them into the little cupcake cases into the cake tins. This recipe makes about 12-14 generous sized cupcakes.

I love cupcake cases as they’re so easy, no greasing the tins and no worries or hassle of whether the cake will come out of the baking tin at the end of baking, so we use the paper cases a lot.

Added to the fact that the individual cakes are easy for packed lunches, they really are a mini cake perfect to take anywhere.

Poppy Seeds and Popping Candy in Cake BatterWe put the tray of cupcakes into a pre-heated oven on 180 c, and let them bake for 15-18 minutes (checking at about 14 mins, to see if they were cooked as we have a fan oven, things tend to cook faster) Use a skewer or knife to put into the cupcake and if it comes out clean, they’re cooked.

Cake Mix in cupcake casesReally you are supposed to wait until the cupcakes have cooled before dusting with icing sugar.

By this time, my youngest had arrived from school too and both kids were now not content with just licking the remaining mixture from the mixing bowl as the smell of the orangey almond cakes had filled the kitchen and dining room.

They wanted to eat them straight away, so we dusted the cupcakes in the tins straight from the oven. (You are supposed to let them cool before dusting the icing sugar)

Orange and Poppy Cupcakes (1)Pretty much fool proof as they turned out pretty good in spite of the fact that we forgot to cream the sugar and butter and added a few optional extras of popping candy and poppy seeds.

I had just enough time to put a few on a small plate and take the pictures for this post before they disappeared.

Sunday Spa feature – A luscious lip remedy

LEMON BALM lip salve

Luscious Lemon Balm and Honey Lip Salve

We recently brought home some lemon balm to plant in our garden. Since this is a herb that is new to me, I looked up all the things you can do with it for natural skin care as well as in food.

It works great as an alternative to mint added to Iced Tea, and as a herb to add into salads, it is a great herb with medicinal properties that include helping to calm down anxiety and sleeplessness and as an aid for digestive health.

I’ve also read that it is a great herbal remedy for cold sores, which gave me an idea to find a way to incorporate it into a lip salve.

To get the herb into the lip salve, I created an oil infusion, so that the goodness of the lemon balm can be transferred into the carrier oil. It is simple to make and the process of infusing oils with different herbs and flavours can be used for other purposes – such as creating a lovely lemon oil to use in salads. I picked a small amount of the leaves of the lemon balm, which I then bruised in a pestle and mortar so that all the goodness of the plant can be transferred into the carrier oil.

To keep things simple, I’ve used Sweet Almond Oil as it’s a good carrier oil for aromatherapy massage therapies.  As I have no patience (if you want you can use dried herbs and leave in the oil to infuse over 4-6 weeks, leaving the mixture in a dark place)  to speed up the process for the infusion, I have gently heated the oil with the lemon balm and transferred this into a clean jam jar and left it to sit on the windowsill for a few days.

Once the colour of the oil has taken the colour from the leaves, the oil is ready to be used.

For the lip salve recipe, I’ve used the following combination:

Ingredients:

1 tablespoon of beeswax

1 tablespoon Lemon Balm infused oil

1 tablespoon of Coconut Oil (organic cold pressed)

2 teaspoon of honey

4 drops lemon essential oil, 4 drop Peppermint essential Oil

The amounts above makes 60ml of lip salve mixture, which would fit into 2 x 30 ml pots shown in the picture.

Making the lip salve is very easy. In a simmering pan of water, put a glass jug into the water, add the beeswax and wait for this to melt. I use the beeswax pellets as this is much easier to use than the large blocks of beeswax.

Beeswax melting with sweet almond oil and coconut oil

Beeswax melting with sweet almond oil and coconut oil

Add the lemon balm infused oil along with the coconut oil and wait until this is all melted into the beeswax.

Add the honey and take the mixture off the heat.

Add the essential oils (I’ve chosen Lemon and Mitcham Peppermint essential oils to intensify the scent of the lip salve).

Pour into the pots of your choice and wait for the mixture to solidify before use.

As the lip salve is made with natural ingredients, I am keeping the quantities made up small so that it can be used straight away. It should keep for around 4-6 weeks, and is a great way to keep lips soft.

For a beauty ritual that helps to maintain the condition of your lips, gently exfoliate lips to remove any dry or flaky skin (I use a toothbrush with soft bristles to do this, but you can also try using a muslin cloth) before applying the lipsalve at night before bedtime.

Home Made Cuticle Oil

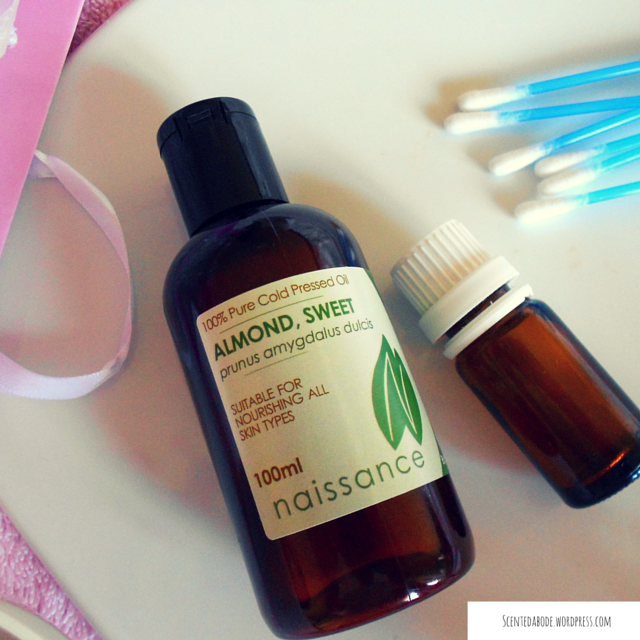
Sweet Almond Oil for home made Cuticle Oil

This week, I took the opportunity of doing some gardening with my kids and planted some lovely herbs. The combination of this and the broken dishwasher has meant my hands have taken a battering.

Since I have all the ingredients to make a home-made Cuticle Oil, I thought I would share this with readers of this blog.

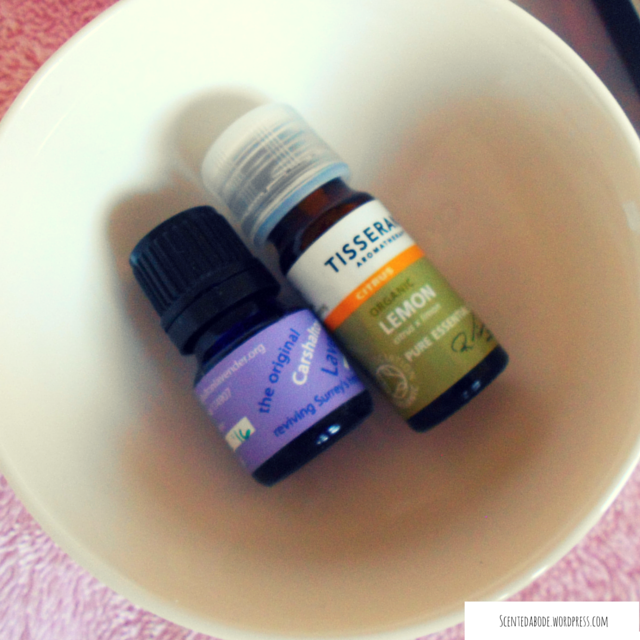
Lavender and Lemon Essential OilIt’s so simple that it really requires very little effort and saves a great deal since I no longer purchase commercial cuticle creams or oils to condition my nails.

If you have some Sweet Almond Oil* or Olive Oil, these can be used as the base, both are perfect oils for conditioning and softening nails. Other oils to try are Coconut, Grape Seed, Jojoba oils.

The oils will nourish, add moisture and soften the cuticles.

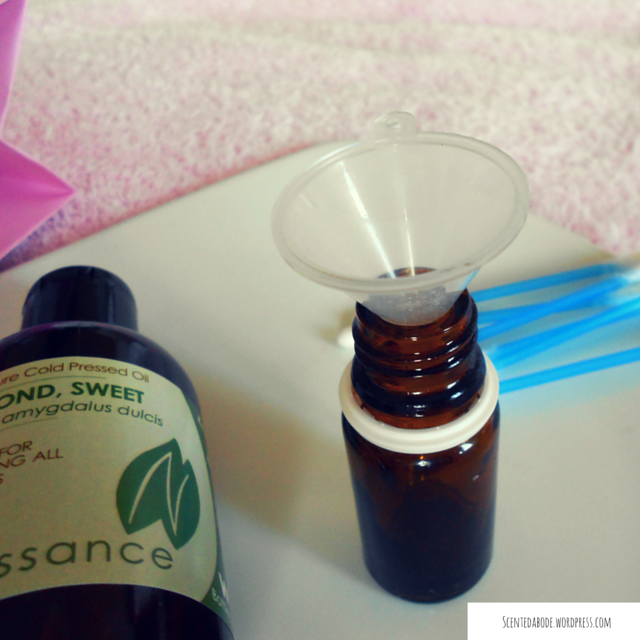
I’ve used an empty essential oil bottle which I’ve washed out – but really you don’t need to do this if you are pressed for time as the one I’m using contained Tea Tree Oil,  any residue in the bottle will simply mix with the carrier oil.

Into this 10ml bottle, I have added just one drop of Lavender Essential Oil, along with Lemon Essential Oil. Sweet Almond Oil for making Cuticle Oil

Both the essential oils have been chosen for their cleansing, rejuvenating and healing properties. (Lemon is also antibacterial, used along with Tea Tree Oil, will combat against the threat of any infections.)

Mixed thoroughly, I have then applied this mixture using a cotton wool bud all over my nails covering the cuticles as well.

Left on overnight, my nails and cuticles feel stronger and the rough cuticles have been smoothed out. I didn’t even need to use a cuticle stick to push them back which I normally resort to.

Simple!


*If you would like to order the Sweet Almond Oil in the UK, the link will take you through to the product page on Amazon.

*If you would like to order the Sweet Almond Oil in  the US, the link will take you through to the product page on Amazon.

*These are affiliate links, which if you order through, a small commission is earned. Thanks in advance for using the links – any money earned will go towards maintaining the blog.

St Clements with Orange Blossom Water

St Clements & Orange Blossom Water

St Clements is the quintessential  English drink for the summer, made with equal parts of oranges and lemons.

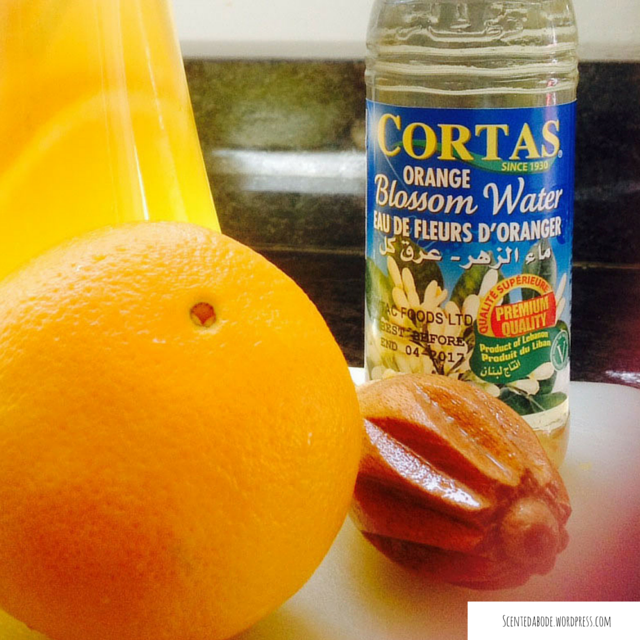
I love squeezing the fresh oranges into a jug with a wooden Citrus Reamer.* There is something therapeutic about using this wooden utensil. Since all the juice gets squeezed through the pulp, I think the oils from the fruit are released with the juices as you squeeze, so that the air is filled with the smell of oranges and lemons and is just the best way to cheer up a dull rainy day.

It’s like sunshine in a drink.

I hold a sieve over the jug so that it catches the pulp bits to keep the juice clear.

The recipe couldn’t be any simpler – Oranges and Lemons in equal amounts, squeezed into a jug – about 3 large oranges and 3 un-waxed lemons.

Once you have squeezed the juice into the jug, add ice and water.

If the oranges are very sweet, then there’s really no need to add sugar. But if you are using the bitter variety or just want some sweetness, I think it goes really well with Honey.

For a Mediterranean feel, a splash of Orange Blossom Water will lift this drink. It’s difficult to describe, but if you like the scent of orange blossoms combined with citrus notes, then this is the perfect combination . It’s delicious with just a hint splashed in at the end with some fresh mint.

Of course, this is one of the many ways that Orange Blossom water can be used at home. It is a hydrolat, collected from the making of essential oil.

Bitter-orange blossoms are collected, washed and then crushed to release their scent into distilled water, gently steamed, so that the essential oil can be collected, what’s left is the scented water which is the hydrolat that can be used both in food and in  skin care and can also be used as a room scent, or even as a linen water.

In Morocco, Orange Blossom Water in a bowl of water is presented to guests so that they can refresh their hands when they enter the host’s home. I think this is such a lovely tradition, which has given me an idea for making an Orange Blossom Water hand wash and lotion.

But first, back to that St Clements….

*affiliate link

“Let the memory live again” – Cats the musical

Cats - the musical, Memories the song


Looking back to a time when I was at school, there is one memory that stands out that could be described as terrifying and exhilarating at the same time.

If you were to visit the school on a regular basis you would soon realise that our Music teacher was the one that ran the school. She didn’t hold the official title of Headmistress or anything like that. She was a force to be reckoned with, no one ever spoke badly or her. Every one, whether you were a student or a teacher was slightly intimidated by her.

She reminded me of, well I didn’t know her personally, but Mrs Thatcher, a person who was strong-willed and determined to get things done, but with the quiet dignity of her generation.

I didn’t appreciate her, or what she helped me to achieve until much later. So going back to this particular moment in time, I was about 13 maybe 14 and she announced that everyone who was studying a musical instrument had to perform at the school concert. There was no reprieve, no excuses.

Since I was studying both piano and voice at the time, I was told that I should use the opportunity to sing.

With the song chosen, the day arrived. I was terrified as I stepped onto the stage, I don’t remember much about what happened next, except that it felt like the longest time passed between the first chords of the piano accompanying me starting and the final chord finishing the song.

There seemed to be the longest pause between that and the audience beginning to clap. I couldn’t see very well because the stage lights were blinding me, and as I heard the claps from the audience, my face started to turn blotchy and red with embarrassment. It was over finally and I could step down from the stage.

The choice of song could not have been less appropriate for a girl of 13, but the melancholy melody was spell binding. I had never been to see the musical, let alone read all of the poetry of T.S. Elliot’s Old Possum’s Book of Cats, so knew very little about the musical or the song.

But as my singing teacher played me the melody on the piano to me and I read the lyrics, I was hooked. It was beautiful and even though I didn’t appreciate their true meaning at the time, I liked the song.

Now, many, many years later, as I read the lyrics again, the words are now a poignant reminder of my memories as I watch my kids grow older with each day that passes by.

It reminds me that I too am growing older with more days to look back on, whilst my children have the days that stretch ahead of them to look forward to.

I understand the lyrics better and their meaning of a life well lived.


“Burnt out ends of smoky days
The stale, cold smell of morning
The street lamp dies in the cold air
Another night is over
Another day is dawning”

Grizella is the cat that sings this song, and if I could describe her personality through these lyrics as a perfume, then I think of Opium by Yves Saint Laurent, a rich decadent oriental scent that was powerful but feminine to the core. I remember the advertising, Linda Evangelista at the time representing everything I thought to be glamorous and powerful, it’s not for the faint of heart. I’ve wanted to wear this on many occasions, each time I pass by the Yves Saint Laurent beauty counter, I stop myself just short of getting it, largely because, it’s a heady scent and I think it would only be for very special and rare occasions that, well are too few and infrequent to justify at the moment.

The perfume’s potent message hasn’t changed, even with the latest advertising campaign featuring Emily Blunt:

This article was written for Wednesday’s On that Song feature on Chow Kim Wan’s blog about Musicals and various aspects of the shows. Wednesday’s feature is for other bloggers to share their song choices.

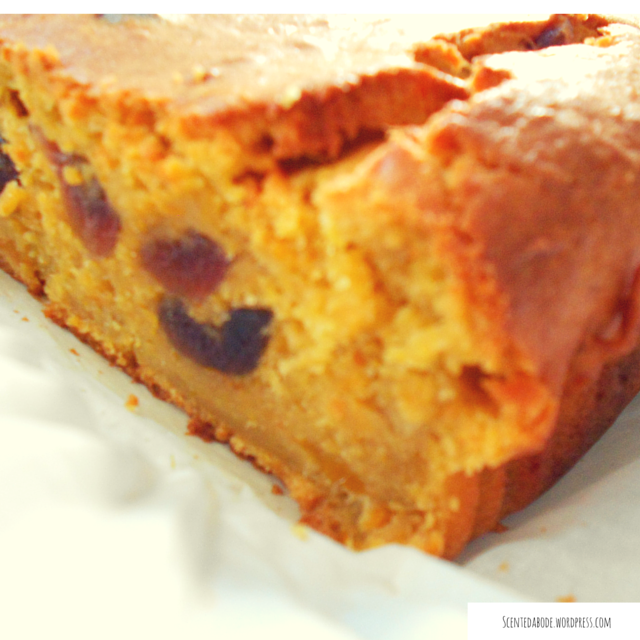
Mango and Cherry Loaf

Mango and Cherry Loaf

Mango and Cherry Loaf

We usually make this lovely cake with over ripe bananas. However, as we had an over ripe Mango, which no one was too keen on, I thought it would be good to try using the banana and apricot recipe rather than throw it away.

Having rummaged around in our cupboard, I discovered we were out of dried apricots, but we did have some dried figs, prunes and a tub of glacé morello cherries.

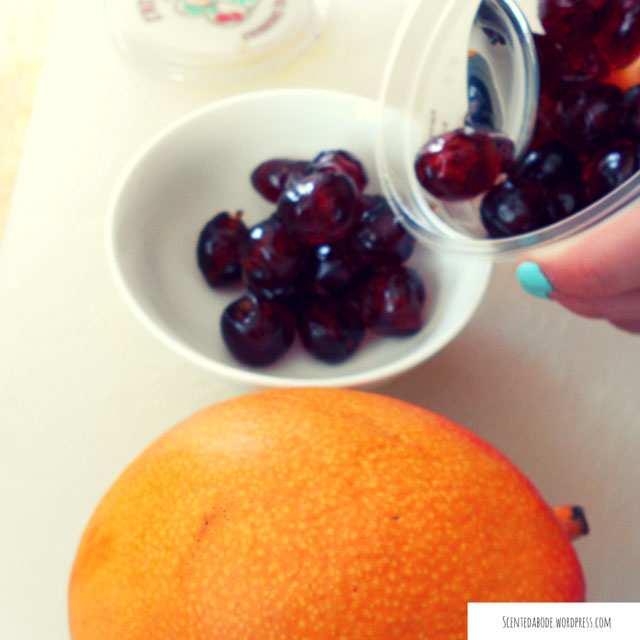
Mango and Morello Cherry

Over ripe Mango and morello cherries found in our cupboard

Since cherries would give the loaf some colour, I decided it would do rather than go and get some dried apricots. I like the idea of using what’s in a cupboard and experimenting more than sticking rigidly to a recipe. This is by far the best way of discovering something new and tasty.

By the time I had assembled the ingredients, my eldest appeared in the kitchen and decided to help with the baking. I was smiling since a few days ago I’d written a post about Google search trends, the British Bake off and that I would have to get my kids to help me with some baking.

There was no need to ask, baking is, next to Minecraft something that my eldest enjoys.

Based on the recipe from the River Cottage Family Cookbook, this loaf is very simple to make, there are no whisks or electrical appliances involved, just a spoon and some elbow grease.
Cream the sugar and butter together (Prior to this I had accidentally put flour into the bowl and had to separate the flour from the butter as I had been distracted by my daughter peeling the skin from the over ripe Mango and mashing it up with a fork).
Add the 2 eggs and beat until mixed together.

Add chopped morello cherries.

Add the grated zest of 1 lemon (we used half a lemon zest and all the zest of a small lime)

Add the mashed mango (or over ripe mashed bananas as in the original recipe instead) and add to the mix.

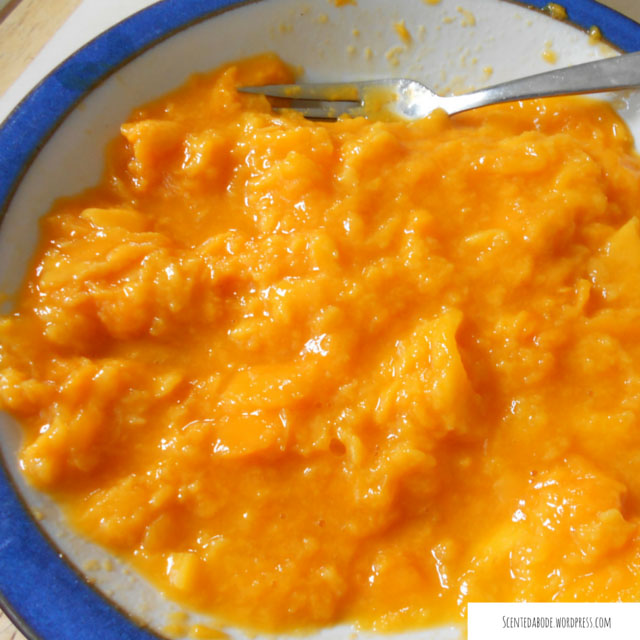
Mashed Mango for baking

Mashed overipe Mango

Gently fold in the self-raising flour.

Pour into a loaf tin which has been lined with a large loaf tin case, I like this as it’s easier to clean the loaf tin afterwards. It also means I don’t need to butter the tin.

Bake in a pre-heated oven for 50-60 minutes on 160c/Gas Mark 3 (Check around 50 minutes, put a knife/skewer through the middle and if it comes out clean, then it’s ready)

The lovely scent of the baking and the mango and cherry filled the kitchen and our living room and this got the attention of both my hubby and youngest who wanted to know when it would be ready to eat.

Unfortunately, they needed a bit of patience as once it was removed from the oven, it needed to cool on a baking rack before it can be enjoyed.

As the loaf was baked just before tea-time on Saturday, it was perfect to serve as our dessert. We usually find that although the loaf will keep for a few days, it never usually lasts longer than a day because it gets eaten as snack.

I think this recipe made with Mango and Cherry makes a lovely alternative to the bananas and apricot version.

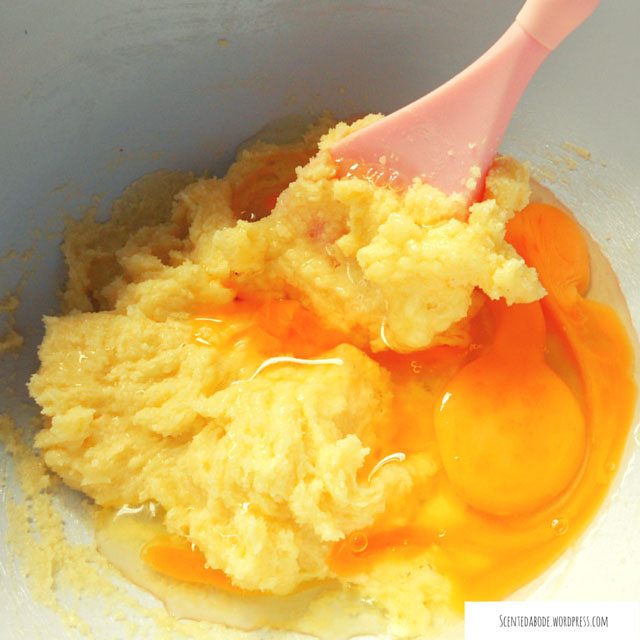
Softened butter with eggs and sugar

Soften Sugar and Butter and beat the eggs

For the reciepe:

Dried apricots (squidgy ones) or Morello Cherries 75g

Saltanas 75g (we didn’t have any so used more cherries)

1 Lemon

Unsalted butter, 100g soft but not melted

Caster Sugar 125g

2 large (free range) eggs

3 large ripe bananas (we used a large mango)

Self raising flour 200g

Loaf tin measuring about 13 x 23 x 7 cm

Do let me know if you’re looking forward to watching the Great British Bake-off.

Lavender picking afternoon in Carshalton

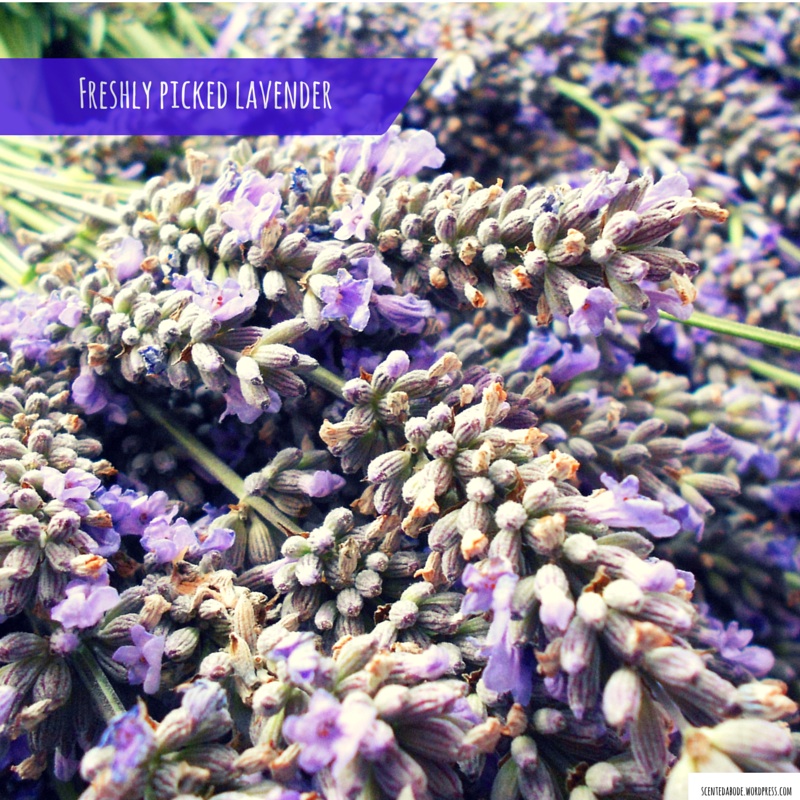
Freshly picked lavender from Carshalton

The weather forecast for last weekend was not good, both Siri and Google predicted a cloudy day with sunshine and rain. Not great for walking around in a field full of Lavender then.

However as Saturday morning arrived and I peeked out through the blinds, the sun was shining.

We decided to go because I’d always wanted to and this was the only weekend the event is held each year.

In the usual mum mode, I tried to persuade everyone to come along, but my eldest wasn’t going to be budged from her laptop. Only me then and my youngest. I made her wear a raincoat, plus a hat in case of both sun and rain. We must have been pretty funny to look at.

My husband drove us to Carshalton, it’s not really very far from our house, but it would have taken us a long walk.  With plenty of lavender we wanted to pick, I thought it best to save our energy for when we got there.

The field itself is tucked away in a quiet residential corner of Carshalton Village, less than 20 miles from Central London.

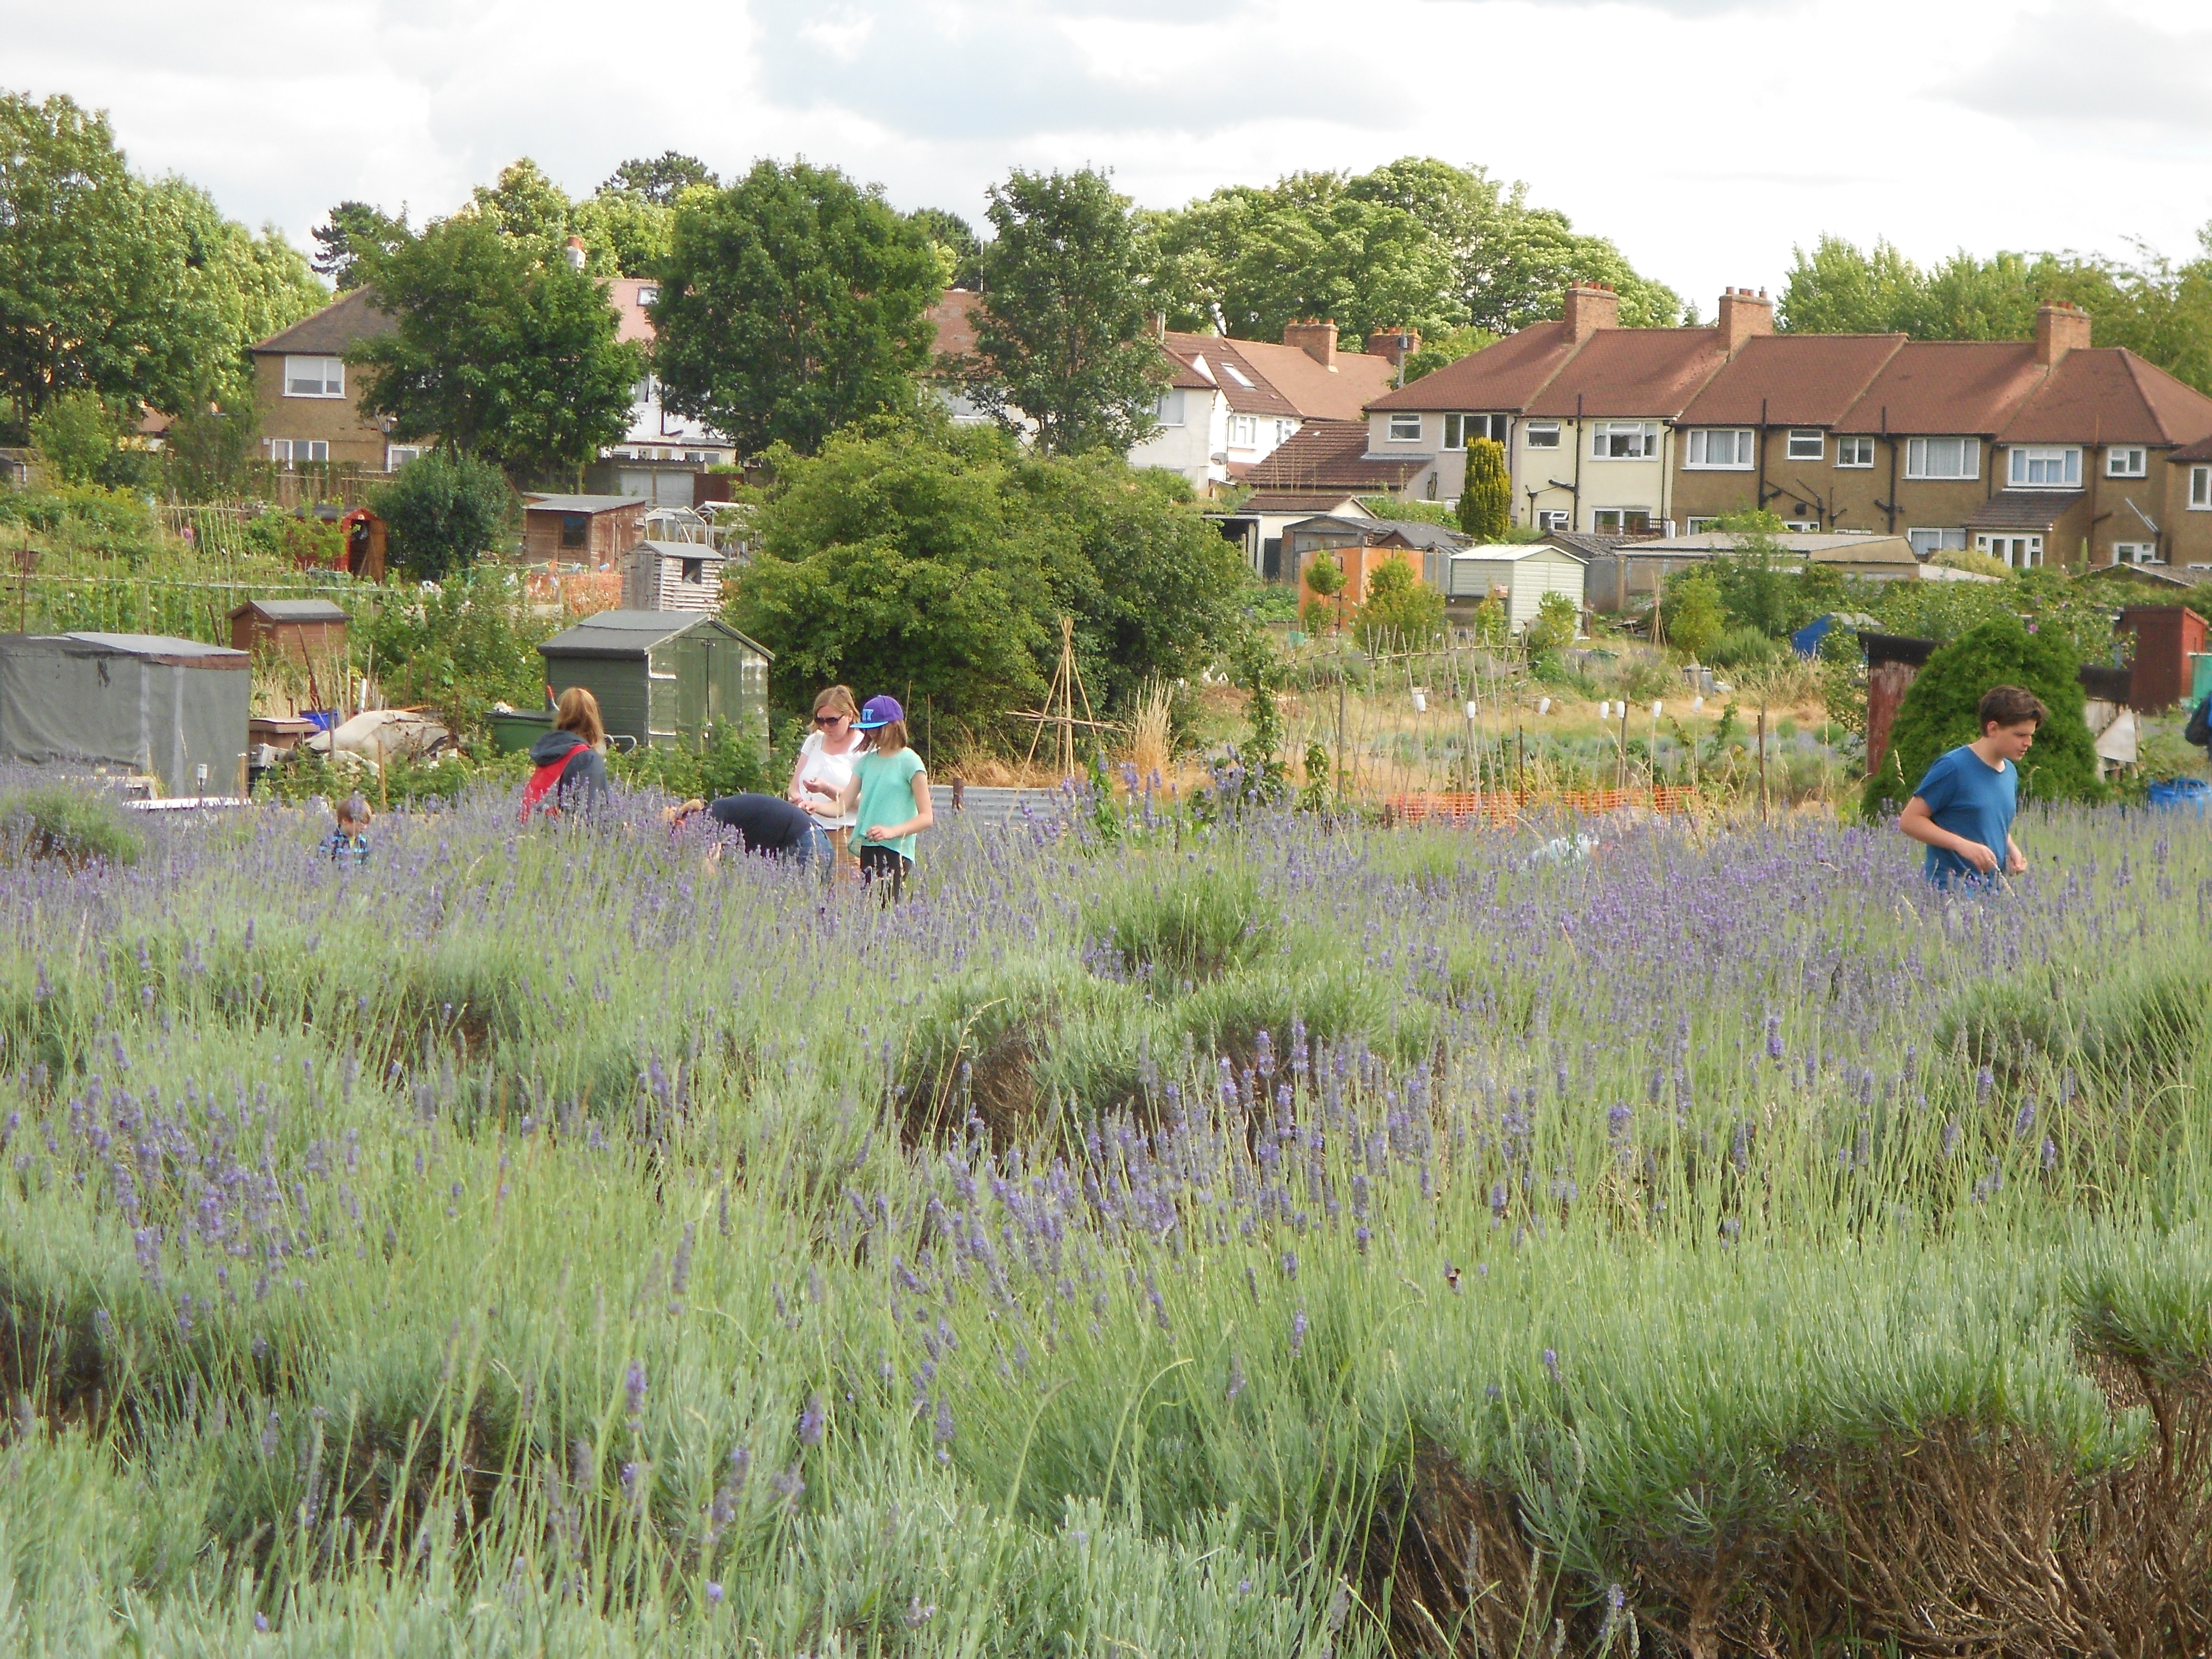
Field of lavender in Carshalton

Field of lavender in Carshalton

It is one of the few remaining sites where Lavender and other herbs was grown as part of a once a thriving industry for the Surrey towns and villages of Mitcham, Sutton and Carshalton.

I had read about the Lavender Picking in Carshalton at our local library some years ago and had always wanted to go, yet somehow, as each year passed, the opportunity also passed. It was either too wet or we had already planned something else.

It is run by local volunteers as a charity, keen to keep the lavender field and it’s history alive.

As we approached, there was no need for the directions or signs, a small steady stream of families, with buggies, young toddlers, teenagers, adults made their way to the field. Plenty were leaving too with huge bushels of Lavender in their arms or tucked into their shopping bags.

The sight of the people with their bags and armfuls of lavender got my youngest daughter so excited that she walked on ahead to investigate. If you’d like to see the post my daugther has written, please visit here it made made me laugh just reading it.

A small line of people were in front of us and we queued patiently to collect our bucket and scisssors.

Bucket of freshly picked lavender

Bucket of freshly picked lavender

Cutting the Lavender was the best, in the field were different varieties of lavender, some had shorter stems of blue grey colour with round soft flowering heads, whilst other lavender plants were tall and proudly waved their stems of deeper coloured lavender flowers in the summer breeze.

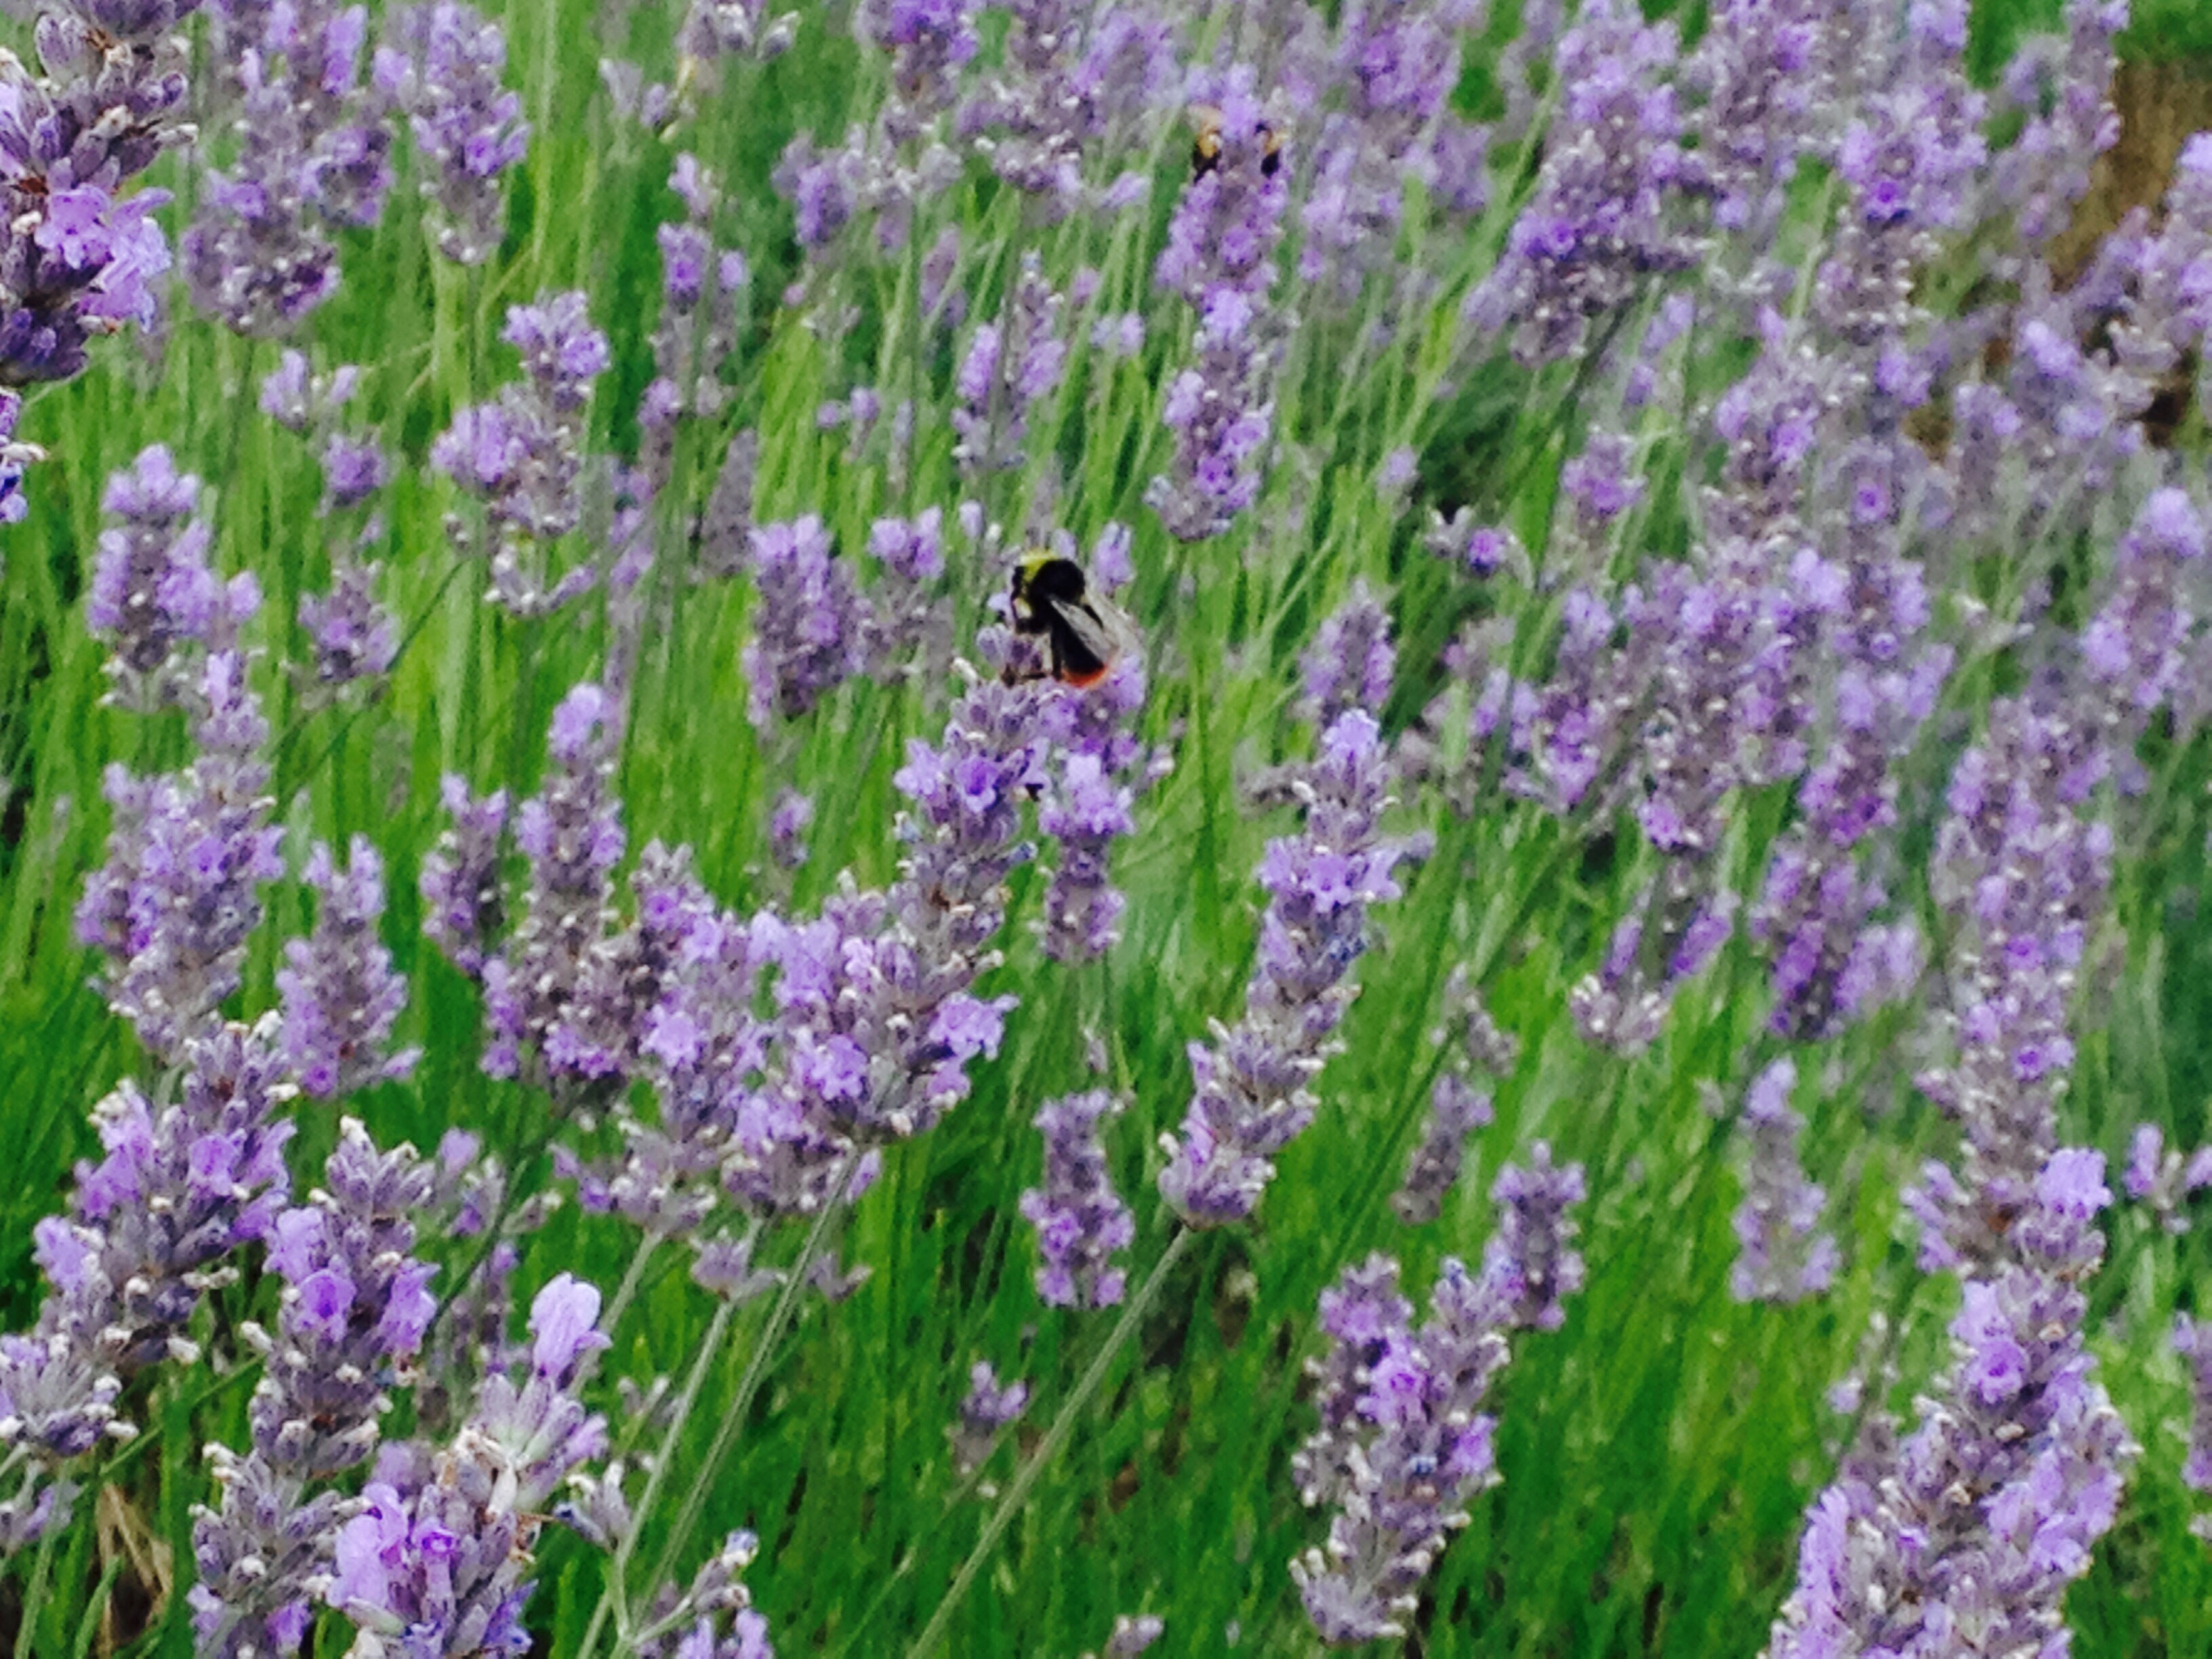
The fragrance was all around and we were enthralled as people mixed with butterflies and bees, collecting pollen and harvesting the lavender together.

No one seemed bothered by the bees as they buzzed around us collecting their harvest, as there seemed to be plenty for everyone.

The event would not be complete without a craft fair display. Locally produced goods was available, including ready to purchase cut bundles of Lavender alongside bottles of Lavender Essential oil which had been distilled from the lavender grown in the field.

If I could describe a perfect afternoon then this would be it. Our haul of lavender consisted of 2 large bales of lavender (I have no idea what I’m going to do with it all, but I expect none of it will go to waste), a little tiny bottle of the essential oil, apparently it takes about 3/4 of a ton of fresh lavender to produce about 11-12 pounds of oil. So very precious indeed.

Bees in lavender field

Bees in Lavender field

There was a demonstration with the distillery which had been made locally from recycled materials, so we got to learn about the process of distilling the lavender oil.

It’s made in a giant steel container. The process is a bit like one of those Morrocan Hookhas where the bottom of the container holds boiling water to steam the leaves or lavender in this case. As the steam rises, it passes through the freshly picked lavender and the oil from the steam is collected in a special reservoir and the water collected below. This water is the floral water that perfumers and the beauty industry call “hydrolat”.

As well as the oil, I purchased a small pot of Lavender to grow in our garden called Lavender Grosso.

After speaking with the gardener, I asked him which variety would be best for someone who isn’t very green fingered and wants to see the plant grow quick (I have no patience). Apparently Lavender Grosso grows to a meter high and is very fast growing and likes to be in sunshine, when planted in soil, it doesn’t need very much water (in a pot it will need watering frequently). It seemed the ideal plant suited to my temperament.

Lastly, my hubby spotted a small display of pots full of honey and jams, and we couldn’t resist purchasing a small pot of lavender honey.

And the rain stayed away until Sunday. perfect!